How to Make a Removable Felted Fleece Collar

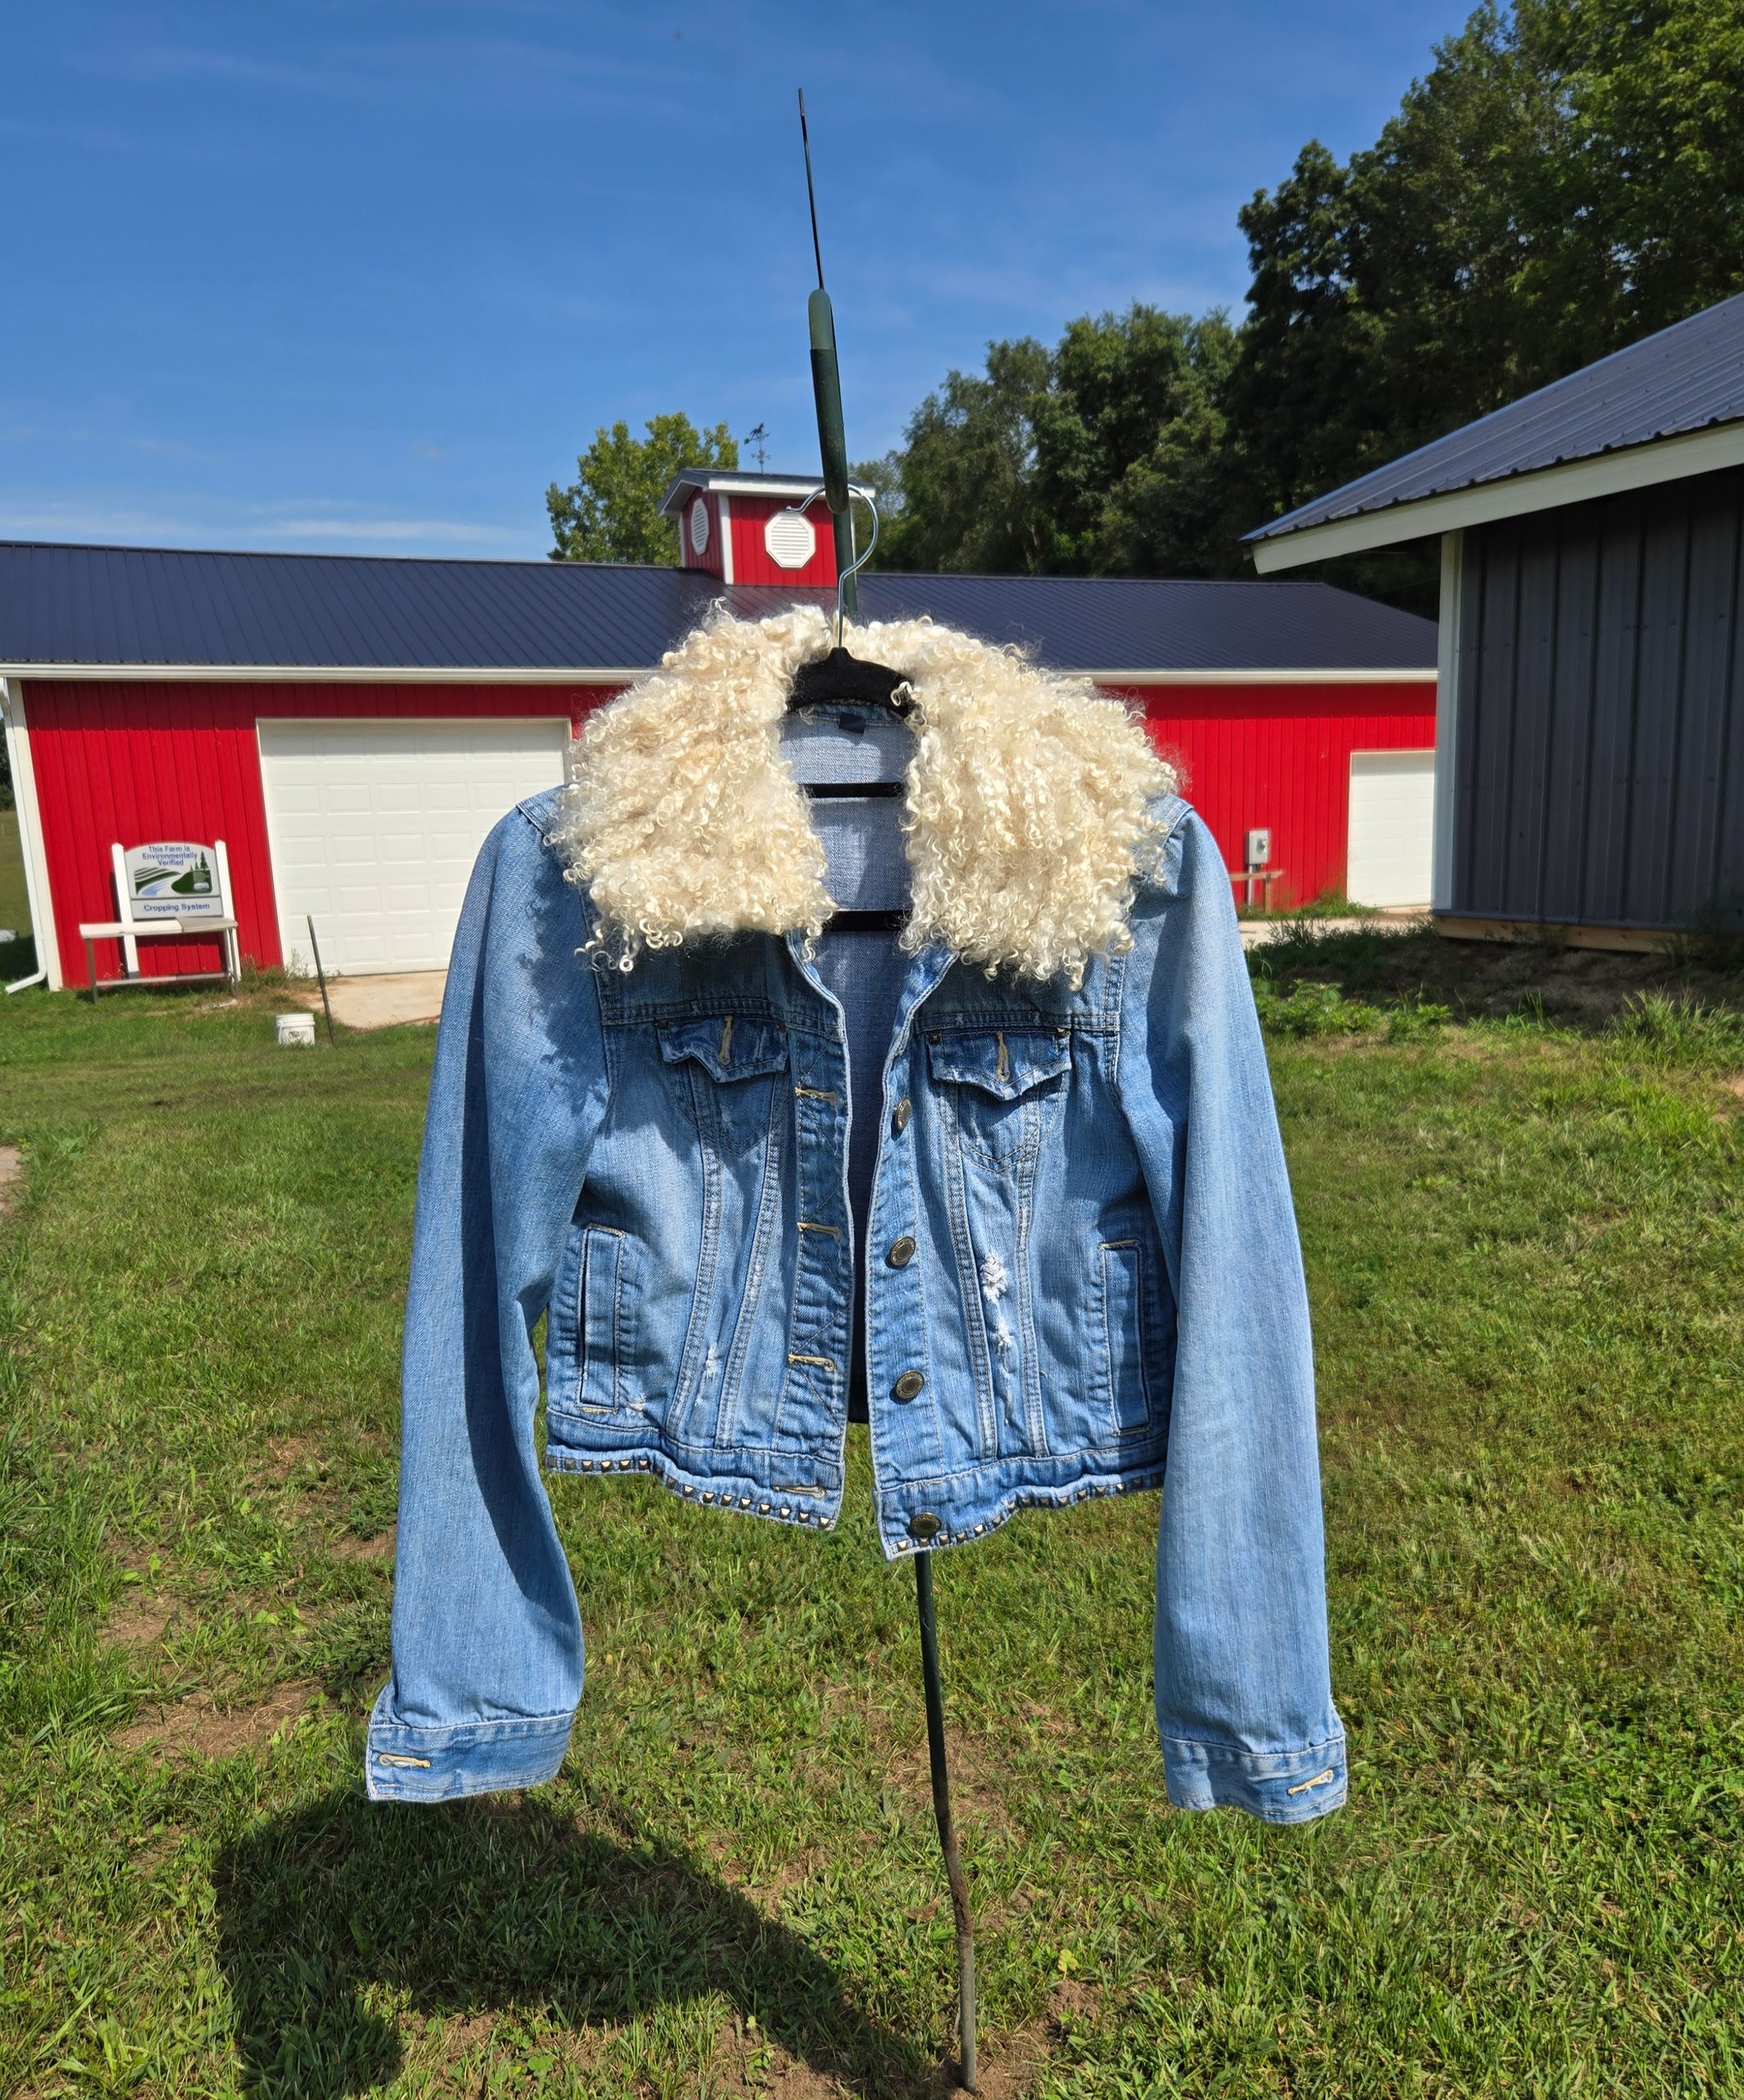
Wet-felt your own removable felted fleece collar with this step-by-step tutorial. A felted fleece collar makes a unique addition to any ordinary denim jacket. Add style and warmth to your outerwear with this handcrafted accessory.
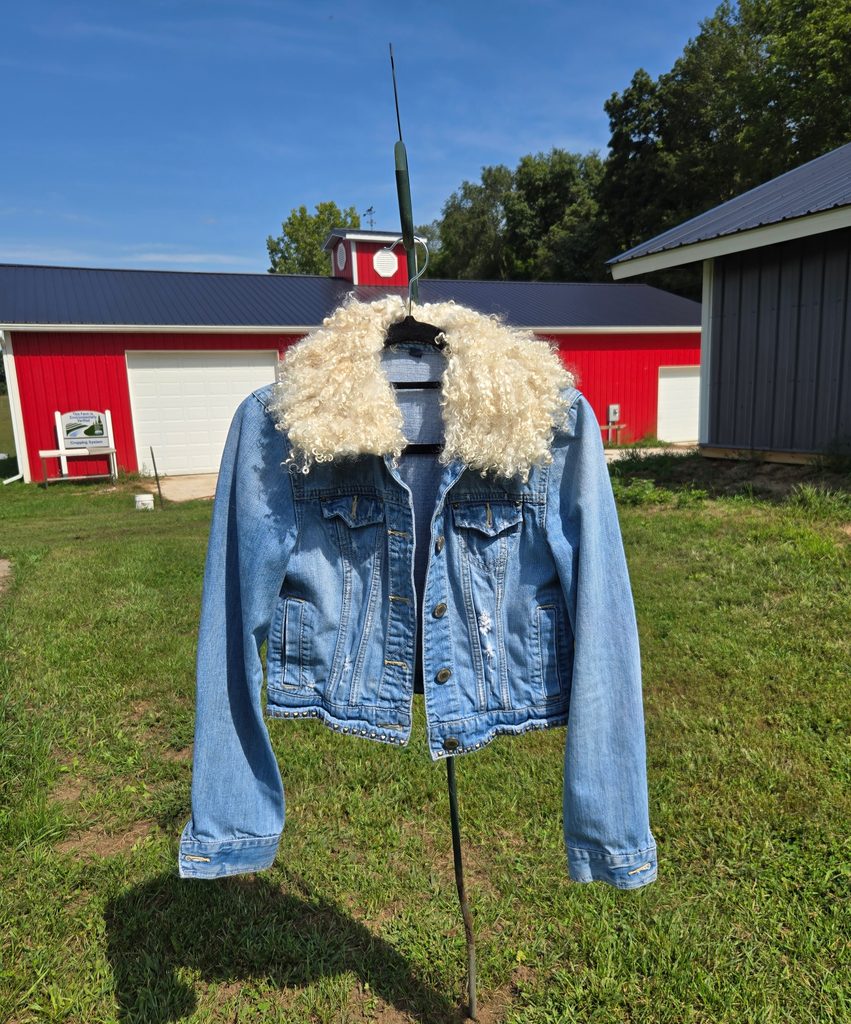
Making a wearable mohair lock item has been on my “to-try” list for some time. As a goat farmer and fiber enthusiast, I thought an accessory handcrafted from my own animals would be the perfect conversation starter for promoting the Angora goat breed.
I envision myself wearing a fluffy vest, but I am still figuring out how to bring that to life. In the meantime, I decided to start with fashioning a removable felted fleece collar since I knew the shape would be easy enough to make.
After wet-felting several rugs, I have the process down pat. I just adapted my techniques to making an arched miniature rug to attach to my denim jacket. I decided to make the collar removable so that I can transfer it to another jacket that I have as well.
Follow these steps to make your own unique removable felted fleece collar to add style and warmth your outerwear!
Why a Removable Felted Fleece Collar?
Because no hide is used, felted fleece collars are a cruelty-free alternative to traditional shearling collars. All-fiber collars can be referred to as vegan or vegetarian collars because no animals are harmed in the process of making them.
Not only are they no-kill, felted fleece collars are a sustainable choice. Wool and mohair are a renewable resource, being constantly regrown by the sheep or goat that provided it.
In addition to being lovely, felted fleece collars are also comfortable, breathable, and odor and stain resistant. Having the collar be removable allows the wearer versatility to use the accessory in multiple ways and as an added bonus, you can still launder your garments appropriately.
Fiber to Use to Make a Removable Felted Fleece Collar
I made the outside of my collar with raw locks from my Angora goats that had an average staple length of four inches. You could make a similar collar with fleece from a longwool sheep breed.
Mohair takes color very well, so you could use dyed locks. Personally, I prefer the look of natural colored fleece, so that’s what I used for my project. The curls are so shiny and soft against the skin!
I made the backing for my collar, which holds the locks in place, with Romney wool roving. I chose this fiber because it matched my mohair and is durable and easy to felt.
Techniques for Making a Removable Felted Fleece Collar
A felted fleece collar can be constructed using wet felting techniques where raw locks from a shorn fleece are bound to a wool backing using water, soap, and manual agitation. The directions that follow will outline the steps necessary to wet-felt a fleece collar.
If any of the locks on the outside of the collar become matted or there is a sparse area on the surface, additional locks can be added through needle-felting. This process will also be discussed at the end of the tutorial.
Materials Needed for Making a Felted Fleece Collar
- Collar pattern
- Raw locks
- Wool roving for backing
- Soap
- Bowl of water
- Bulb sprinkler
- Felting mesh
- Bubble wrap
- Dowel
- Power Scour
- Felting needles
- Felting mat
- Scissors
I made a pattern for my removable felted fleece collar by outlining the collar on my denim jacket. I made it about 2 inches larger to allow for full coverage and shrinkage during the felting process. My pattern was about 17 inches long and 3 ½ inches wide.
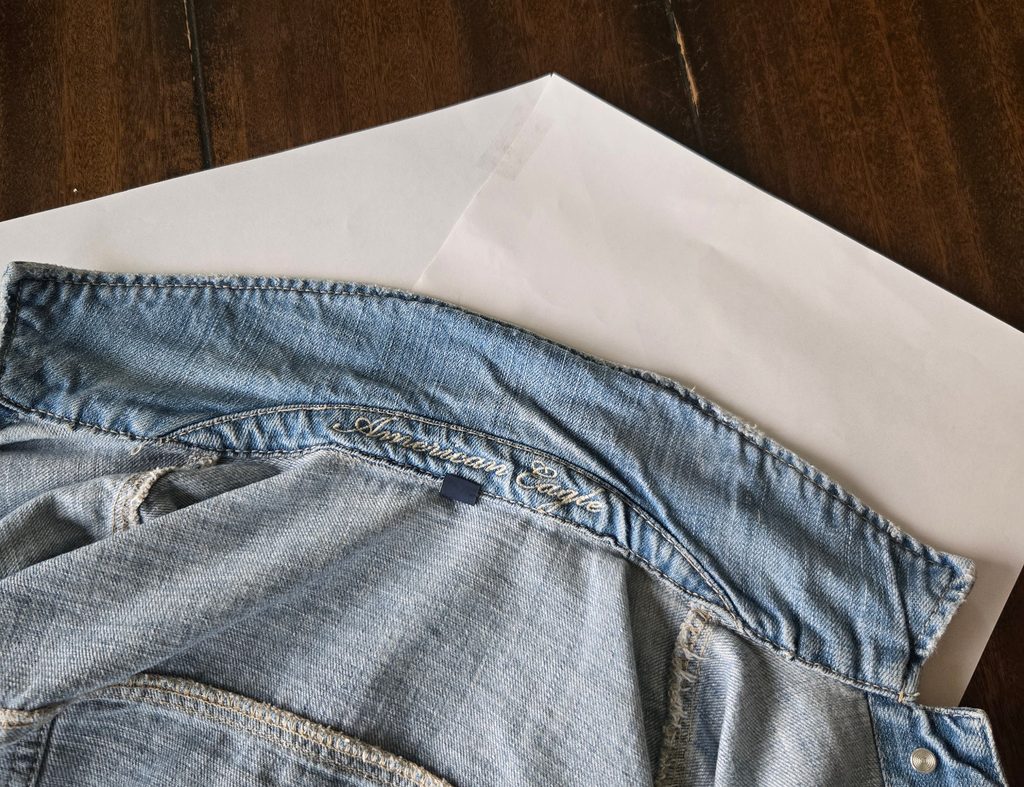
Your wool or mohair locks do not need to be pre-scoured for this project. The raw locks will get washed in the process of making the collar. I used a portion of a fleece from a yearling Angora doe that I sheared in a sheet, which made it easy to align the fibers. I amount of locks that you need depends on the size of the collar you are making.
I used about 2 ounces of wool roving to make the backing for the fleece collar. Since roving is processed with the fibers aligned parallel to one another, it is easy to lay out in a cross-hatched pattern for wet-felting.
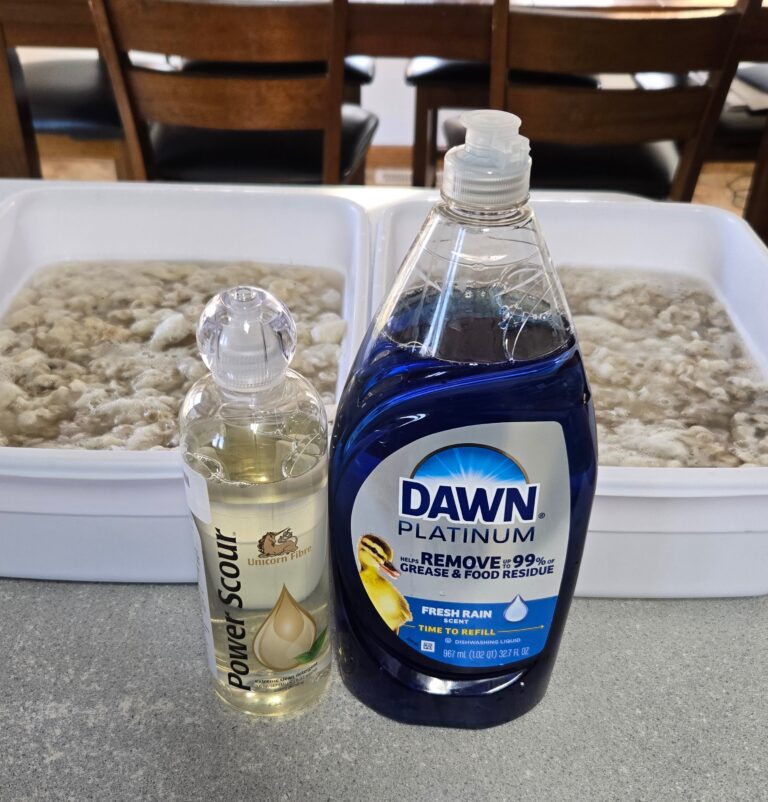
I use my olive oil-based, handmade goat milk soap for wet felting. It works great and doesn’t dry out my hands like commercial bar soap. You can use whatever is your favorite, liquid Dawn dish detergent works well too.
You will use lots of water to complete this project and it gets pretty messy. I recommend making your collar outside on a nice day if you can. I use the hottest water I can stand because it speeds up the felting process.
A bulb sprinkler can help you wet your project down. If you don’t have one, just use your hands to transfer a little bit of water at a time from a bowl.
Using felting mesh will help you pre-felt your backing without moving the fibers around too much. It’s not completely necessary, but a nice safeguard if you are new to wet-felting.
Bubble wrap is helpful for continuing to felt the backing once you have reached the pre-felt stage. You need a piece as big as your project or can move it as needed.
You will need a dowel to wrap your collar around once you get to the rolling stage of felting. I use a piece of PVC pipe. The dowel should be longer than your collar.
Once the collar is finished it will be fairly clean from all the soap but will need a thorough rinsing. I use Power Scour wool wash to remove any residual dirt and oil. It works and smells great!
Once the collar has dried, you can use scissors to trim the locks or excess felt from the edges. If you want to add locks to matted or sparse areas all you need is a felting needle and mat.
Directions for Making a Removable Felted Fleece Collar
- Create a pattern using the collar of the jacket you want this to go on as a template. I used foam floor underlayment as my pattern material because it is waterproof.
- Arrange your locks on top of the pattern. The locks should be positioned so that the cut end is facing up. Pack them together so that the collar will have a nice dense pile. Take your time with this step!
- Now you are ready to begin layering roving over the cut lock ends. Make one layer going horizontally and make sure it completely covers all of the locks.
- Make a second layer of roving over the first. This layer should be going vertically.
- Make a third layer of roving over the second. This layer should be going horizontally again, creating a crosshatched pattern that should felt readily.
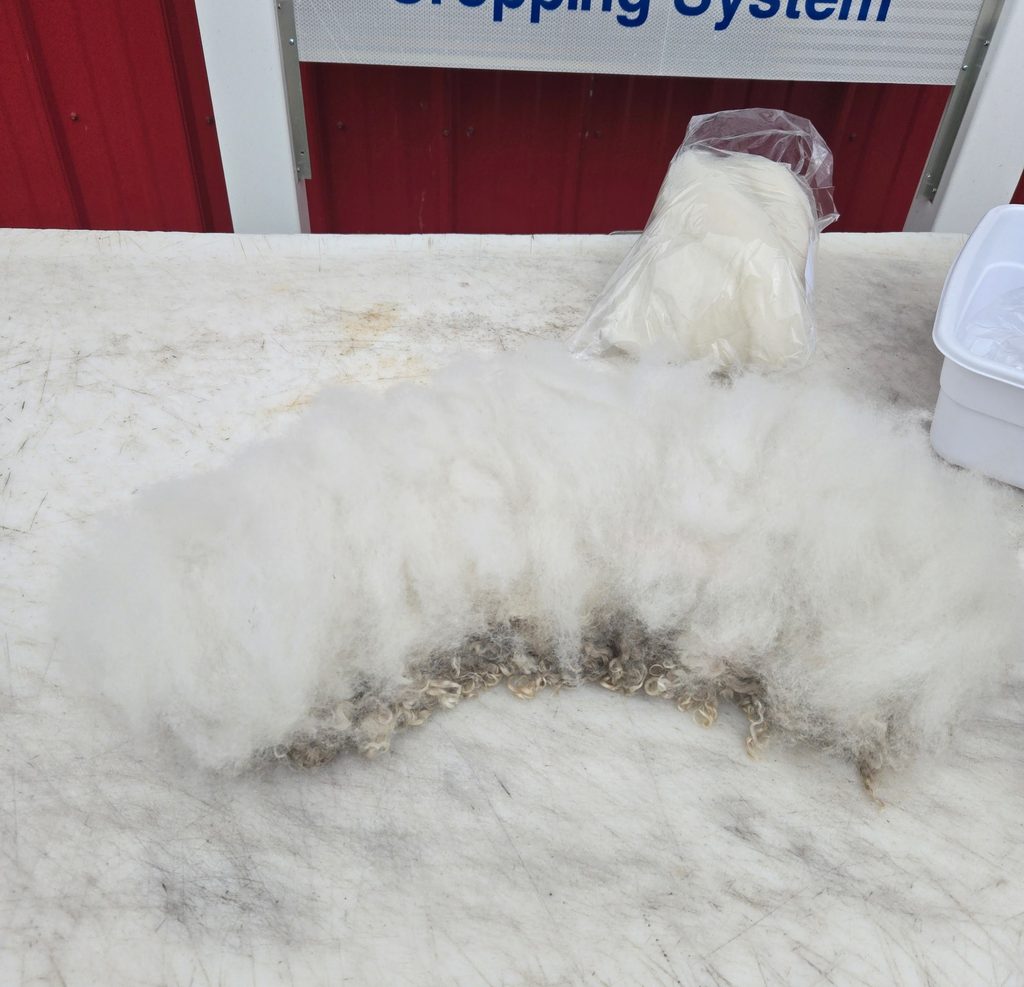
- Make a fourth layer going vertically if you desire.
- Now, cover the roving with the felting mesh.
- Begin wetting all the fiber down with a bulb sprinkler. It will take quite a bit of water to thoroughly wet all the layers.
- Gently rub the bar of soap on the mesh until foam begins to form.
- Then, very gently, begin rubbing the roving through the mesh with your fingertips to start pre-felting the fiber. You don’t want to be too aggressive right now because it will cause the fiber to move out of place.
- Continue gently rubbing the backing of the collar for about 15 minutes. Make sure you give the same attention to all parts so that it becomes felted in all areas.
- After 15 minutes have elapsed, continue rubbing, but with more pressure now. Add more soap and water as needed to create suds that allow your hands to glide over the collar. The extra water should come out the sides. It is normal for the water to look dirty if you are using raw locks!
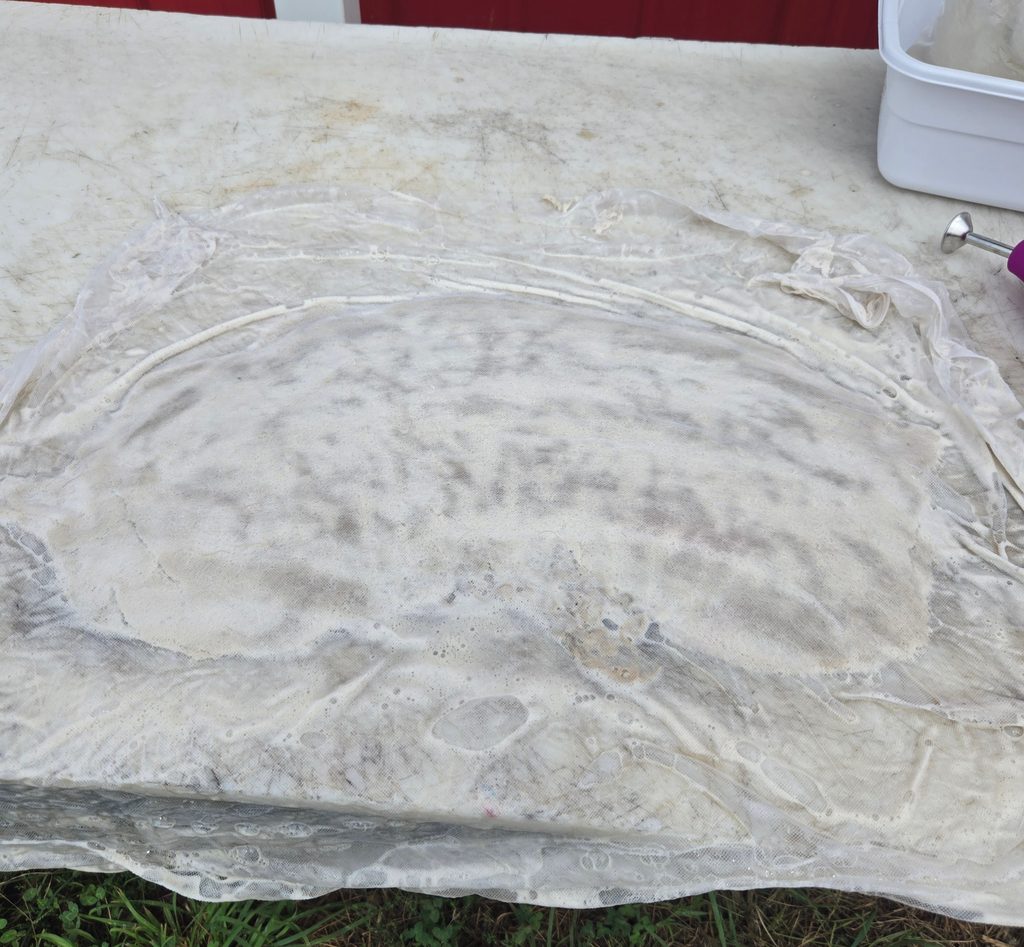
- Rub with more pressure for 15 minutes then check your progress by removing the mesh and doing a pinch test. The fibers should be noticeably felted and stick to one another when you try to lift any section.
- Now it is time to use the bubble wrap! Lay the bubble wrap bubble side down onto the collar backing and continue rubbing in all directions for 15 minutes. Make sure you rub the edges so that they become fully felted too.
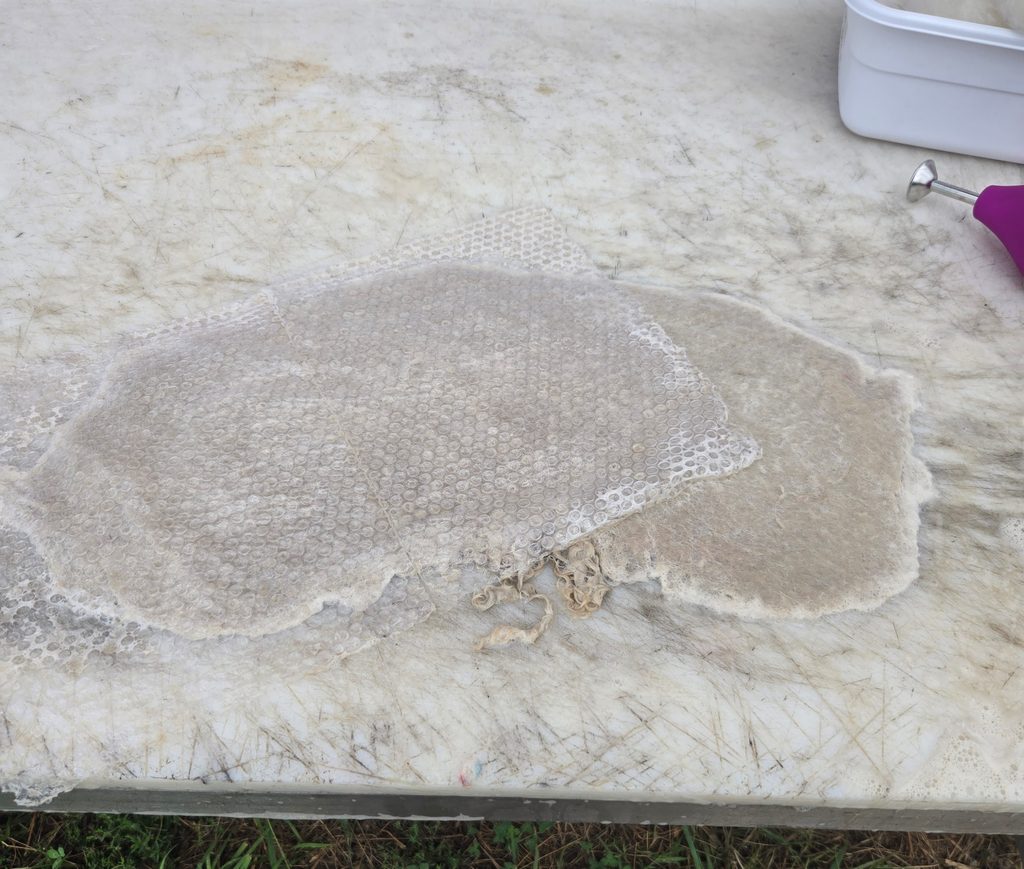
- Now your collar should be ready for the rolling phase. Remove the bubble wrap and check. You can also re-form your collar if it is getting out of shape. It should match your pattern but will probably be significantly larger at this point.
- Take your dowel and roll your collar into a log with the dowel in the center. Roll the log back and forth 100 times (one back and forth motion counts as one roll).
- Unroll the log and turn the collar 90 degrees, roll it back up and roll 100 times.
- Continue this process until you have turned the collar 360 degrees.
- Now flip the collar over to the lock side and roll it up again. Do 100 rolls, turning the collar 90 degrees each time. Now you should have completed 800 rolls.
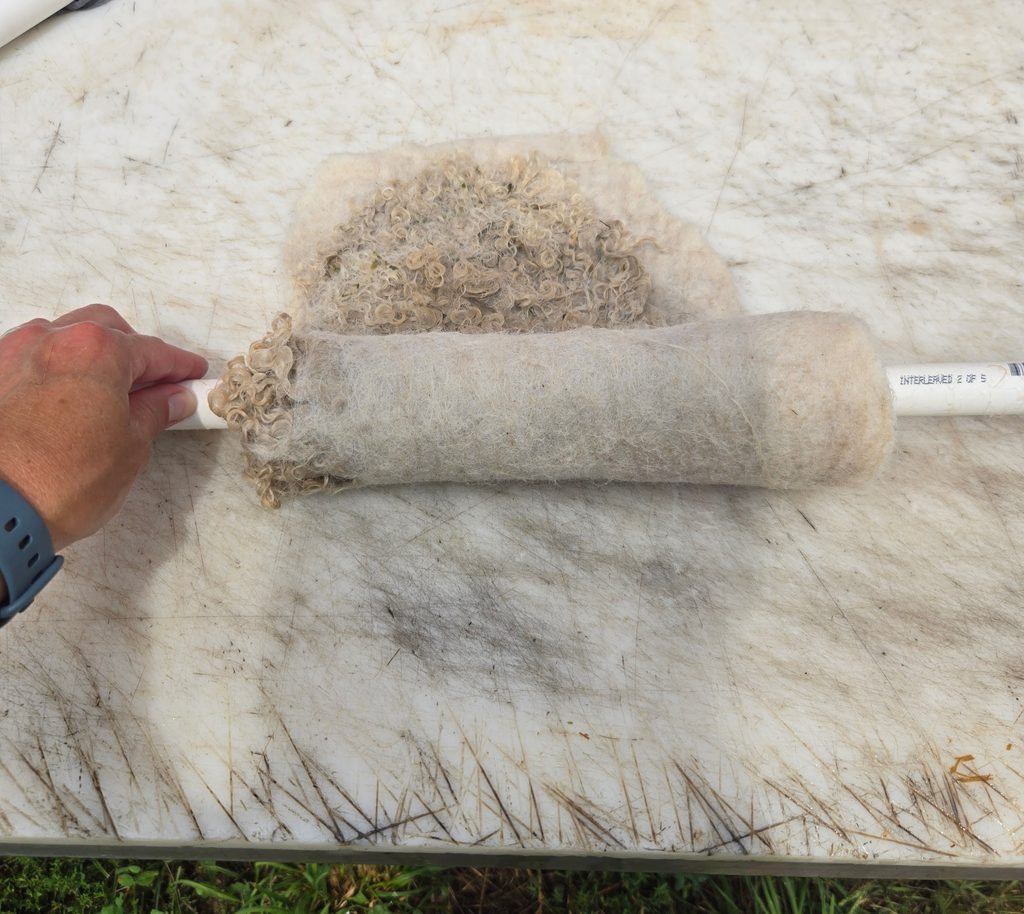
- Examine your collar, it should be looking pretty good but will benefit from more rolling. Reshape it at this time as necessary, we want to keep an arched shape and not make it a rectangle.
- Repeat the rolling process again, turning the collar 90 degrees after each 100 rolls, on both sides. Now you should have completed a total of 1600 rolls.
- Take a final look at your work and check for any places that seem to need more felting. Rub or roll as necessary.
- Now you are ready for the final step in felting, throwing the collar on the ground! I throw my collar on my concrete patio 100 times turning it different ways when I throw it.
- You did it! Now your collar is ready to be rinsed. Rinse all the soap from the collar with cold water. Add a little bit of Power Scour to help clean it and make it smell fresh. Rinse the Power Scour out and then wring it out as best you can.
- Now the collar just needs to dry. It is important that you reshape it at this point so that it dries how you want it. Use your pattern as a guide for the shape. Drying may take a few days depending on how thick your collar is and where you place it. The sun and a good breeze really help with drying.
- Once the collar is dry you can inspect it and gently shake it to fluff up the locks.
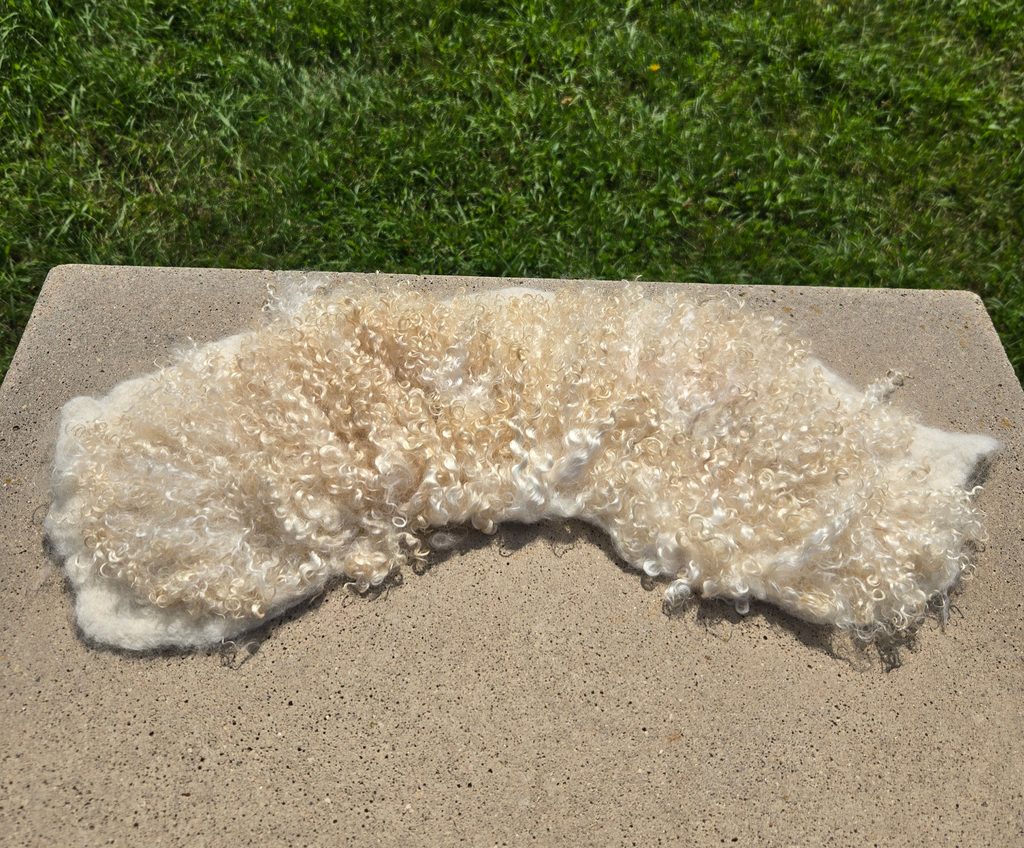
- Trim the excess felt from the edges or any locks that are too long with sharp scissors.
- If there are any areas that are bare or matted, you can add more locks by needle felting them into place. All you need to do is take washed locks that match and stab them in repeatedly with a felting needle where you want them. Make sure to use finger cots for protection and felting mat underneath.
- Now you can try your collar on your jacket with safety pins and make any minor alterations with scissors and felting needles.
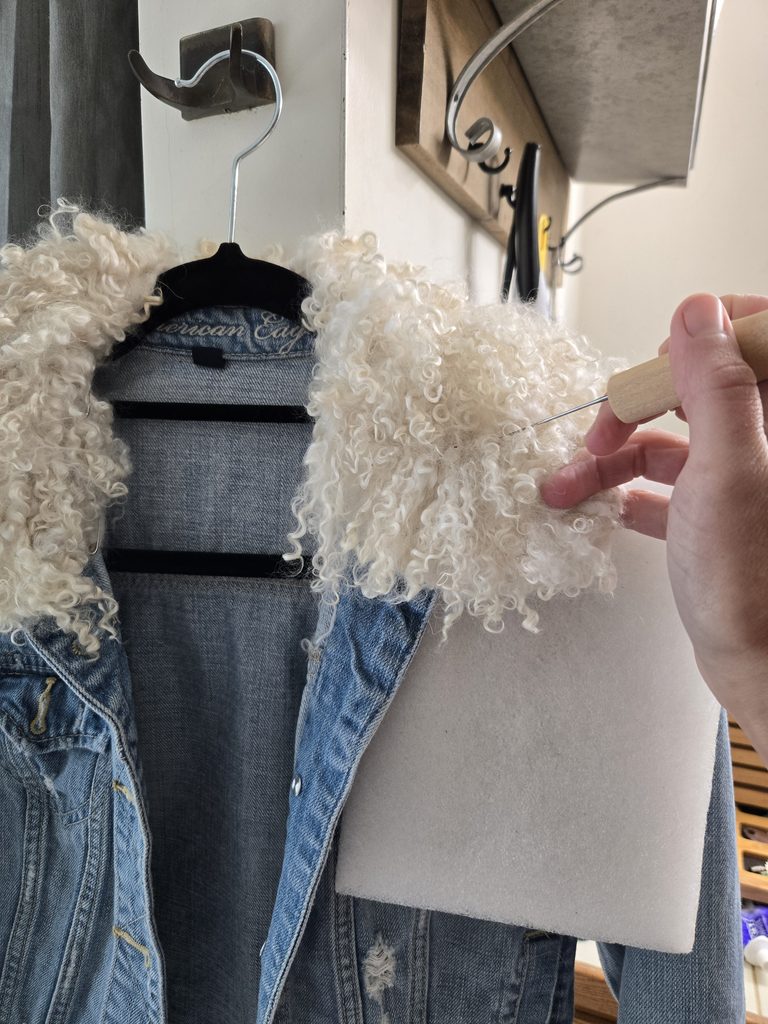
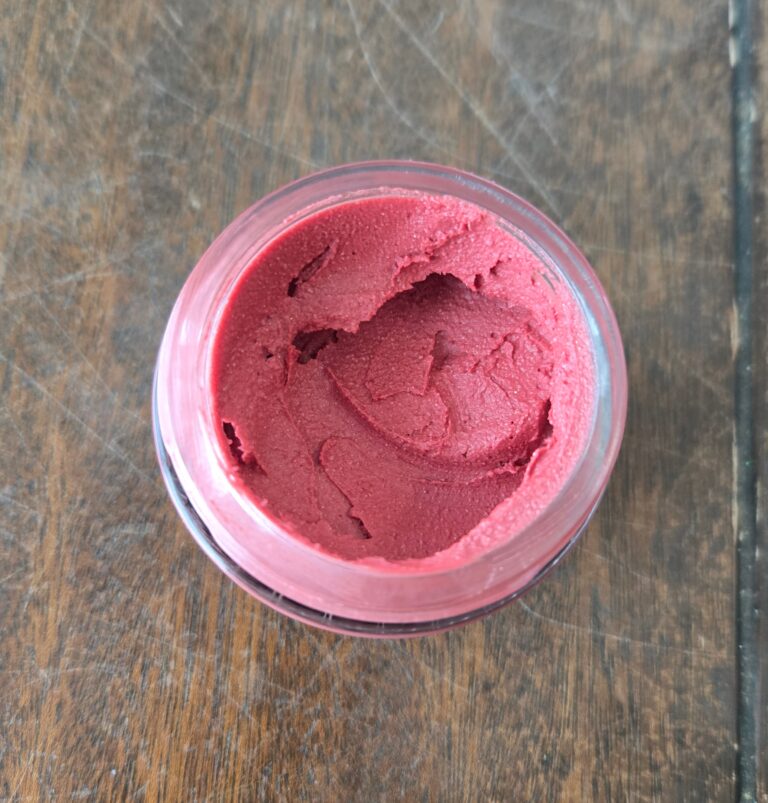
- To make it quick and easy to attach and remove your collar, use a snap fastener kit or buttons and loops.
- Strike a pose! Your removable felted fleece collar is ready to wear.
More Mohair Projects
If you liked this project, check out our other fiber art tutorials and learn how to make: