How to Make a Needle Felted Ball Garland

Make a fun and festive needle felted ball garland for any occasion using wool roving and jute twine. Step-by-step instructions, needle felting tips, and a video tutorial are provided in this post. A perfect project for beginner needle-felters!
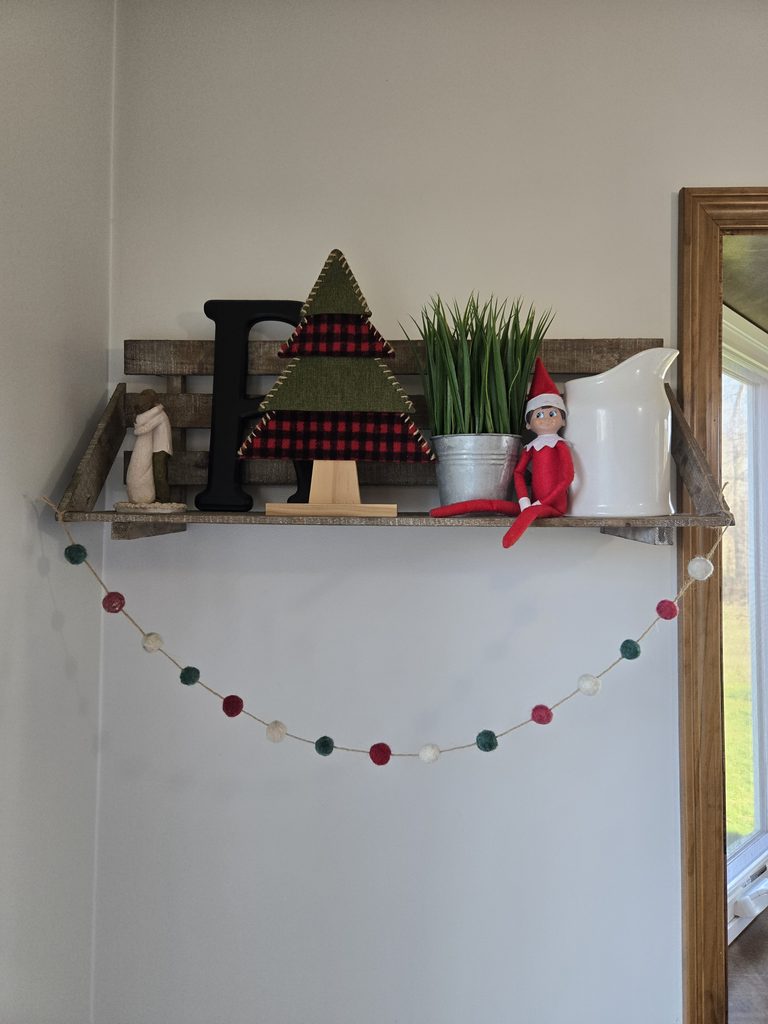
I love making and decorating with rustic garlands. After taking down my mohair ghost Halloween garland this week (find directions for that project here), my shelf looked naked, so I decided to start on a new one for the Christmas season!
A fun and festive needle felted ball garland is super easy to make and can help you celebrate any occasion. All you need is wool roving, jute twine, needle felting supplies, and some patience.
This is a beginner-friendly project, so if you are new to crafting with animal fiber, no need to worry!
Materials Needed for Making a Needle Felted Ball Garland
One of my favorite fibers to use for needle-felting projects is Corriedale wool roving, but you can make felt balls with any kind of wool… or mohair or alpaca. Choose natural colored or dyed fiber to achieve the look that you want.
You will be making the most basic shape, a ball, with the felting needle, so the type doesn’t matter much but a 36-gauge works great!
I use a single-needle felting tool to make needle felted balls for garlands. They make the felting needle easier and more comfortable to hold on to.
Felting needles are extremely sharp! Protect the fingers on your non-dominant hand from getting accidentally stabbed by a felting needle with leather finger cots.
I use a piece of foam as a felting mat. It protects your lap or working surface from damage from felting needles.
I strung my felted balls on 2mm jute twine. It gives the garland a rustic touch and the texture of the cord helps the felted balls stay in position.
Make your garland the length that you want by using a measuring tape and scissors to trim the jute twine. I made my stringer 48 inches long.
String the balls onto the jute twine with a large eye darning needle.
Needle Felting Techniques
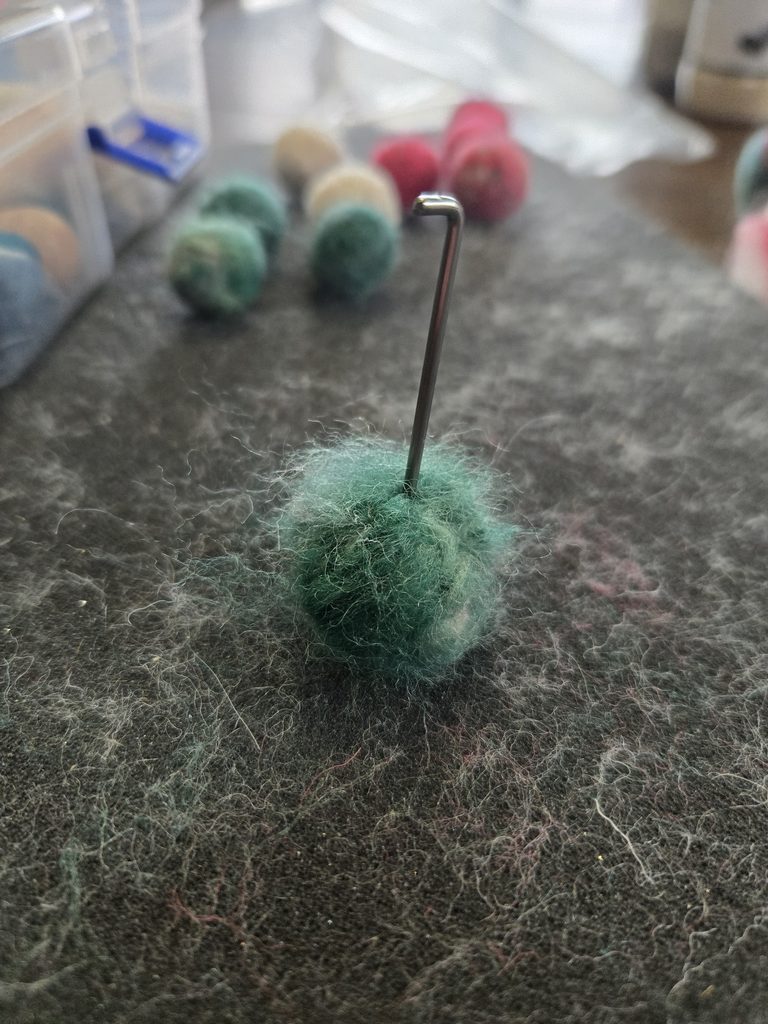
Felt balls for a garland can be constructed using very simple needle felting techniques. After rolling the roving up into a tight ball, use a felting needle to compact the fiber by repeatedly stabbing it.
As the felting needle passes through the wool, microscopic scales on the fibers lock together creating a dense mass that will not come apart.
Needle Felting Tips for Success
Remember to penetrate and remove the felting needle from the wool on the same plane, as flexing or bending the needle inside the wool can result in breakage. Broken needle remnants can be a poking hazard!
Continually rotate the ball as you are needle-felting to maintain a symmetrical, round shape.
When you are done needle-felting, roll the ball between your palms. This will help tame the halo of fuzz and get rid of indentations from the felting needle on the surface.
Directions to Make a Needle Felted Ball Garland
- Gather your needle felting supplies.
- Tear off (don’t cut) a 2-3 inch section of roving to make a ball with about a 1-inch diameter. Use more or less fiber if you wish to make larger or smaller balls.
- Roll the roving up into a tight ball and place it on your felting mat.
- Don your finger protection and begin stabbing the ball with your felting needle. Rotate the ball as necessary to ensure all parts of the ball become equally felted.
- After about 5 minutes or when the ball is dense and firm, you can stop and roll it in your hands and inspect it.
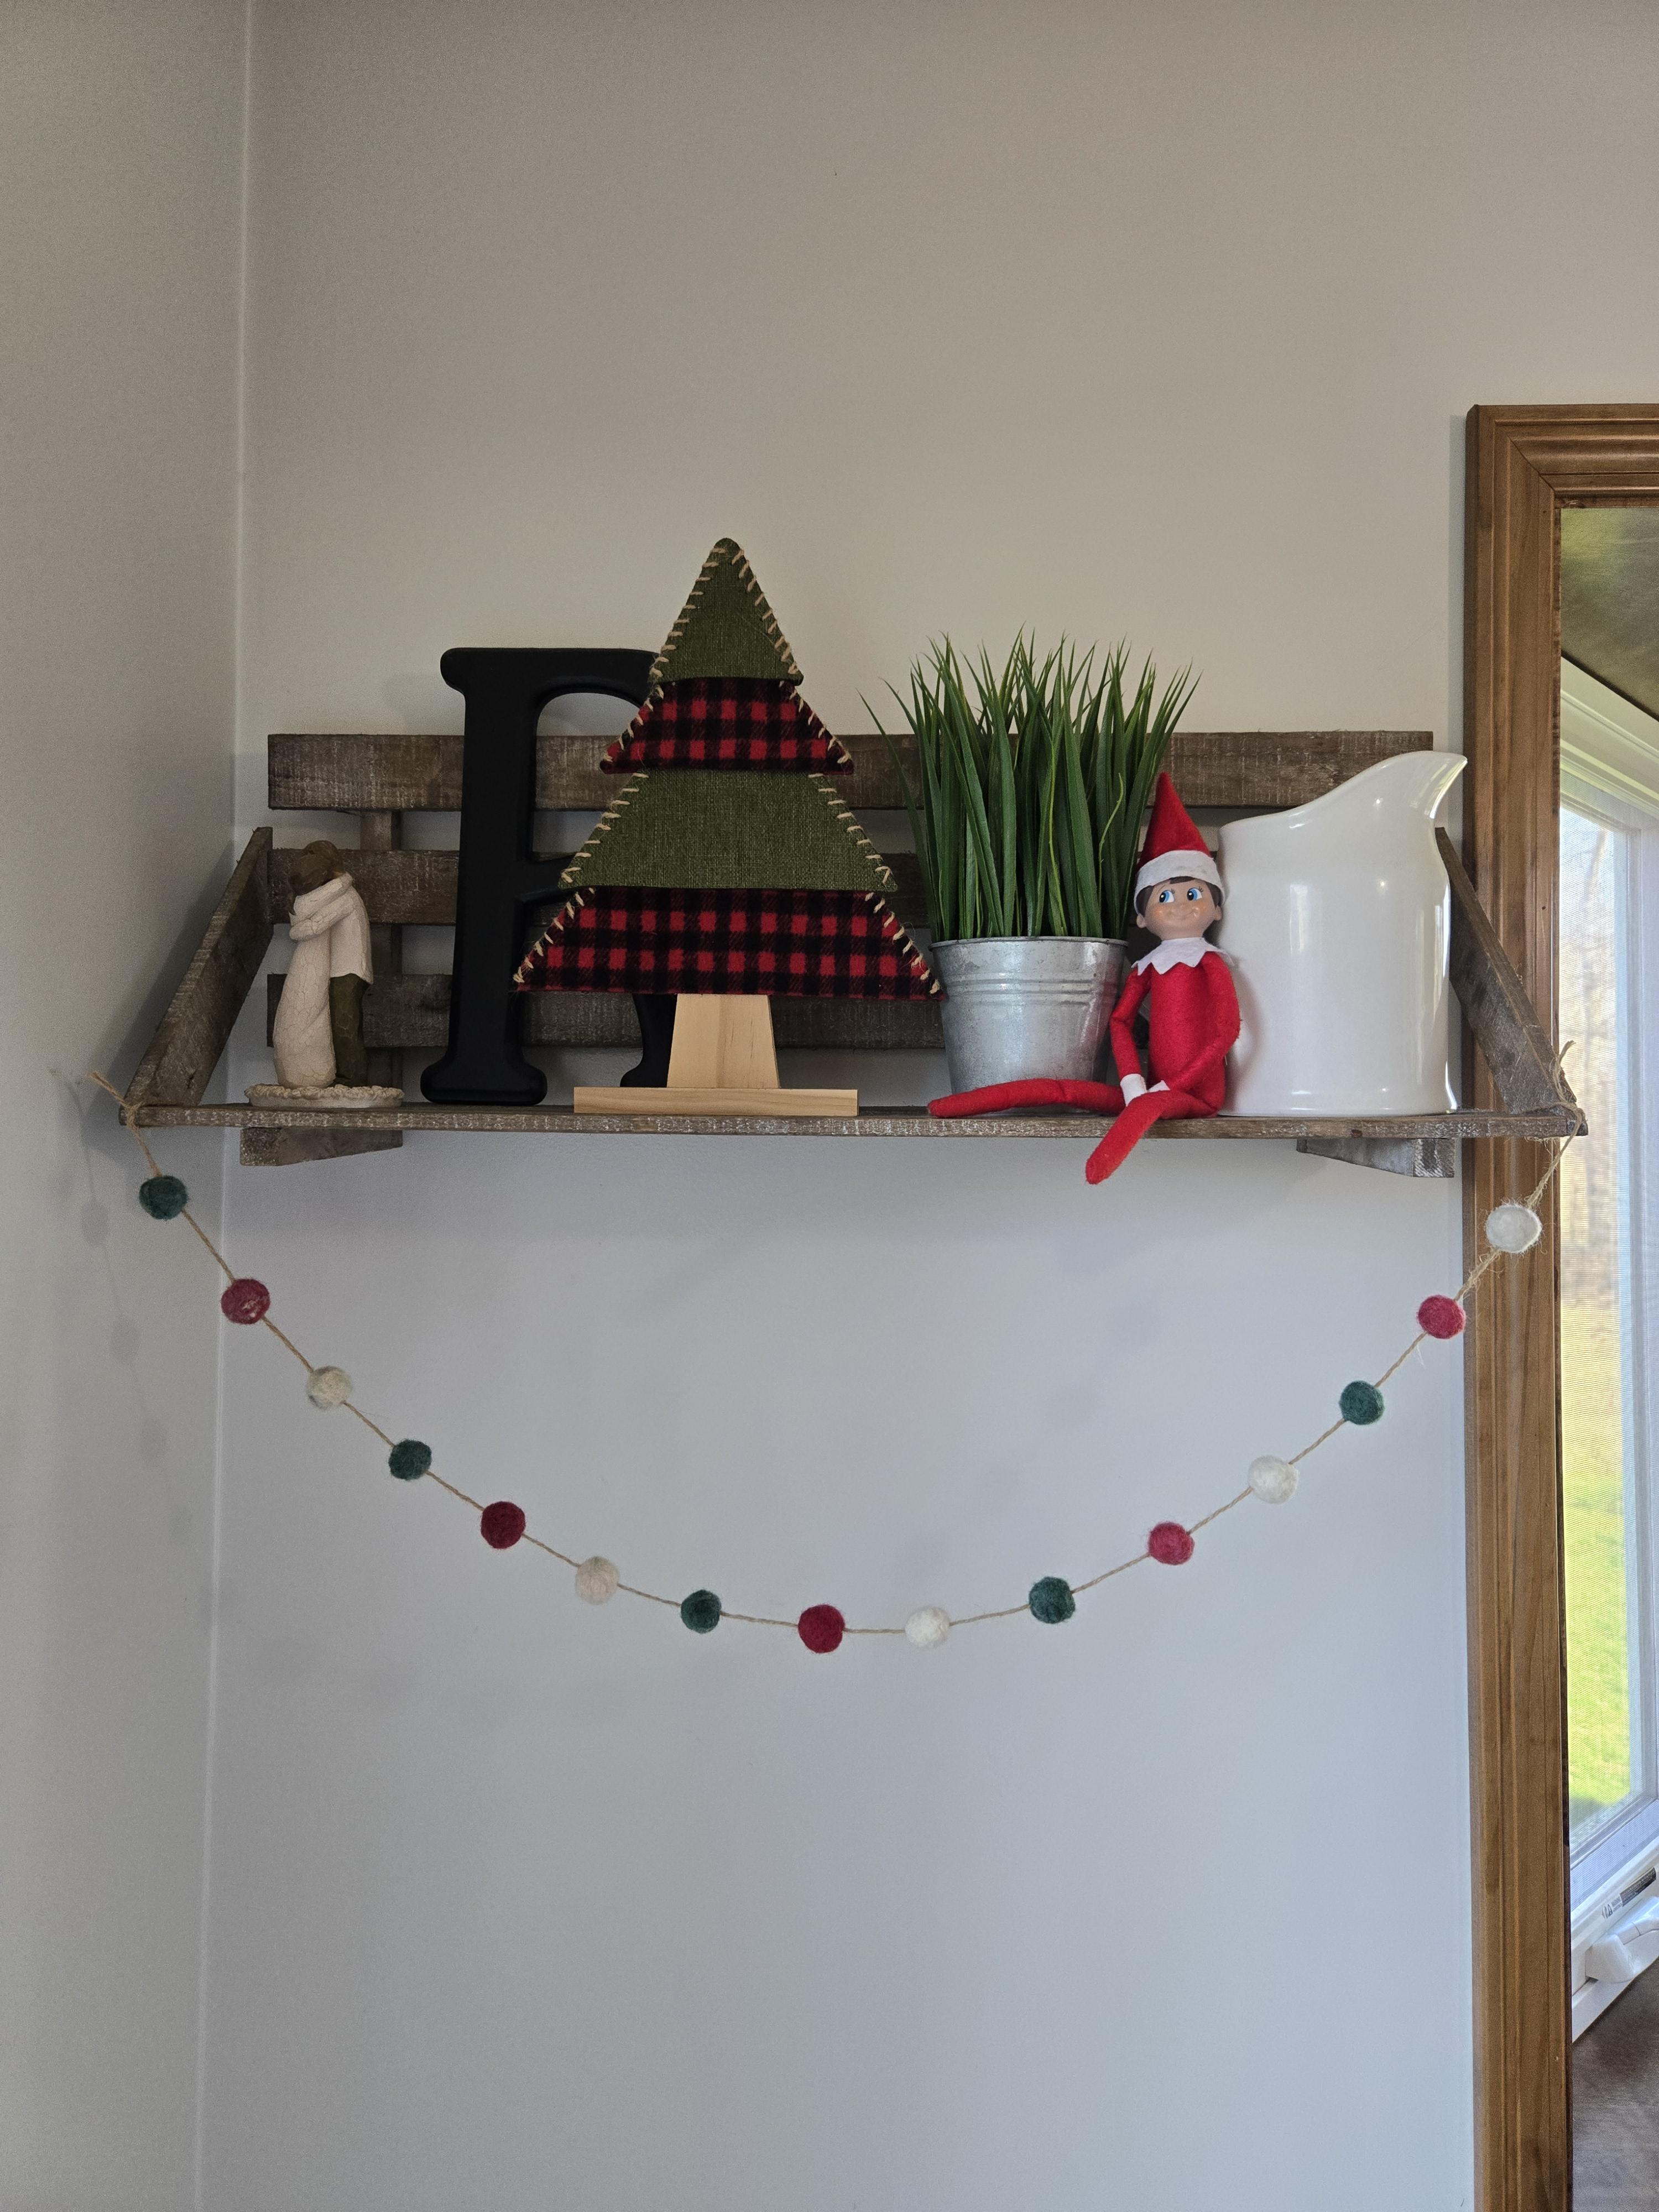
- Repeat the process until you have the desired number of needle-felted balls. I used 15 balls (5 white, 5 green, and 5 red) to make the garland you see in the pictures.
- Use a measuring tape and scissors to trim your 2mm jute twine to the desired length. The pictured garland is 48 inches in length.
- Thread one end of the jute twine through the eye of a darning needle.
- Using the darning needle, pierce a felted ball through the center. A twisting motion will help the blunt end of the needle penetrate the ball.
- Position the ball on the string at the desired location. I left about 10 inches of twine at the end for hanging.
- Keep adding felted balls until your garland is complete. I spaced my balls about 3 inches apart. The balls should stay in place with a frictional fit on the jute cord. If you are concerned about them moving, you can tie knots on each side of the felted balls.
- If any of your balls are distorted from being punctured with the darning needle, give them a little massage back into a round shape.
- Hang and enjoy your needle felted ball garland!
Needle Felted Ball Garland Video Tutorial
Watch as I make a Christmas garland with felted wool balls and jute twine!
More Needle Felted Project Ideas
If you liked this project, check out these other creative needle-feeling ideas to try!