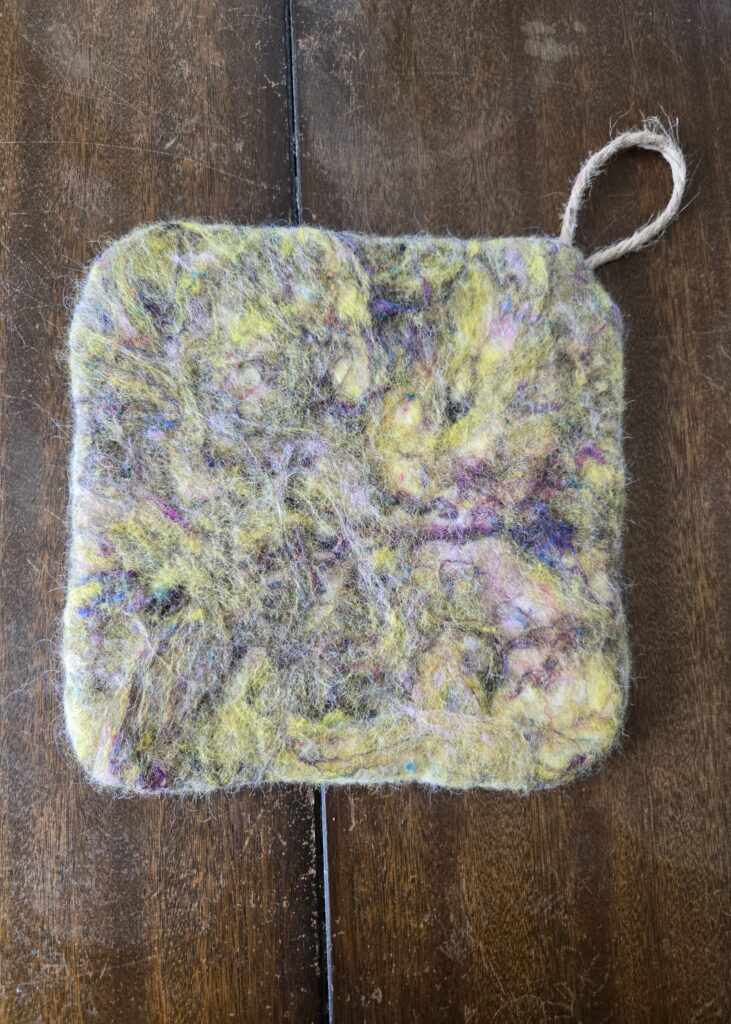
How to Make a Wet-Felted Hot Pad
Hot pads made from animal fiber work especially well to protect dining surfaces from hot dishes because they are super-insulating, flame resistant, and washable. Learn how to make a wet-felted hot pad with these step-by-step directions. Pictures, a supply list, and recommendations are provided.
This post contains affiliate links. As an Amazon Associate, I earn from qualifying purchases.
I have been on a wet felting kick lately. I am trying to use up some fiber from my Angora goats from last year and have made a slew of mohair items to use in my home.
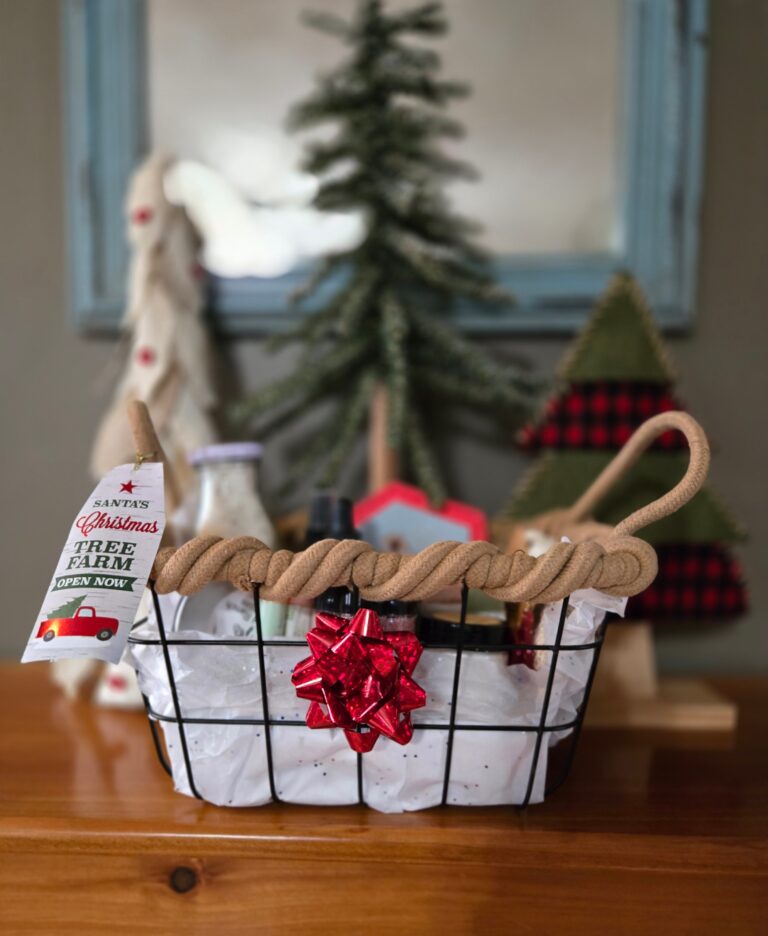
Felted soap, dryer balls, felted bowls, and now hot pads are among my latest fiber creations. For more information on making these projects, follow the links to my other how-to articles!
Why a Wool or Mohair Wet-Felted Hot Pad?
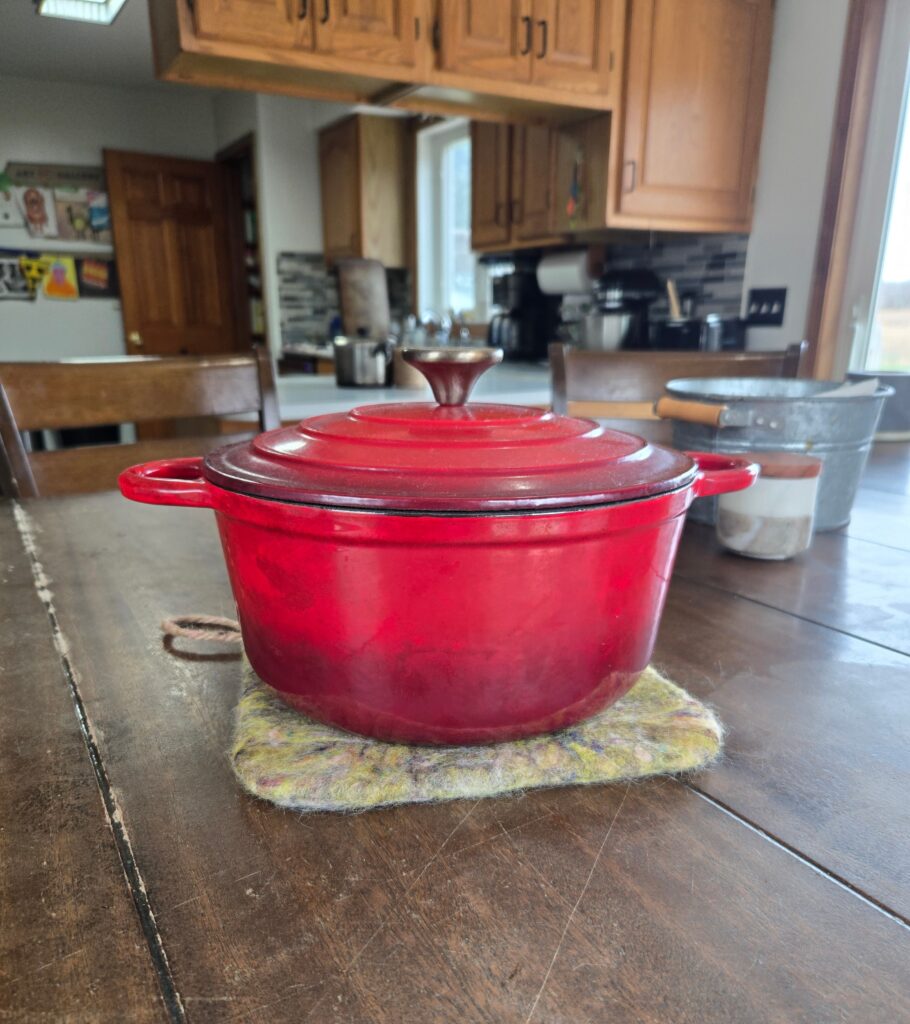
Hot pads are used to protect your counter or dining table from hot pots or pans. Place them under your hot dish and get ready to enjoy your meal.
Animal fiber like mohair, wool, or alpaca makes the ideal material for a hot pad because it is super-insulating, flame resistant, and washable. Plus, products made from animal fiber are beautiful and sustainable!
Fiber Selection for a Wet-Felted Hot Pad
Choose a natural animal fiber to make a wet-felted hot pad, synthetics will not felt. I use mohair because I raise Angora goats and have lots of it, but it is rather slippery and doesn’t felt as readily as wool. To make hot pads, I use a combination of mohair and wool.
Roving, combed top, or a batt of fiber can be used to make a wet-felted hot pad. Your fiber should be already washed or scoured and processed so that the fibers are separated.
Felting Techniques Used to Make a Wet-Felted Hot Pad
This project will be completed by using hand manipulation and rolling to create a dense felt fabric from layers of natural fiber. It is fairly easy to do and no sophisticated equipment are required, but it does take some time and energy! Make sure you do some good stretching before you start making your wet-felted hot pad.
The process of wet felting involves using water, soap, and agitation to get the fibers to bind to one another. It is essential that you work slowly and methodically for your hot pad to turn out symmetrical and strong.
Using a resist or flexible barrier between the layers of fiber will help you make the shape that you want. It will be removed before the final shaping of the item.
Equipment Needed to Make a Wet-Felted Hot Pad
- 2 ounces of mohair or wool
- Colored fiber, silk, or other fiber embellishments (for decoration)
- Kitchen scale
- Foam floor underlayment (to make the resist)
- Scissors
- Bubble wrap
- Saran or other plastic wrap
- Water
- Soap
- Dowel
- Towel
- Jute twine or ribbon for the hanger
- Hot glue gun
- Hot glue sticks
I used two ounces of mohair to make an 8-inch square wet-felted hot pad. If you want to make a smaller or larger hot pad, adjust the amount of fiber accordingly.
Use a kitchen scale to weigh your fiber and a piece of foam floor underlayment to make the resist. My resist is 9×9 inches. Remember that your project will shrink about 30% from its initial size during the felting process. Scissors will be used to remove the resist and trim the cord for your hanger.
You will need two pieces of bubble wrap for the project. They just need to be bigger than your resist. Saran or plastic wrap will help you felt the fiber more easily without moving it around too much. Cut your plastic wrap to the same size as your bubble wrap.
I use hot water because it speeds up the felting process. A spray bottle or bulb sprinkler is helpful for wetting down your felting project. If you don’t have one that’s ok too. Just use your hands to transfer a little bit of water at a time from a bowl.
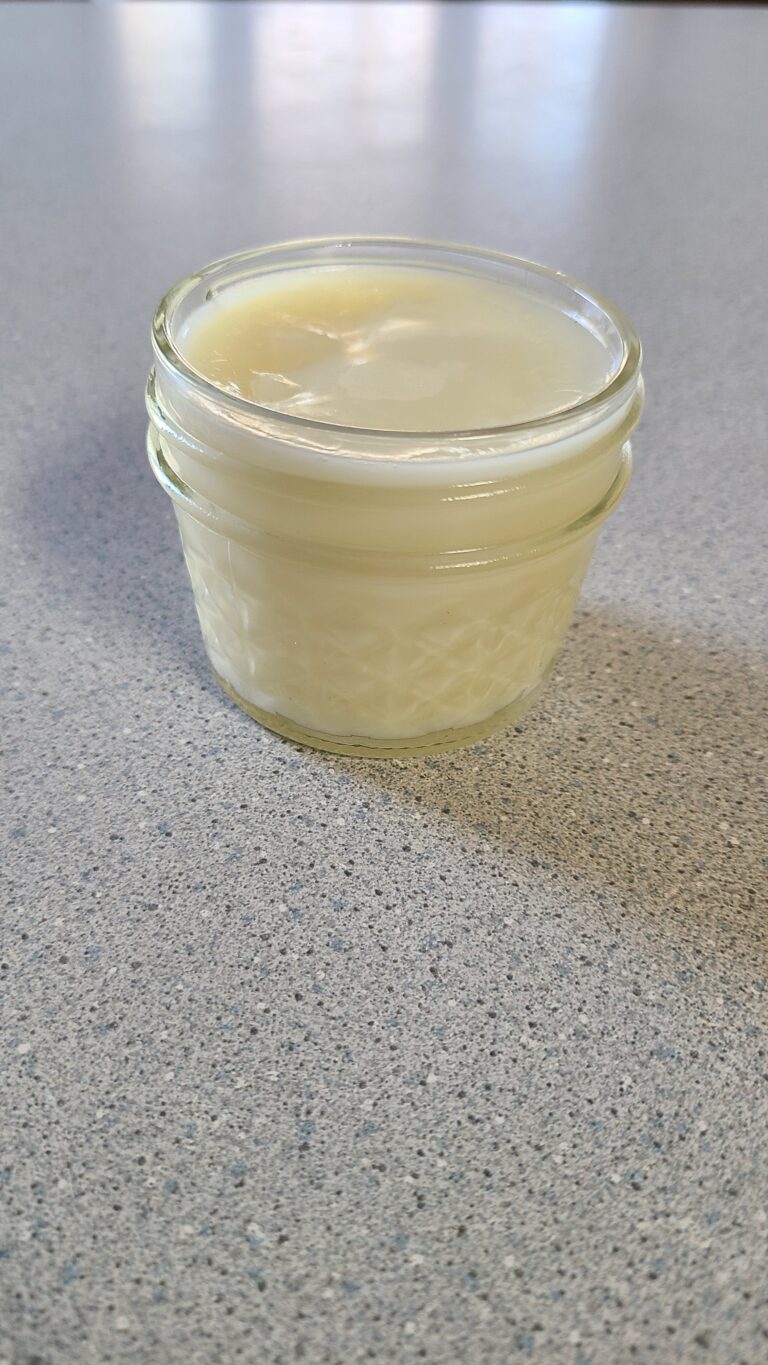
I use my homemade goat milk soap, which is olive oil based, for wet felting, but Dawn dish soap works great too!
A dowel makes it easier to exert more pressure on the project to finish the felting process. It also gives you a nice round shape for rolling.
Wrapping your project in a bath towel gives you a soft surface to work with and will soak up any soapy water that gets squeezed out, a win/win!
You can make a hanger for your wet-felted hot pad with jute twine or ribbon. You can attach it with hot glue at the location where the resist was removed to close up the hole.
Now that we understand what we are going to do and have all the supplies ready, let’s get to work!
Directions to Make a Wet-Felted Hot Pad
- Set out all your supplies on a large, flat workspace. I make wet-felted hot pads at my kitchen table, it’s not super messy.
- Using a kitchen scale, weigh out 2 ounces of fiber for the project. Separate it into four piles of ½ ounce each.
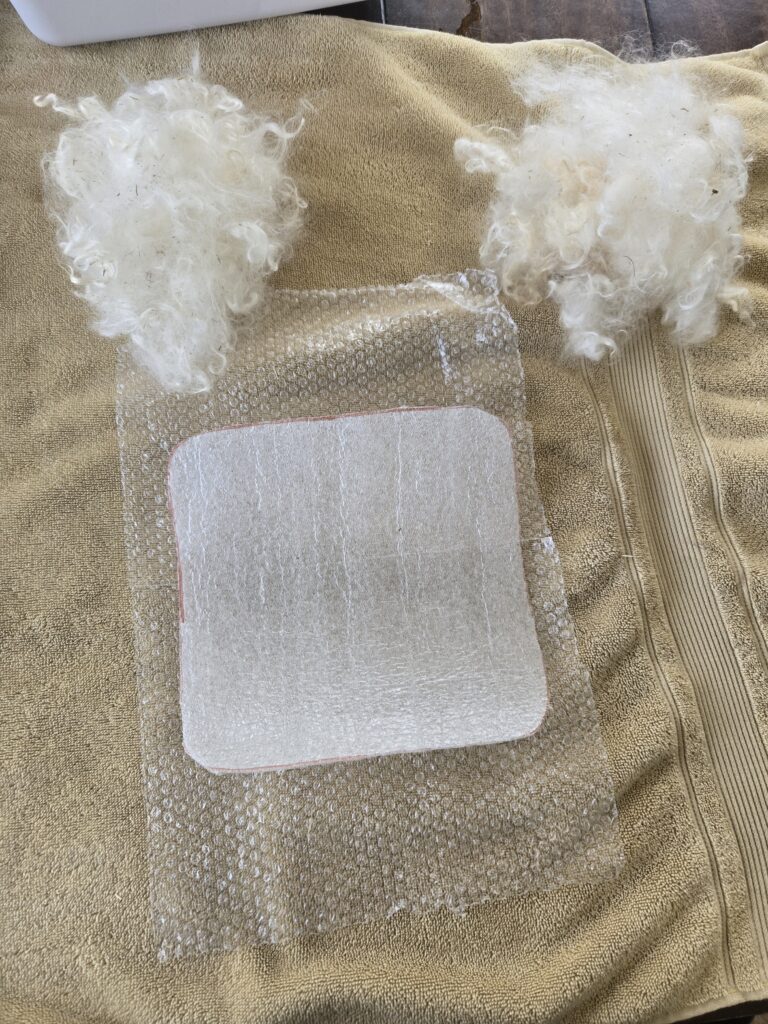
- Create the resist. Trace the shape that you want onto a piece of foam floor underlayment and cut it out with scissors.
- Fold a bath towel in half and put it where you want to do your felting.
- Lay one piece of bubble wrap (bubble side up) on top of the towel.
- Lay a piece of plastic wrap on top of the bubble wrap.
- Lay your resist on top of the plastic wrap.
- Use one ½-ounce pile of fiber and begin covering the resist with the first of four layers of fiber to make the inner part of the vessel. Pull off thin wisps and layer them halfway over one another. Start about one inch beyond the edge of the resist and continue inward toward the center. Make sure the resist is completely covered and that the layer is even.
- Make a second layer. This time arrange the wisps from left to right, so they are aligned horizontally. Make sure the resist is completely covered and that the layer is even.
- Make the third layer. This time arrange the wisps up and down, so they are aligned vertically. Make sure the resist is completely covered and that the layer is even.
- Make the fourth layer. This time start at the center of the resist and shingle the wisps in an outward direction until they hang about an inch off the resist.
- Now, we have a thoroughly cross-hatched fiber pattern that will felt. Wet it down with a spray bottle or bulb sprinkler and add some soap. Don’t soak it too much, just wet it enough so that the fiber lays against the resist.
- Place another piece of plastic wrap over the wet fiber and carefully flip the project over so that you see the other side of the resist.
- Remove the plastic wrap to expose the resist and fold the wisps of fiber that are hanging off the edges around the resist so that you cannot see the margin.
- Using a second ½-ounce pile of fiber, repeat the process of making four layers on side 2 of the resist. Align the fibers just how you did on side 1.
- Wet this side down, add soap, and flip the resist over again.
- Now the inner layer of the hot pad (which you won’t see) will be complete. If you want to make the outside a different color, use 1 ounce of colored wool.
- Fold the wisps hanging off the edges around the resist.
- Now we will make the outside of the wet-felted hot pad. Using a third ½-ounce pile of fiber, repeat the process of making four layers on side 1 of the project. Align the fibers just how you did in the beginning.
- Wet them down, add soap, and then decorate with fiber embellishments, if you so desire. I used colored wool to make the outside of my hot pad colorful.
- Flip the project over, fold the protruding wisps over the edges and then repeat the process for side 2.
- Using the last ½-ounce pile of fiber, repeat the process of making four layers on side 2 of the project. Align the fibers just as you have been doing.
- Wet the fibers down, add soap, and then decorate to make your design.
- Flip the project back to side 1 and fold the last wisps over the edges.
- Now, we are ready to start felting! Cover your project with a piece of plastic wrap and make sure your bubble wrap is underneath.
- Using your fingertips on the plastic wrap, gently massage the entire project for 15 minutes. Don’t use too much pressure or you will move your embellishments. Make sure you rub the edges of the resist and give adequate attention to each area.
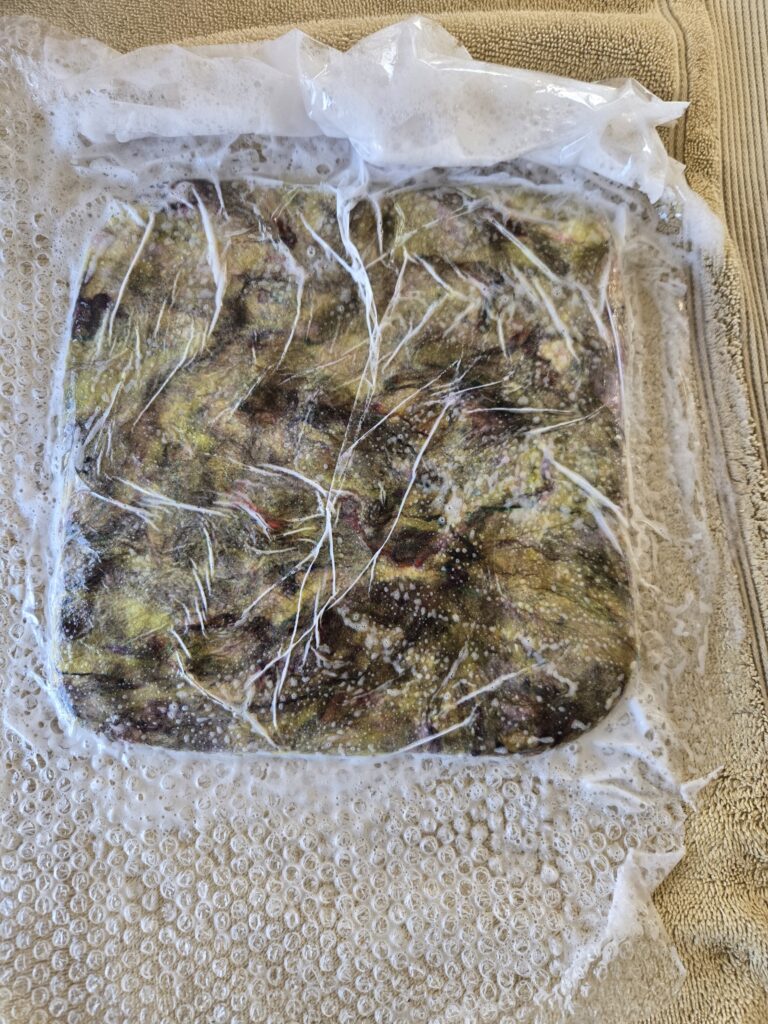
- At the end of the 15 minutes, remove the plastic wrap and check for felting. The fibers should be beginning to stick to one another and not lift up.
- Now, flip the project over and massage side 2 for another 15 minutes. If you need to add more soapy water go ahead. It should be foamy and wet, but not leaking out everywhere. Keep the towel underneath to catch any drips.
- Check your felting progress on side 2.
- Now it is time to roll! Put a piece of bubble wrap (bubbles up) under your project with side 1 facing you, put another piece of bubble wrap on the project (bubbles down). Put the dowel in the middle.
- Roll your towel, with the dowel, project, and two pieces of bubble wrap into a long sausage.
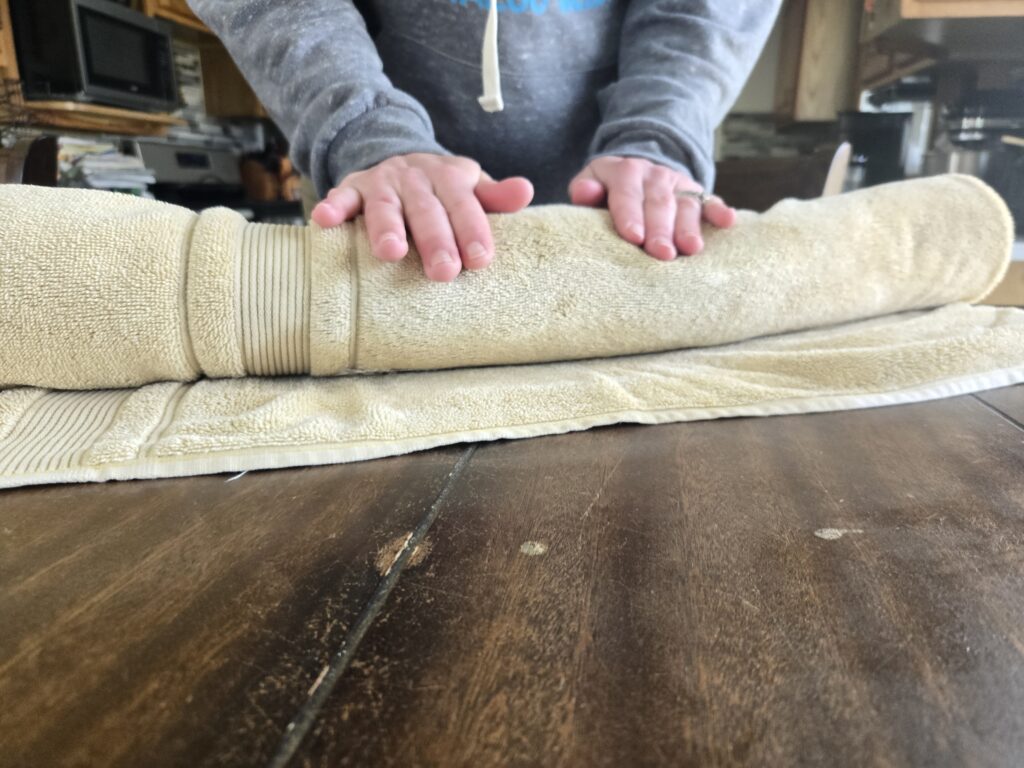
- Gently rock the sausage back and forth 100 times (one back and forth movement counts as one time)
- Unroll and give the project a quarter turn, then rock it another 100 times.
- Repeat this process until you have turned the item back where it started. 400 rolls should be completed.
- Now unroll and flip your project to side 2. Roll it back up and complete 400 rolls on this side. Turn the project a quarter turn every 100 rolls.
- Now flip it back to side 1 and do another 400 rolls, but with more pressure this time. Don’t forget to unroll and turn the project a quarter turn every 100 rolls.
- Do the same thing on side 2.
- Now you should have completed 1,600 rolls and the project should be well felted and the shrinkage should be making the resist begin to curl up.
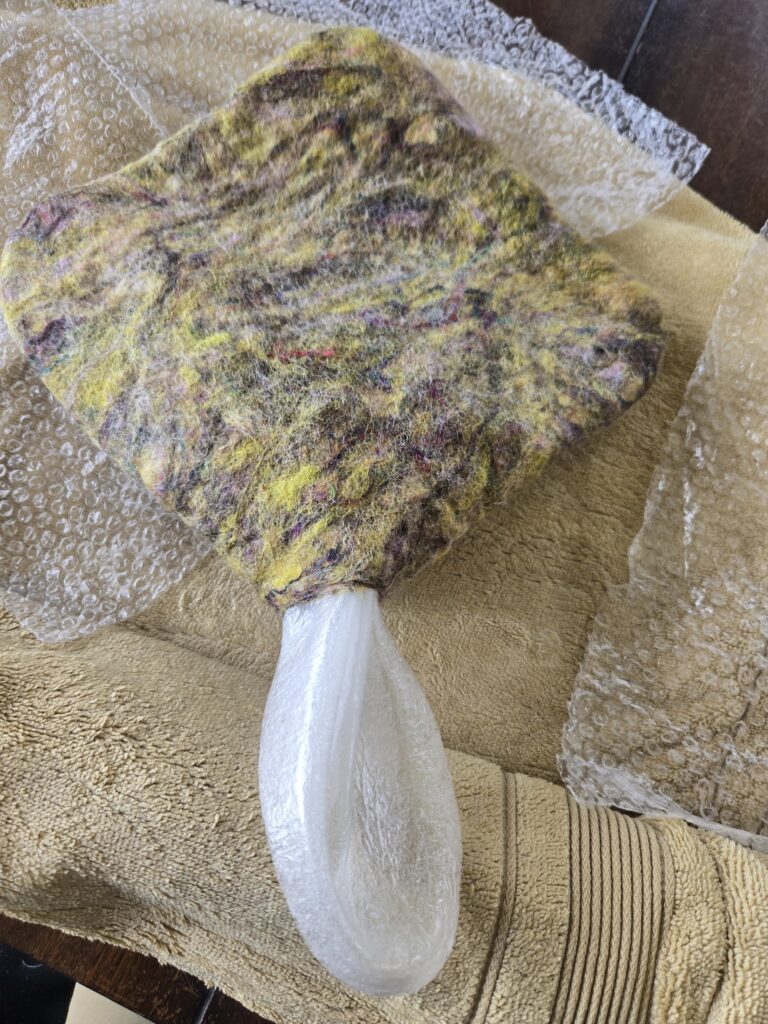
- It is time to remove the resist. There will be a hole where you remove the resist. I removed mine at a corner so that I could fold it in and seal it when I added my jute twine hanger.
- Using a pair of small, sharp scissors cut an opening to expose the resist and pull it out.
- To help the hot pad shrink and become fully felted, now you can roll it up from one edge and continue rocking it. I roll it 50 times, then fold it at another location and roll another 50 times until I have completed 200 rolls on side 1.
- Do the same thing on side 2 of the project.
- To help with final shrinkage and to remove the soap, rinse your hot pad in plenty of cold water at the sink.
- Now, you can do the final shaping of your hot pad. Gently pull on the corners to make it nice and square.
- Now your wet-felted hot pad just needs to air dry for a few days. I put mine in my bay window while it is drying and flip it over every other day.
- After it is completely dry, you can attach a hanger to your hot pad. I used hot glue to attach jute twine at the site of the hole I made when removing the resist. I folded it in slightly so there are no shaggy edges protruding.
- Use your wet-felted hot pad!