How to Make Wet-Felted Coasters
Make a piece of functional art with fiber, cork, and soap. This wet-felting project is perfect for beginners. Wet-felted coasters are super absorbent and will soak up the condensation from your drink and protect your table from heat and scratches.
This post contains affiliate links. As an Amazon Associate, I earn from qualifying purchases.
Playing with fiber is so much fun! If you haven’t tried wet-felting yet, what are you waiting for?
Wet-felting is a relaxing creative process that doesn’t require any fancy equipment. There are so many useful and beautiful items you can make by hand with mohair, wool, or other fibers, soap, and water. Follow the links to learn how to make a wet-felted hot pad, bowl, or felted soap.
If you’re a beginner, making wet-felted coasters is a great project to start with!
Why Wet-Felted Coasters?
Coasters are used under drinks to protect furniture from scratches and damage from heat or condensation. While useful, they can also be decorative and add some charm to your home.
Animal fiber like mohair, wool, or alpaca makes the perfect material for a coaster because it is super absorbent and will soak up moisture as well as dissipate heat.
Felting Techniques Used to Make Wet-Felted Coasters
For this project, I used a combination of wet-felting and needle-felting techniques. The coaster itself is made by adapting fiber around a cork coaster base. I use soap, water, bubble wrap, and hand agitation to get the fibers felt to adhere to one another.
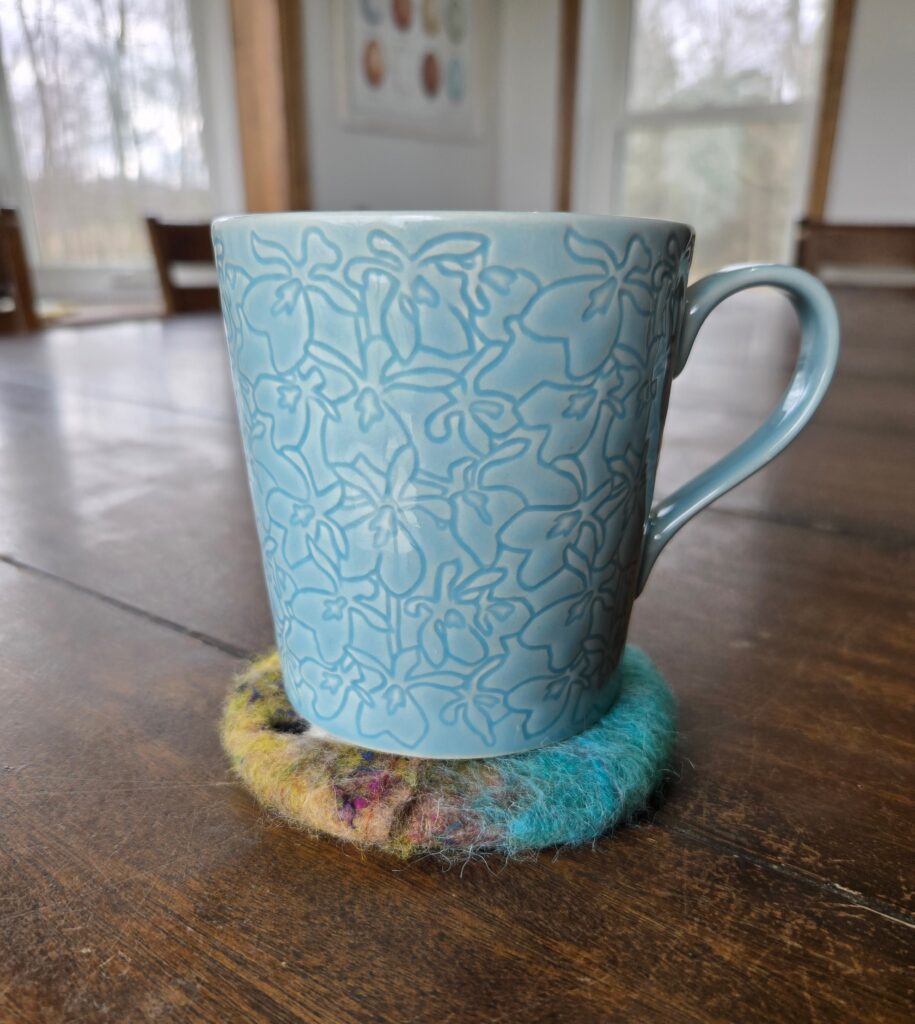
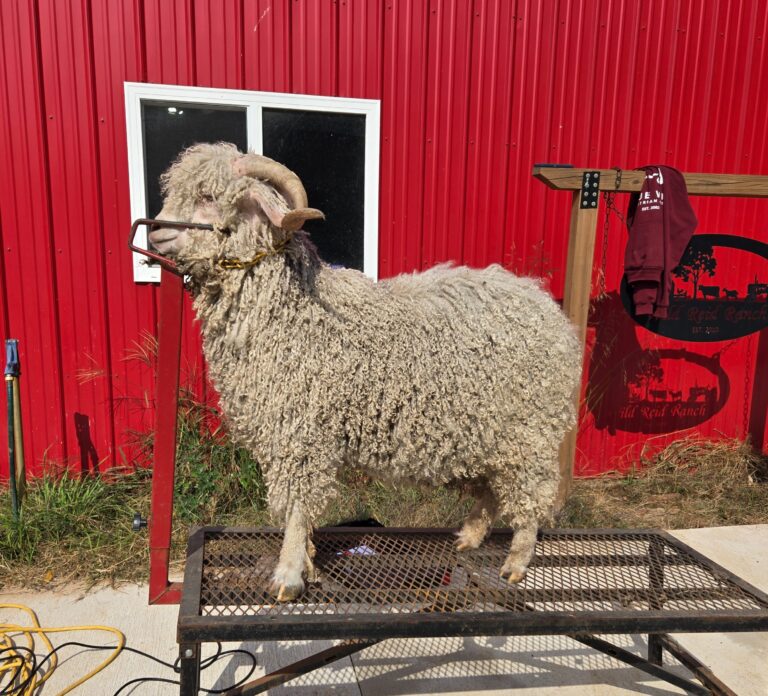
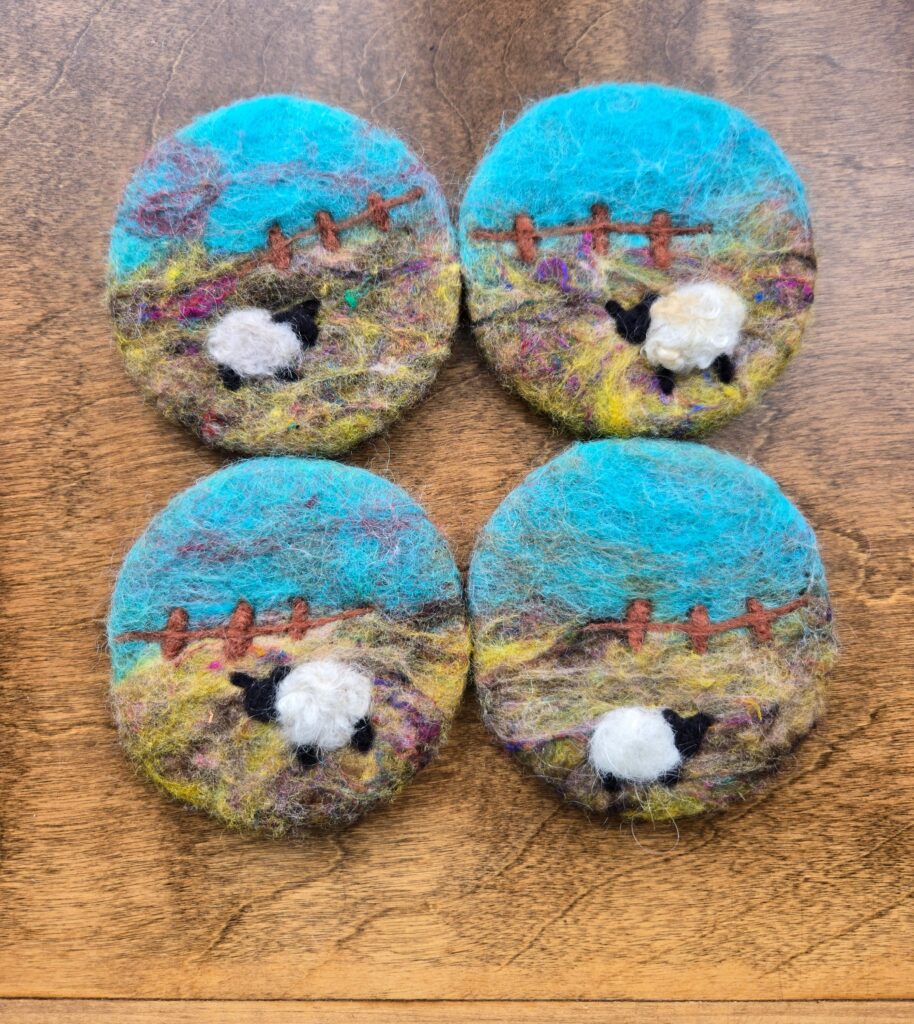
To decorate the wet-felted coasters, I use additional fiber (some colored wool and mohair from my Angora goats) and felting needles to make a design on the surface. For the coasters you see in the pictures, I added a needle-felted sheep and fence to my wet-felted landscape design.
Equipment Needed to Make a Set of Four Wet-Felted Coasters
- 1 ounce of wool (for wet-felting the coasters)
- Kitchen scale
- Four 4-inch cork coasters
- Bubble wrap
- Water
- Soap
- Towel
- Additional fiber (for needle-felting a design)
- Felting needles
- Felting tool
- Finger protection
Choose a natural animal fiber to make wet-felted coasters, synthetics will not felt. I used about a quarter of an ounce of wool for each coaster. You can use a kitchen scale to weigh your fiber.
Roving, combed top, or a batt of fiber can be used to make wet-felted coasters. Your fiber should be already washed or scoured and processed so that the fibers are separated.
I used 4-inch cork coasters as my base for wet-felting. You can find cork coasters online or in a craft store. The cork gives the coaster extra bulk, stability, and acts as a mat for when you are needle-felting. This size works great for under a standard coffee mug.
A piece of bubble wrap will help the felting process move much quicker. I used a piece twice the size of my coaster and folded it in half so that I could agitate the fiber on both sides simultaneously.
I use hot water because it speeds up the felting process as well. A spray bottle or bulb sprinkler is helpful for wetting down your felting project. If you don’t have one that’s ok too. Just use your hands to transfer a little bit of water at a time from a bowl.
I use my homemade goat milk soap, which is olive oil based, for wet-felting, but Dawn dish soap works great too!
Putting a bath towel under your wet-felting project will help keep your work area from getting too messy.
If you want to make a design on your wet-felted coasters, you can use felting needles, a felting tool, and additional fiber to decorate your coasters once they have dried. I recommend finger protection on your non-dominant hand when needle-felting so you don’t accidentally stab yourself.
Directions to Make Wet-Felted Coasters
- Set out all your supplies on a large, flat workspace. I make wet-felted coasters at my kitchen table.
- Soak the cork coasters in water so they are completely wet and any stain that was present is washed away.
- Using a kitchen scale, weigh out 1 ounce of wool. Separate it into four piles of 1/4 ounce for each coaster.
- Put your bath towel down and then lay the piece of bubble wrap on top of it, bubbles up.
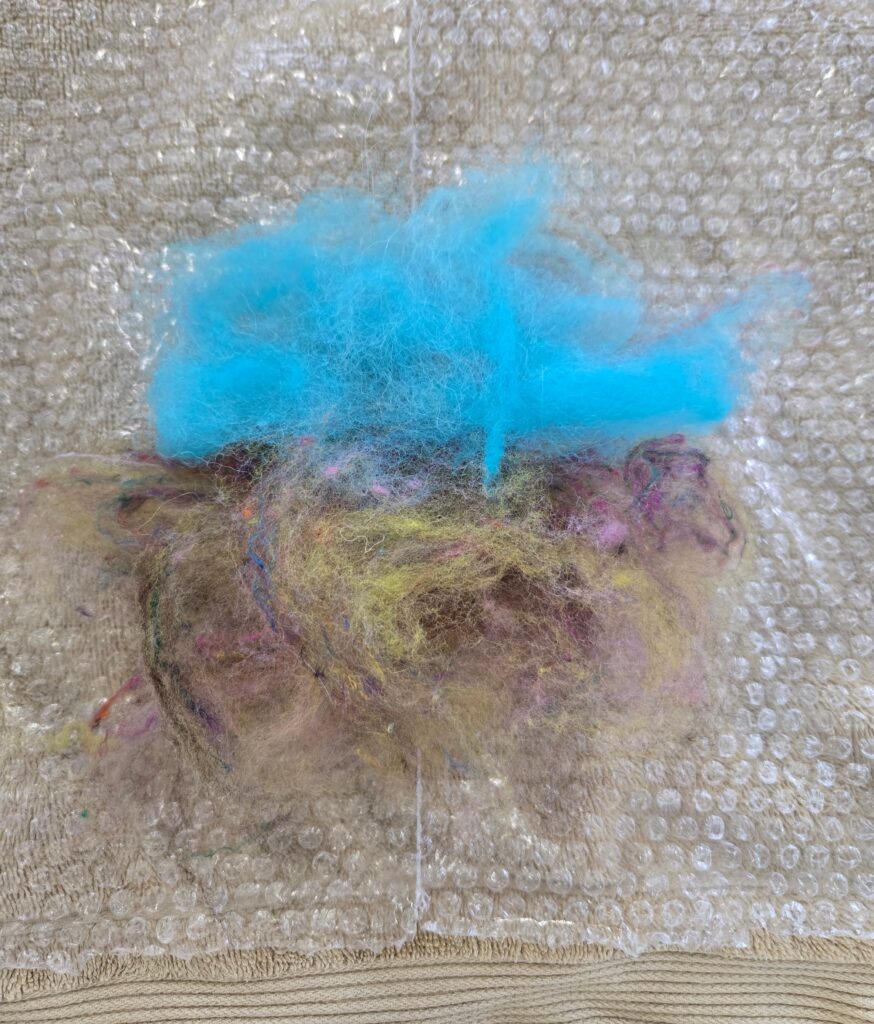
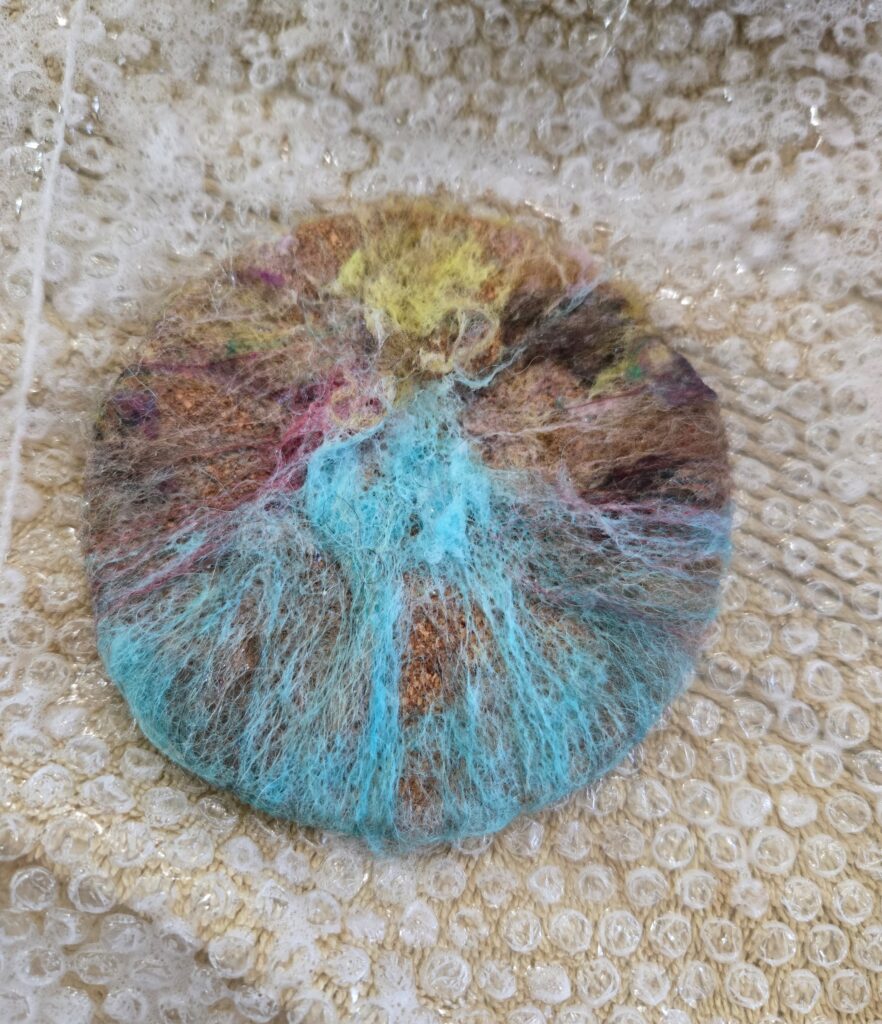
- Place one coaster on your bubble wrap and begin layering very thin wisps of wool over it. Make them go in every direction and hang off the edge of the coaster about an inch. I used blue fiber on one half of the coaster and a green blend on the other to make it look like the sky and a meadow.
- Wet the fiber down with a bulb sprinkler and add some soap, then flip the coaster to the opposite side.
- Take the fiber that is hanging off and fold it toward the middle of the coaster.
- Add thin wisps of fiber to this side, leave some hanging off as you did before.
- Wet the fiber down and add soap, then flip the coaster back to side 1.
- Fold the fiber hanging off and add the last layer of fiber to this side. Now you should have two layers on side 1.
- Wet them down and flip the coaster one last time.
- Fold the fiber hanging off and add the last layer of fiber to side 2. Now both sides of the coaster should have two layers and you should have used one of the ¼ ounce piles of wool in its entirety.
- Now you are ready to begin wet-felting. Fold the bubble wrap to encase the project. The bubbles should be touching the fiber.
- Start rubbing the outside of the bubble wrap very gently. It is important at this stage to not use much pressure because it can cause your fibers to move, creating a space where the cork will be visible on the coaster.
- Gently rub both sides of the coaster for 5 minutes.
- After 5 minutes have elapsed, you can continue rubbing for another 5 minutes, but with a little more pressure. There should be foam present, if you need some more soap, open the bubble wrap and add a little bit.
- The last 5 minutes of felting can be done with just your hands. Take the coaster out of the bubble wrap and continue massaging it. Make sure you rub the edges and each side evenly.
- Check your work. If there are areas of the coaster that don’t seem fully felted, continue rubbing for a few more minutes.
- Now, you can rinse your coaster to remove the soap. Gently run the coaster under running water or soak it in a clean bowl until the bubbles are gone.
- Set the completed coaster out to air dry for a few days and start making the next one! Repeat the steps above for the other three coasters.
- Once your set of wet-felted coasters has dried, you can decorate them by adding a needle-felted design. Use a felting needle and a single-needle felting tool in your dominant hand to repeatedly stab the decorative fiber into the wet-felted, cork-based coaster. Use finger protection to guard your non-dominant hand. If you don’t want to freehand a design, there are lots of cute templates available.

- Grab a cup of your favorite beverage and use your wet-felted coasters!