How to Make a Mohair Lock Wreath

Add some country charm to your home with a mohair lock wreath. Use scoured fiber from an Angora goat or longwool sheep breed to make this soft and beautiful indoor decoration. Follow the steps in this tutorial to needle-felt locks onto a metal frame wrapped in wool roving.
This post contains affiliate links. As an Amazon Associate, I earn from qualifying purchases.
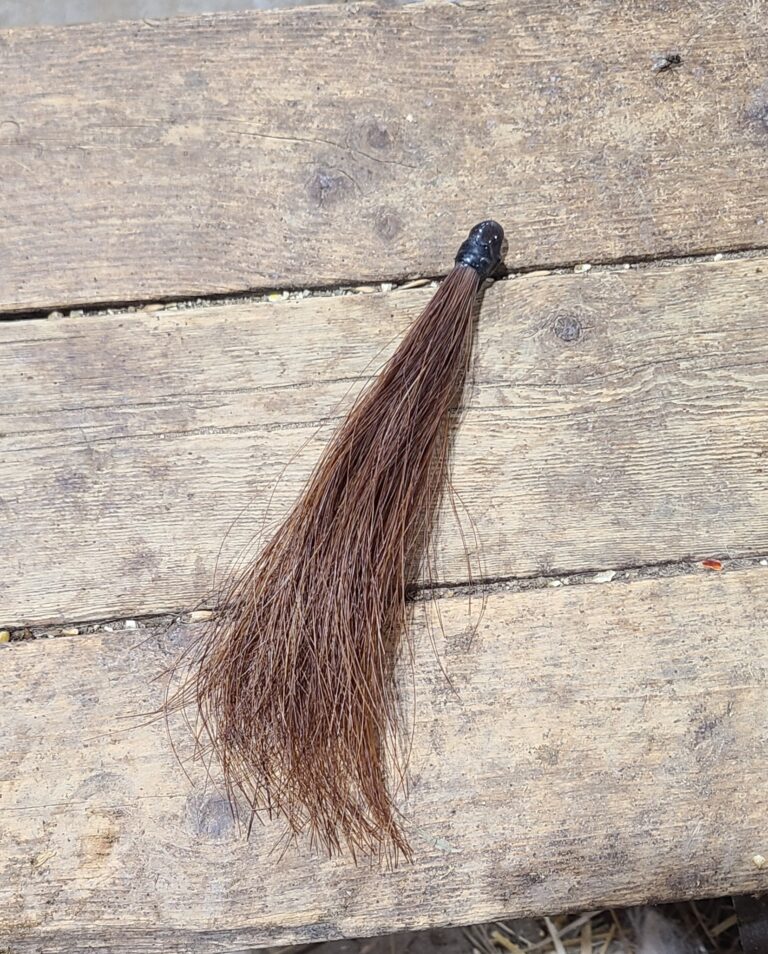
We raise Angora goats on our farm, and they produce the most shiny, soft fiber called mohair. Their hair, which resembles wool, grows about one inch a month.
Every six months, we shear them and use their long, luscious curls to make all sorts of things. Along with spinning it into yarn, I also make felted soap, ornaments, coasters, bowls, landscape pictures, dryer balls, horse tack, dog collars, and rugs with their mohair which I sell at markets throughout the year. Use the links provided to learn more about how I make those various fiber art products!
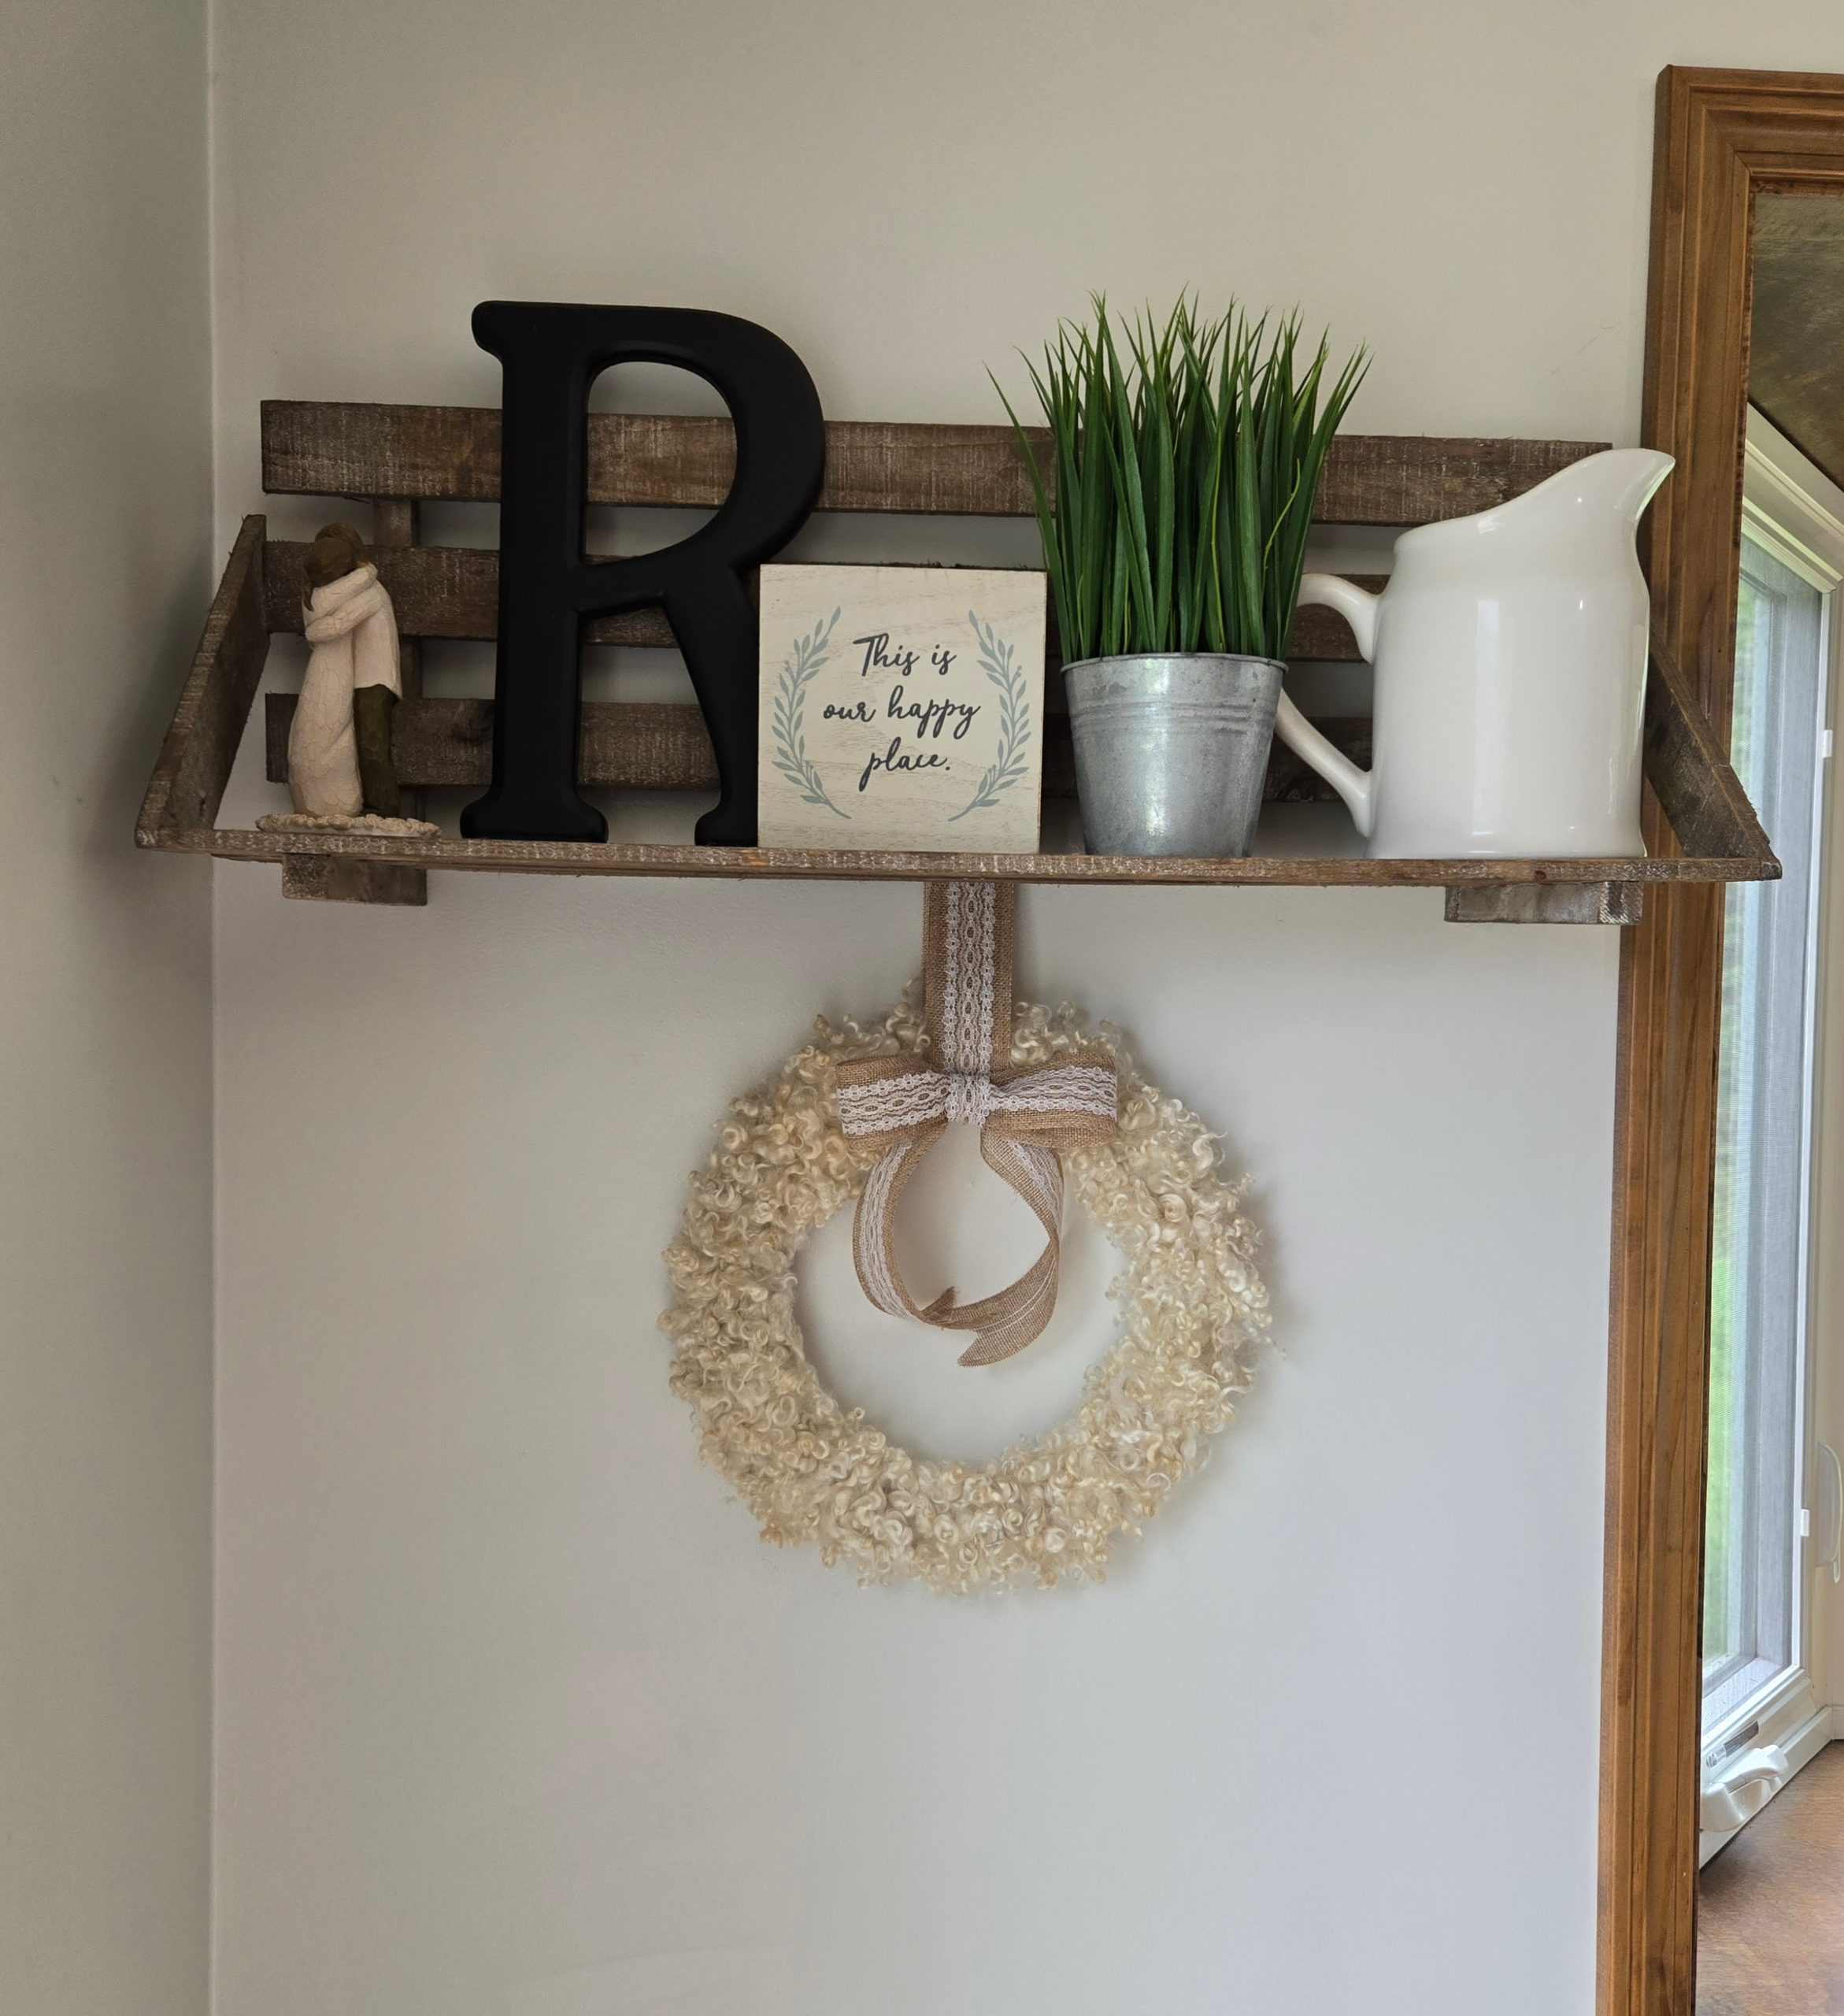
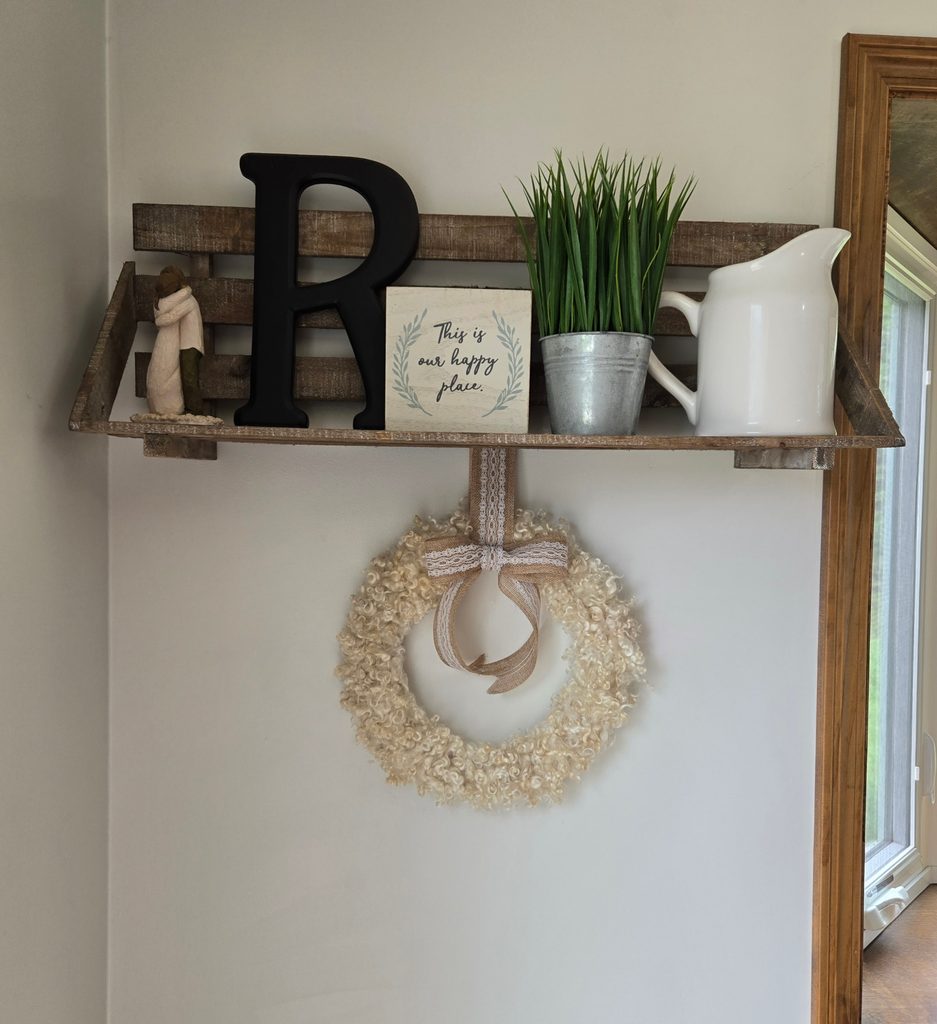
I am always looking for new ways to use and showcase the natural beauty of mohair and decided to use some locks to make a wreath to display in our home. I love how it turned out and want to share the process of creating one with others that might want to give it a try!
Materials Needed to Make a Mohair Lock Wreath
- 12-inch metal wreath frame
- 2 ounces wool roving
- 4 ounces scoured mohair locks
- Felting needles
- Needle felting finger cots
- Felting pad
- Burlap ribbon
I use metal frames to provide structure for my wreaths. They are inexpensive and work great! I wrap about two ounces of wool roving around a 12-inch frame to provide a base for needle felting the locks. My favorite wool to use as a backing for wet and needle-felted projects is Romney or Corriedale.
It takes about four ounces of scoured mohair locks with a staple length of about 4 inches to cover a wreath this size. If you have raw locks and want to scour them yourself, I have directions for doing so in this post.
I use natural colored mohair, but you could also use dyed locks to make a wreath. I think green locks would make an adorable Christmas wreath!
To complete the felting process, I use a single-needle felting tool, a felting pad, and finger cots on my non-dominant hand for protection. Felting needles are sharp!
You can use any kind of ribbon to make a bow and hanger for your wreath. Personally, I like the neutral look of burlap and lace. I used floral wire, scissors, and hot glue to make the bow and hanger you see in the pictures.
Felting Techniques Used to Make a Mohair Lock Wreath
This project is created through the process of needle felting. Simply put, needle felting involves layering and shaping fiber, like wool and mohair, into a form by repeatedly stabbing with a felting needle. As the needle passes through, tiny barbs catch and interlock fibers together so that they stay put.
There are two specific needle-felting techniques that I use during wreath making, the first is the staple or shingle method. I use this for most of the wreath because my locks are long. To attach locks this way, I position the lock at the desired location and then anchor it in the middle by stabbing repeatedly with a felting needle. This produces a strand with two curly ends to decorate the wreath.
The second technique that I employ is surface tacking. For shorter mohair locks, I gently spread out the cut end, position it on the wreath, and repeated stab the fanned portion until it is secure. This leaves just the shiny tip end of mohair hanging out.
By combining these techniques, felting methodically in rows, and turning the project as I work, I create a wreath with a full, fluffy, dense pile.
Mohair Wreath Video Tutorial
Mohair wreaths are fun and easy to make. Follow along as I make one by needle felting scoured locks onto a metal wreath frame covered in wool roving.
Directions for Making a Mohair Lock Wreath
- Wrap the entire metal wreath frame with two ounces of wool roving.
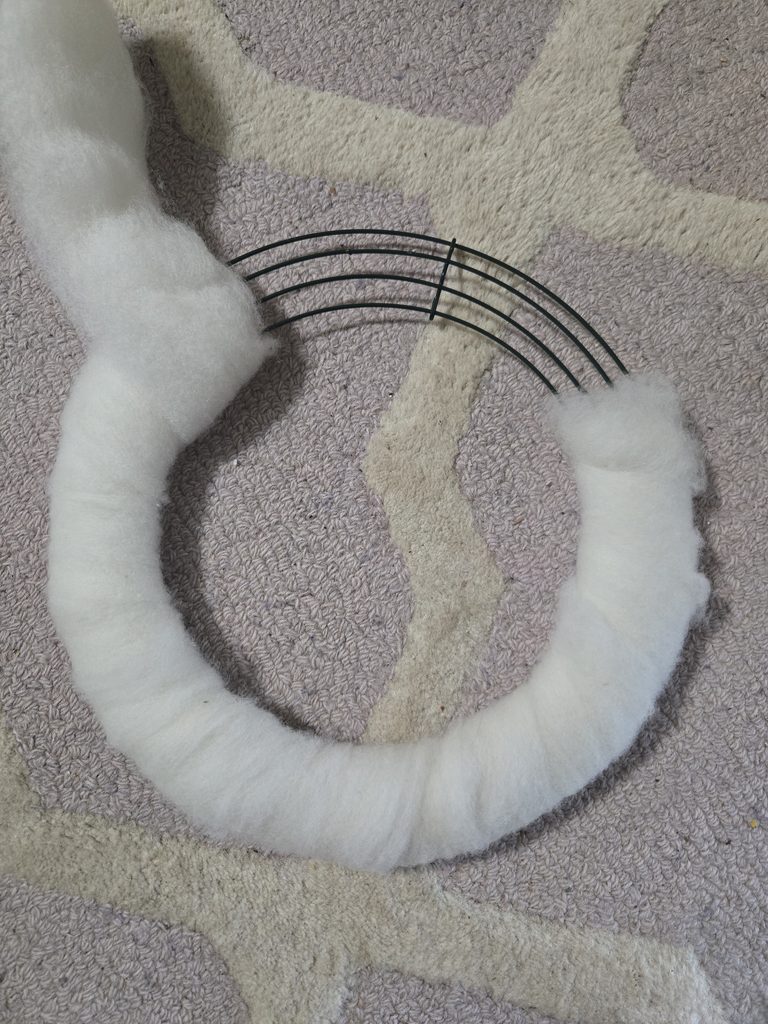
- Secure the end in place with a felting needle.
- With a felting mat underneath, begin adding individual locks to the wreath using the staple technique.
- Work in rows and attach locks close together so there are no visible gaps.
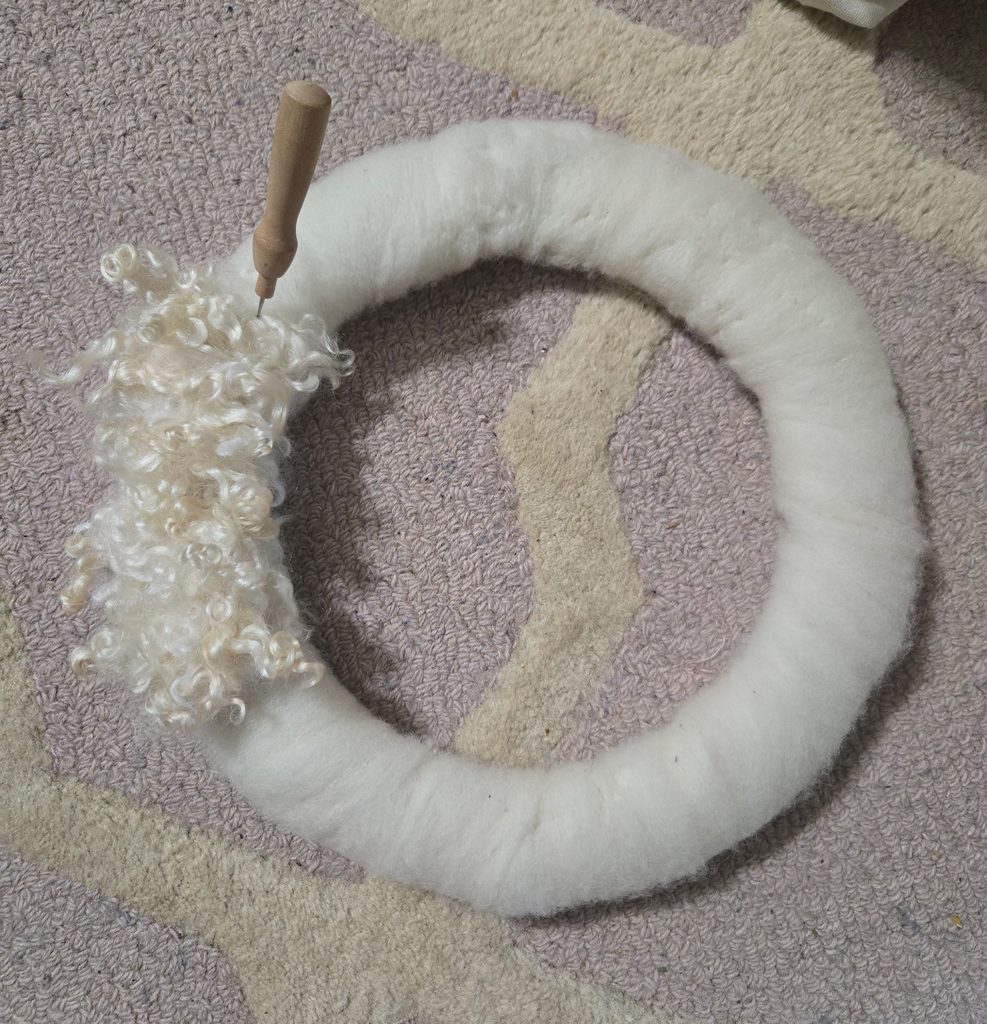
- Continue adding locks until the whole wreath is covered.
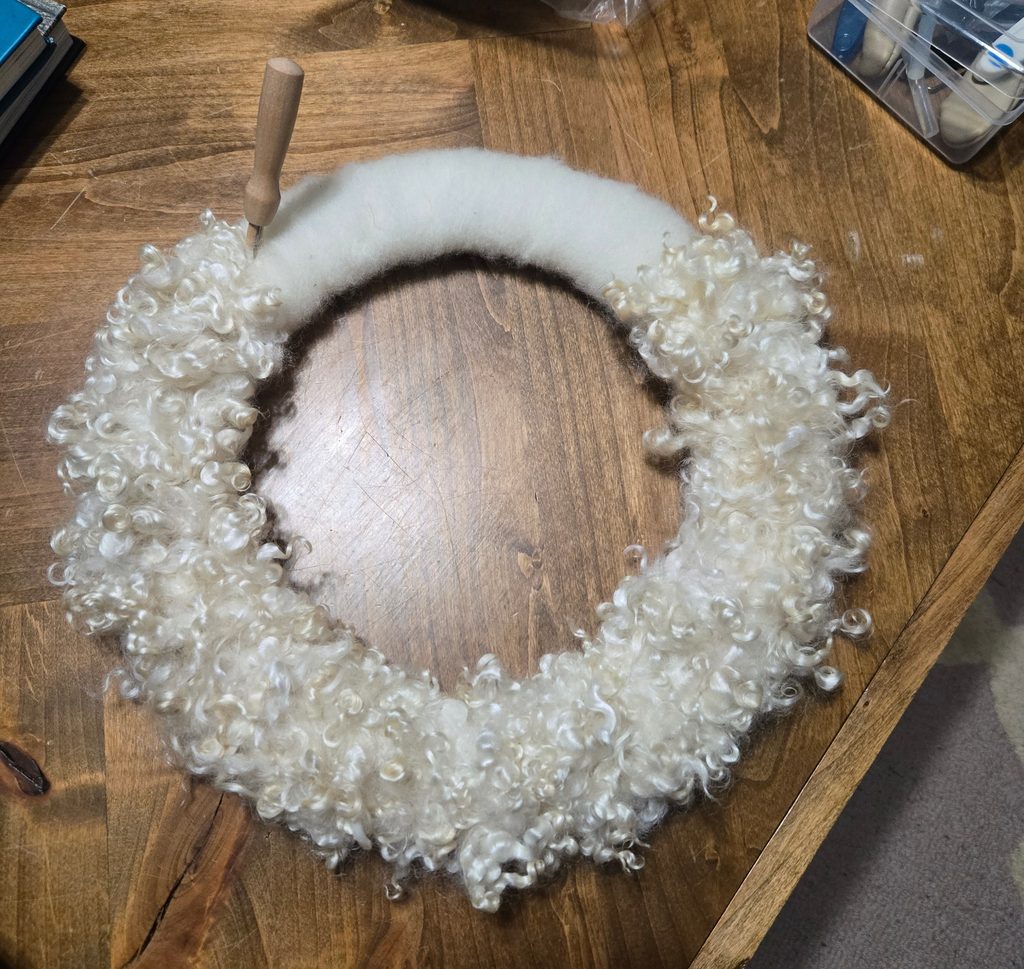
- Add additional locks for fullness using the surface tacking method.
- Make a bow and hanger for your wreath with burlap ribbon.
- Hang and enjoy your wreath!