10 Tips for Success with Rotational Grazing: Training Goats and Troubleshooting Equipment

Rotational grazing can come with some challenges. Set yourself up for success with rotational grazing with these tips gleaned from years of experience. Information on training goats and troubleshooting equipment are provided in this post.
This post contains affiliate links. As an Amazon Associate, I earn from qualifying purchases.
My first year of attempting to rotationally graze a herd of meat goats was full of challenges. If it wasn’t the animals giving me issues, it was my equipment.
But I didn’t quit. I learned, adapted, and ended up growing to love the work and results of our rotational grazing program. For all the reasons to make the switch from continuous to rotational grazing, click here to read my other article.
Here are some things that I have learned over the years that you might find helpful whether you are raising goats or another type of livestock. You can use these tips to set yourself up for success with rotational grazing!
1. Have the Right Equipment
Doing your research and investing in high quality equipment can save you time, money, and frustration. I made my first paddocks for rotational grazing with three strands of poly-tape and guess what? All my goats got out.
So, I bought more poly-tape and added a fourth strand. Unfortunately, this yielded the same results. It wasn’t until I splurged on Premier 1 ElectroNet that I could keep my goats where I wanted them to be. For a full list of supplies that we use on our farm for rotational grazing, click here.
2. Take Time to Train Your Animals
Don’t just throw your goats out in a rotational grazing paddock. They need to be familiar with the temporary fence first or they might hurt themselves or break something costly. Take the time to train them.
Before putting my goats in a temporary fence, I make sure they have prior experience with high tensile electric wire. The high tensile fence gives them much more of a jolt than the temporary one and once they learn that it is a boundary, that knowledge can more easily transfer to fences that look and behave similarly.
I supervise my goats the first time they are out in the temporary fencing. I watch to make sure they back up when they touch the fence and don’t try to run forward or jump over it. All my meat goats have horns and they can become entangled in the electric netting if they try to get through the mesh. Once I am confident the goats understand how it works, I can leave them unattended.
3. Capitalize on the “Herd Mentality”
You’ve probably heard the phrase “herd mentality” when referring to those that just follow the crowd and don’t think for themselves. I don’t know where this saying originated, but it certainly applies to goats. The drive to stick together and do what others are doing is intense, which can be a blessing or curse for the farmer.
Goats are intelligent, social creatures and learn from watching one another, especially kids and their dams. I have found that a few older, well-behaved does are a great influence on the rest of the herd. These goats help role model behaviors that the younger ones can follow like respecting the fence and browsing on noxious weeds and shrubs.
In contrast, I have also observed that a bad apple can ruin the bunch. One rogue goat that constantly tries to escape can inspire others to do the same.
By culling the troublemakers and mixing veteran animals with new recruits, I capitalize on the herd mentality and maintain a peaceful rotational grazing program.
4. Use a Lead Goat
There is a hierarchy in a goat herd. One animal will reign supreme over the others and she can help you immensely when it’s time to move the herd to a new paddock.
If you’re not sure who it is, take some time to watch who leads the way on grazing expeditions or who gets the choicest food and the best place to rest. Usually this is an older, larger goat, with a strong personality.
My herd queen is a goat I call Ursa. If I lead her to a new paddock, all the other goats will follow suit. Using this tip can prevent you from having to set up alleys with portable fence to move the herd to a different location.
5. Check on Your Animals and Fence Often
I check on my goats twice daily. Morning and evening, I go out and count the goats and make sure everyone is acting normal. I look for signs of diarrhea, lameness, and other issues. I also make sure they have clean water.
While I am out there, I also check the energizer and walk the perimeter of the paddock looking for breaks or fallen limbs that may be compromising the fence. When there is bad weather, I make an extra trip to make sure everything is as it should be.
6. Maintain a Grazing Schedule
Rotational grazing requires planning and discipline to stick with it. I have found that maintaining a grazing schedule is helpful. I organize a sequence of where the goats will start and where they will end up and how they will get from one paddock to another.
Having enough fencing to make at least two paddocks is ideal. If you are limited in resources, you can move the herd from a grazed to a fresh paddock and then take down the old one to make the next area that they will move into.
7. Read the Land and Your Animals
While having a schedule is a great place to start, don’t adhere to it too rigidly. I aim to move my goats every three days, but sometimes it ends up being two or five days. I have learned to read my animals and the land to dictate moves instead of the calendar.
In times of drought, I move my goats more frequently to prevent overgrazing. When the plants get eaten down too low they don’t bounce back as quickly. Plus, hungry goats are harder to keep in a temporary fence!
8. Have a Backup Plan
Rotational grazing prolongs the grazing season here in Michigan, but some years we still run out of grass. Instead of returning to a paddock too soon, we supplement our herd with hay in a sacrifice lot.
Round bales and sacrifice lots are our backup plan when the weather doesn’t cooperate. It provides a way to feed our animals and conserve our pastures for future use.
9. Take Care of Your Gear
If you find a hole in your fence, take the time to fix it before it gets bigger. Premier 1 ElectroNet comes with handy kits to mend most breaks.
Pick up your fence and store it when it’s not in use. Electric netting can be easily wrecked by wildlife, like deer, if it’s left up and your livestock have moved on.
Create a system for rolling and unrolling your fencing so that it doesn’t become a tangled mess. If you have panels of different lengths, color code them to keep them organized.
10. Troubleshoot Equipment Problems
If your fence isn’t working properly, here are a few things to check. The most common issue I’ve found is low pulse output from the fence getting grounded out. Tall weeds are often the culprit, and this can be remedied by using a string trimmer to hack them down before erecting your fence. It only takes a few minutes and makes a world of difference!
If you mowed paths in preparation and are still having issues, walk the perimeter looking for breaks or items contacting the fence that shouldn’t be. Your goats may have kicked up some sticks when browsing around or pulled low overhanging tree branches down. Remember anything touching the fence will steal its juice!
Does your fence look droopy? If the fence is bowing and curling onto the ground at the bottom, this can also be an issue. Keeping it taut during setup and using an extra support post in the corners will do the trick to fix sagging.
Ensuring that your ground rods are appropriately installed and spaced is also key. I use three galvanized rods placed six feet apart. If you have sandy soil like us, wetting down the rods with water twice daily helps give the pulse a boost.
Double check that you have your energizer harness connected correctly. For my solar charger, the orange alligator clip (positive) connects to the fence line and the black alligator clip (negative) connects to the ground rods.
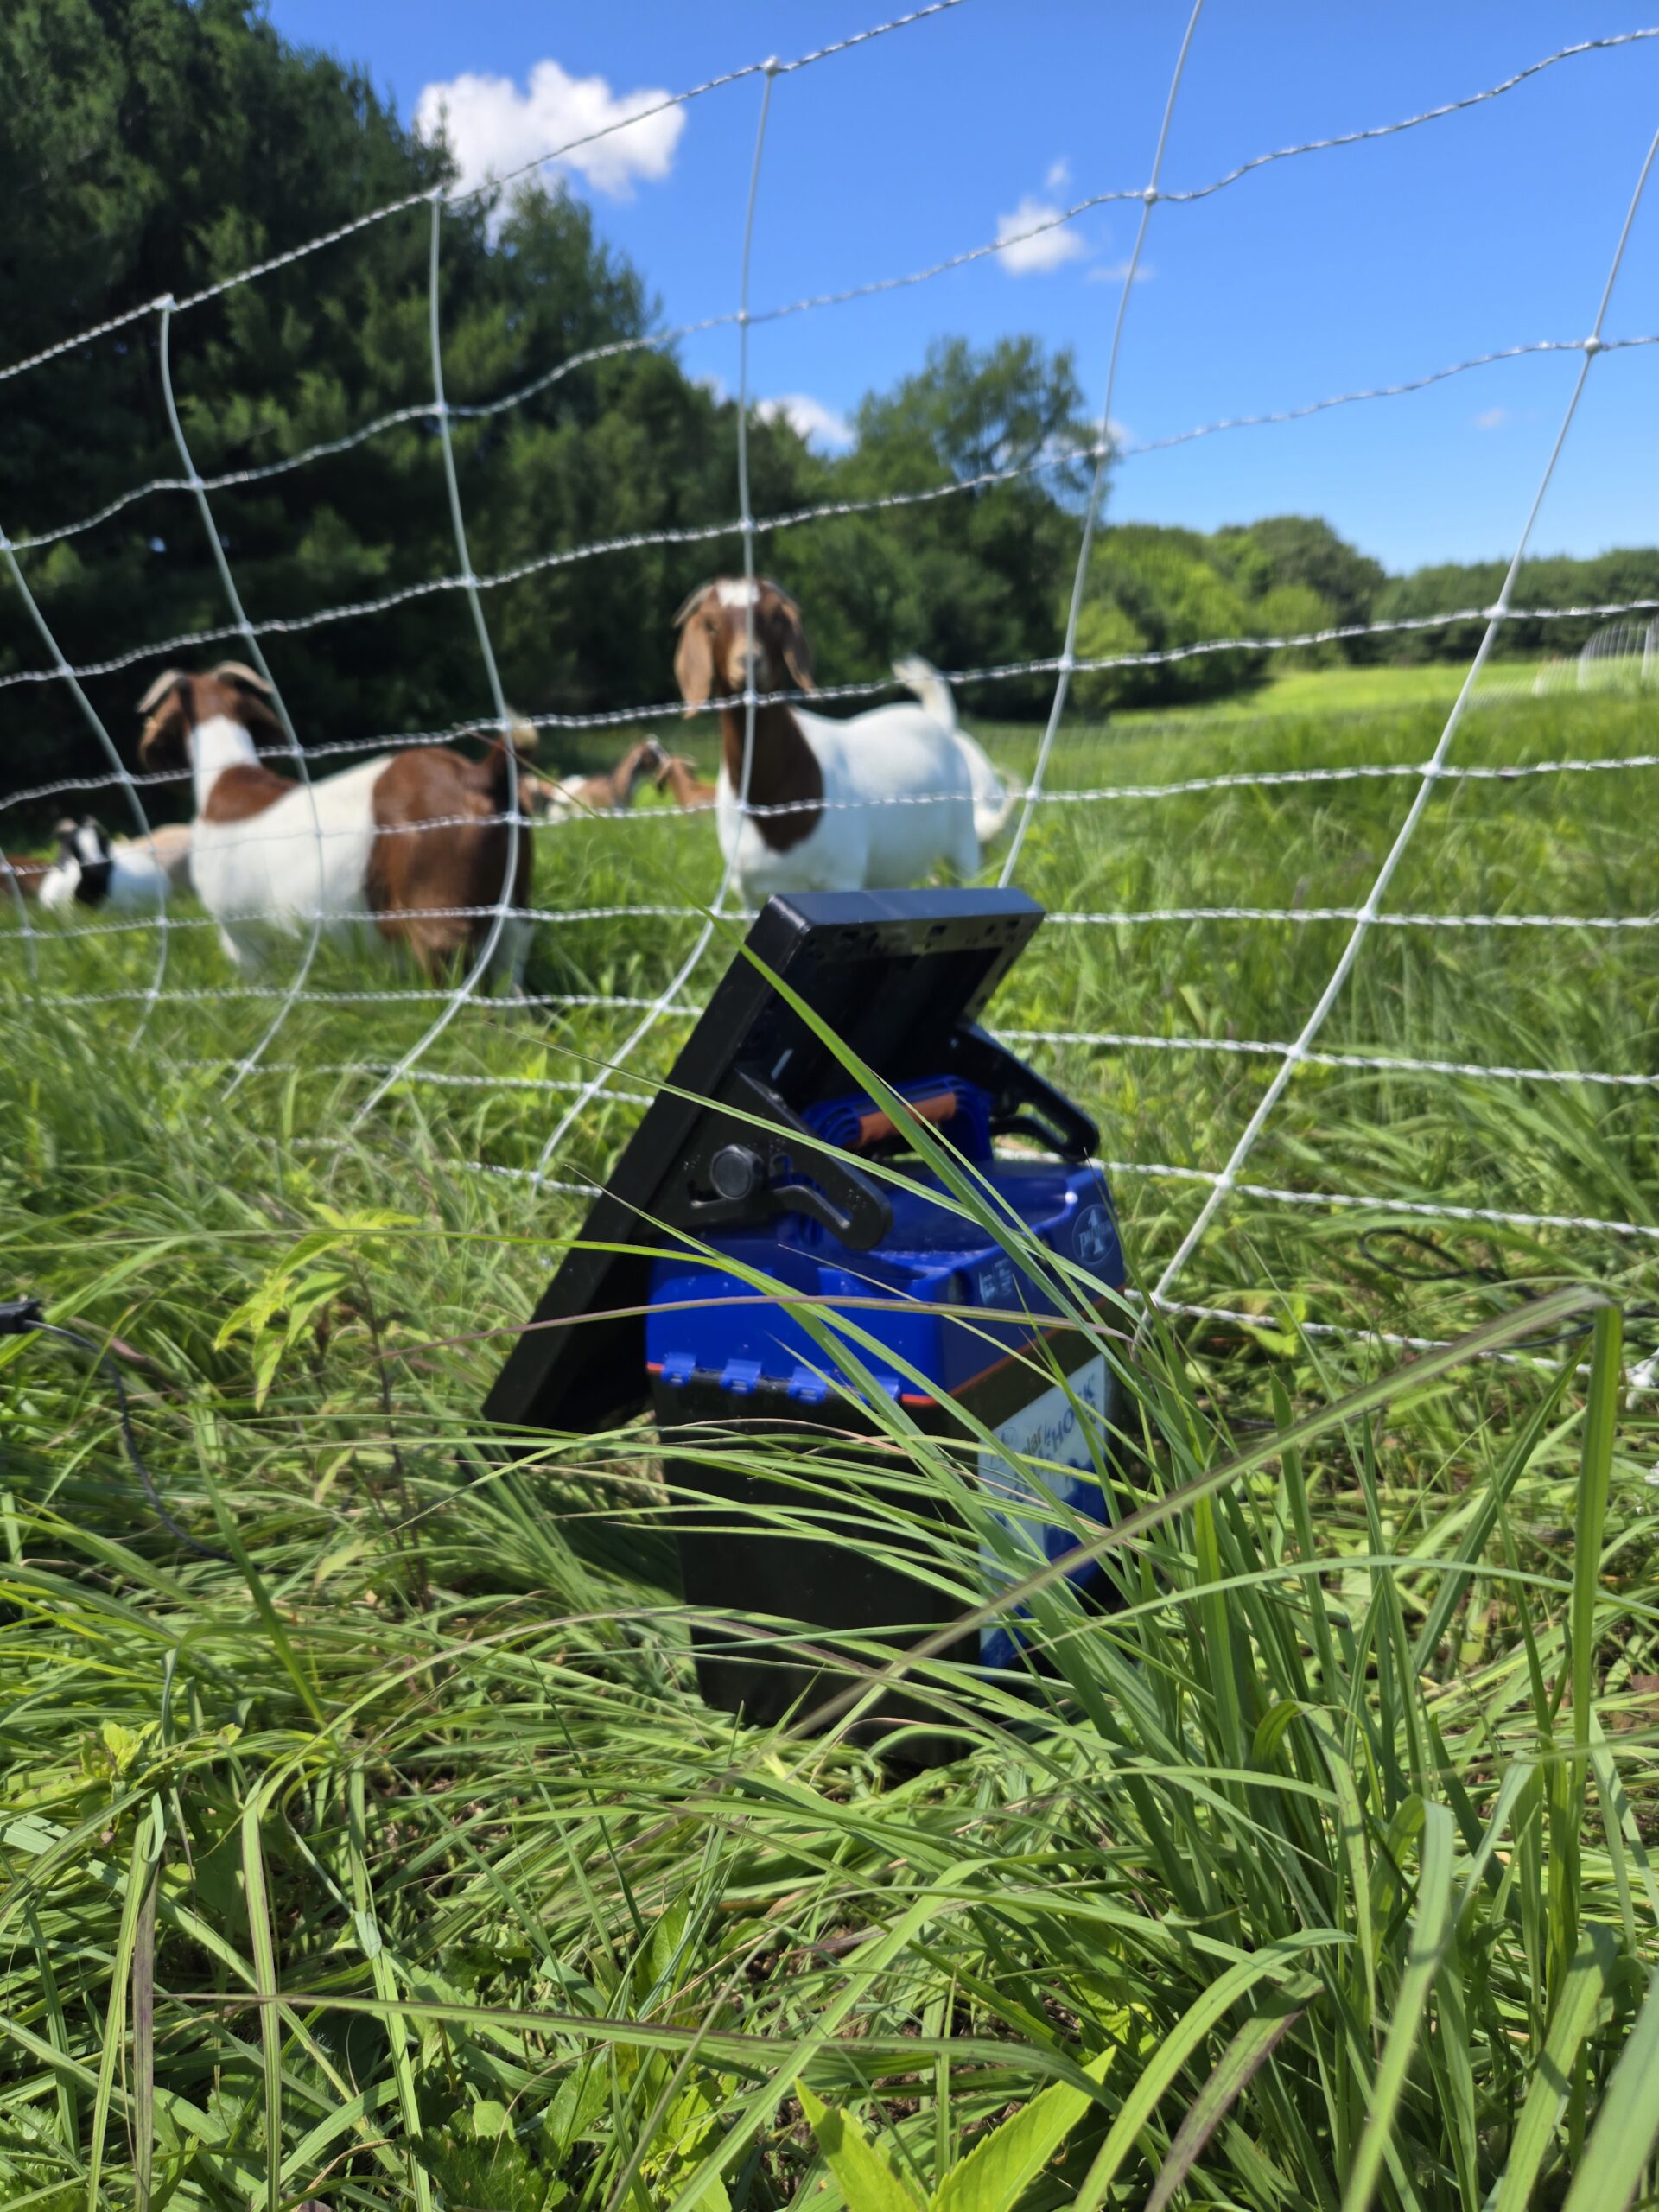
Make sure your energizer has enough juice. My solar charger blinks green if it is adequately charged, then alternately green and red, and finally red when it has low battery. On sunny days, the solar panel recharges the unit and it can also be plugged into an outlet for recharging.
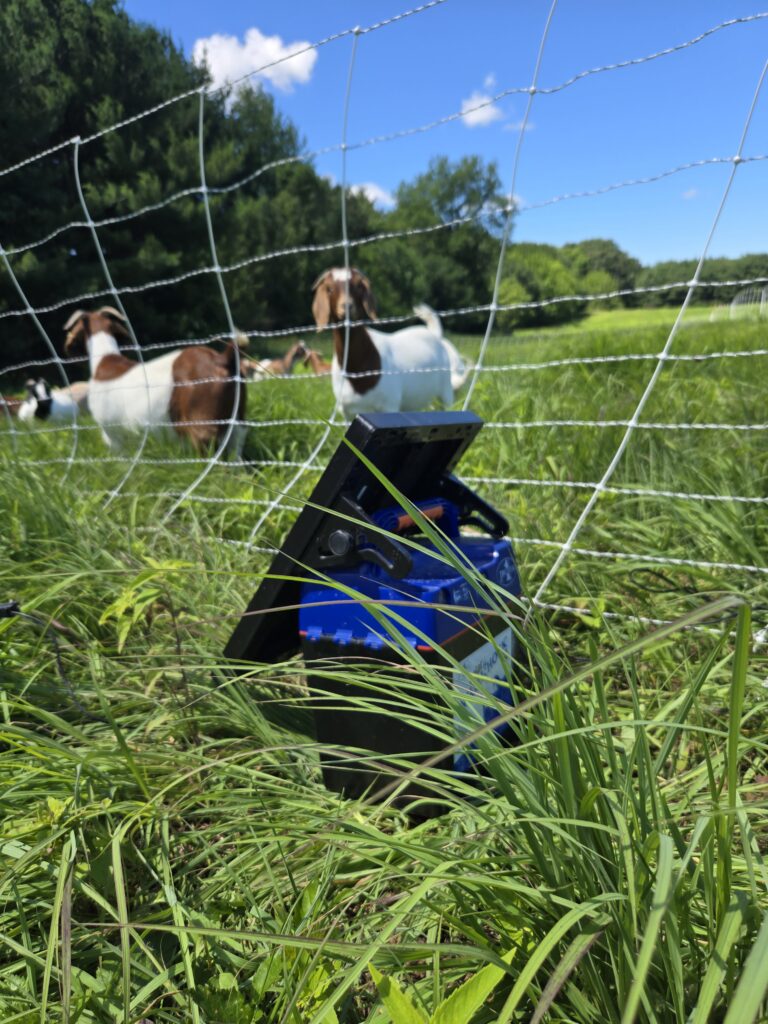
Keep your solar charger working its best by placing it where it will get plenty of sunlight (not in the shade of trees or buildings), facing due south. Don’t forget to clean the panel off if it gets dusty or covered with grass trimmings during setup.
My last tip is to hang on to your equipment user manuals and keep them accessible. It’s amazing what you can learn when you take a minute to read the directions or troubleshooting recommendations right from the manufacturer!
Happy grazing!