How to Make Homemade Beeswax Lip Balm

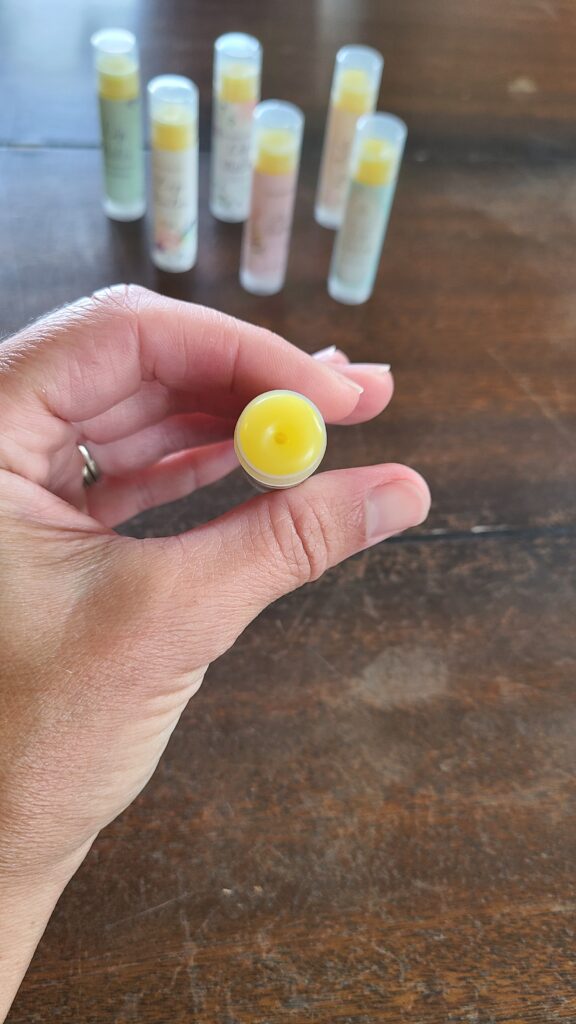
If you want to make your own lip balm with nourishing, natural ingredients, you have come to the right place. Not only is this lip balm recipe tried and true, it is also fun and easy to make! Ditch the store brands and make your own beeswax lip balm with mango butter and oils.
This post contains affiliate links. As an Amazon Associate, I earn from qualifying purchases.
I am never without Chapstick. I have purse, car, coat, nightstand, and miscellaneous other lip balms strategically placed around me for easy access.
I live in Michigan and the summer sun and winter wind are always drying out my lips!
I have tried all the brands and flavors from the store and several do-it-yourself recipes. The recipe I’m sharing today is my favorite concoction that I have come up with because it goes on smooth and keeps my lips nourished the longest.
Not only that, my beeswax lip balm contains only natural ingredients and is fun and easy to make! I even use beeswax that I collect from my own hives during the honey harvest. For more on the rendering process that I use, click here to read my other article.
Materials for Homemade Beeswax Lip Balm
- A 1-quart glass measuring cup or other heat-safe bowl
- Small rubber spatula
- Kitchen scale
- Measuring spoons
- Double-boiler pot (saucepan with water on stove) or microwave
- Lip balm tubes or tins with lids
Optional:
A 1-quart glass measuring cup works great for mixing your ingredients because it is heat safe, has a spout for pouring, and is easy to clean.
I use a small rubber spatula to stir my waxes and oils as they melt. I measure some of the ingredients by weight and some by volume. The larger quantity ingredients (wax, mango butter, coconut and olive oil) I weigh on a kitchen scale and the smaller quantity ingredients (vitamin E oil and essential oils) I measure by teaspoon or count out drops.
You can make beeswax lip balm using a double-boiler or microwave to melt the ingredients. Whichever method you use, pay close attention so overheating doesn’t occur!
Tubes or tins both work for storing your beeswax lip balm. When shopping for tubes, I personally look for ones that are BPA-free and made with food grade plastic.
Using a baster or cut-off pipette isn’t necessary, but it does make the job of filling tubes easier and less messy. As the oils cool and solidify the dropper may get clogged. Warming it up and cleaning it out periodically may be necessary.
A lip balm filling tray simply holds onto the tubes so that you don’t have to during the filling process. If you don’t have one, you can rubber band 10-15 tubes together to make them more stable.
A cheese grater is necessary only if you are using a block of wax. I am a beekeeper and render my own beeswax and pour it into forms, so I do grate a brick to make pure beeswax shavings to weigh and use for lip balm. Alternately, you can purchase pelleted beeswax that it is ready to use.
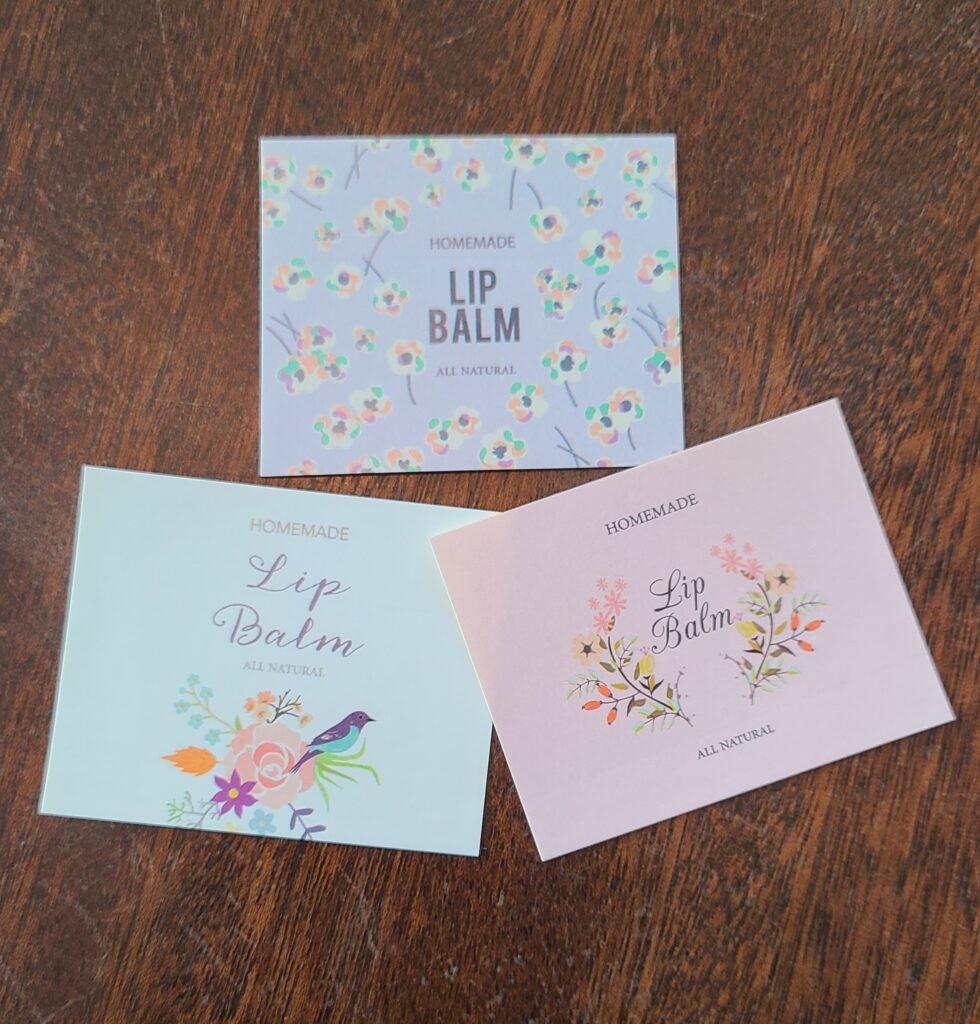
Labels aren’t necessary, but I found these super cute floral ones on Amazon that I love! They fit perfectly on the tubes. If you don’t want to be fancy, you can just write the flavor on the tube with a Sharpie.
Ingredients for Homemade Beeswax Lip Balm
- 1 oz. beeswax
- 2 oz. mango butter
- 0.5 oz organic virgin coconut oil
- 0.5 oz organic extra virgin olive oil (EVOO)
- 0.5 tsp vitamin E oil
- 10-15 drops edible essential oil or lip-safe flavor oil
The wax gives the lip balm some nice structure and the correct amount of stiffness. I am partial to beeswax, but candelilla is another option (and its vegan too).
Mango butter makes the lip balm nice and creamy and moisturizing. I used to make beeswax lip balm with just oils and waxes and I found this is the magical ingredient that was missing.
Coconut oil is a staple in skincare products because it is moisturizing, as well as antibacterial and anti-inflammatory. Similarly, the EVOO helps protect and nourish the skin and allows the lip balm to glide as it is applied.
Vitamin E oil aids in moisturization, while it also acts as a powerful antioxidant that combats ultraviolet radiation skin damage.
I have used food-grade peppermint essential oil in my beeswax lip balm. Just be careful which essential oils you use, because not all are safe to use on the lips. Depending on which you use, they may add therapeutic benefits in addition to making the lip balm smell and taste delicious! Lip-safe flavor oil is an option too.
Directions for Making Homemade Beeswax Lip Balm
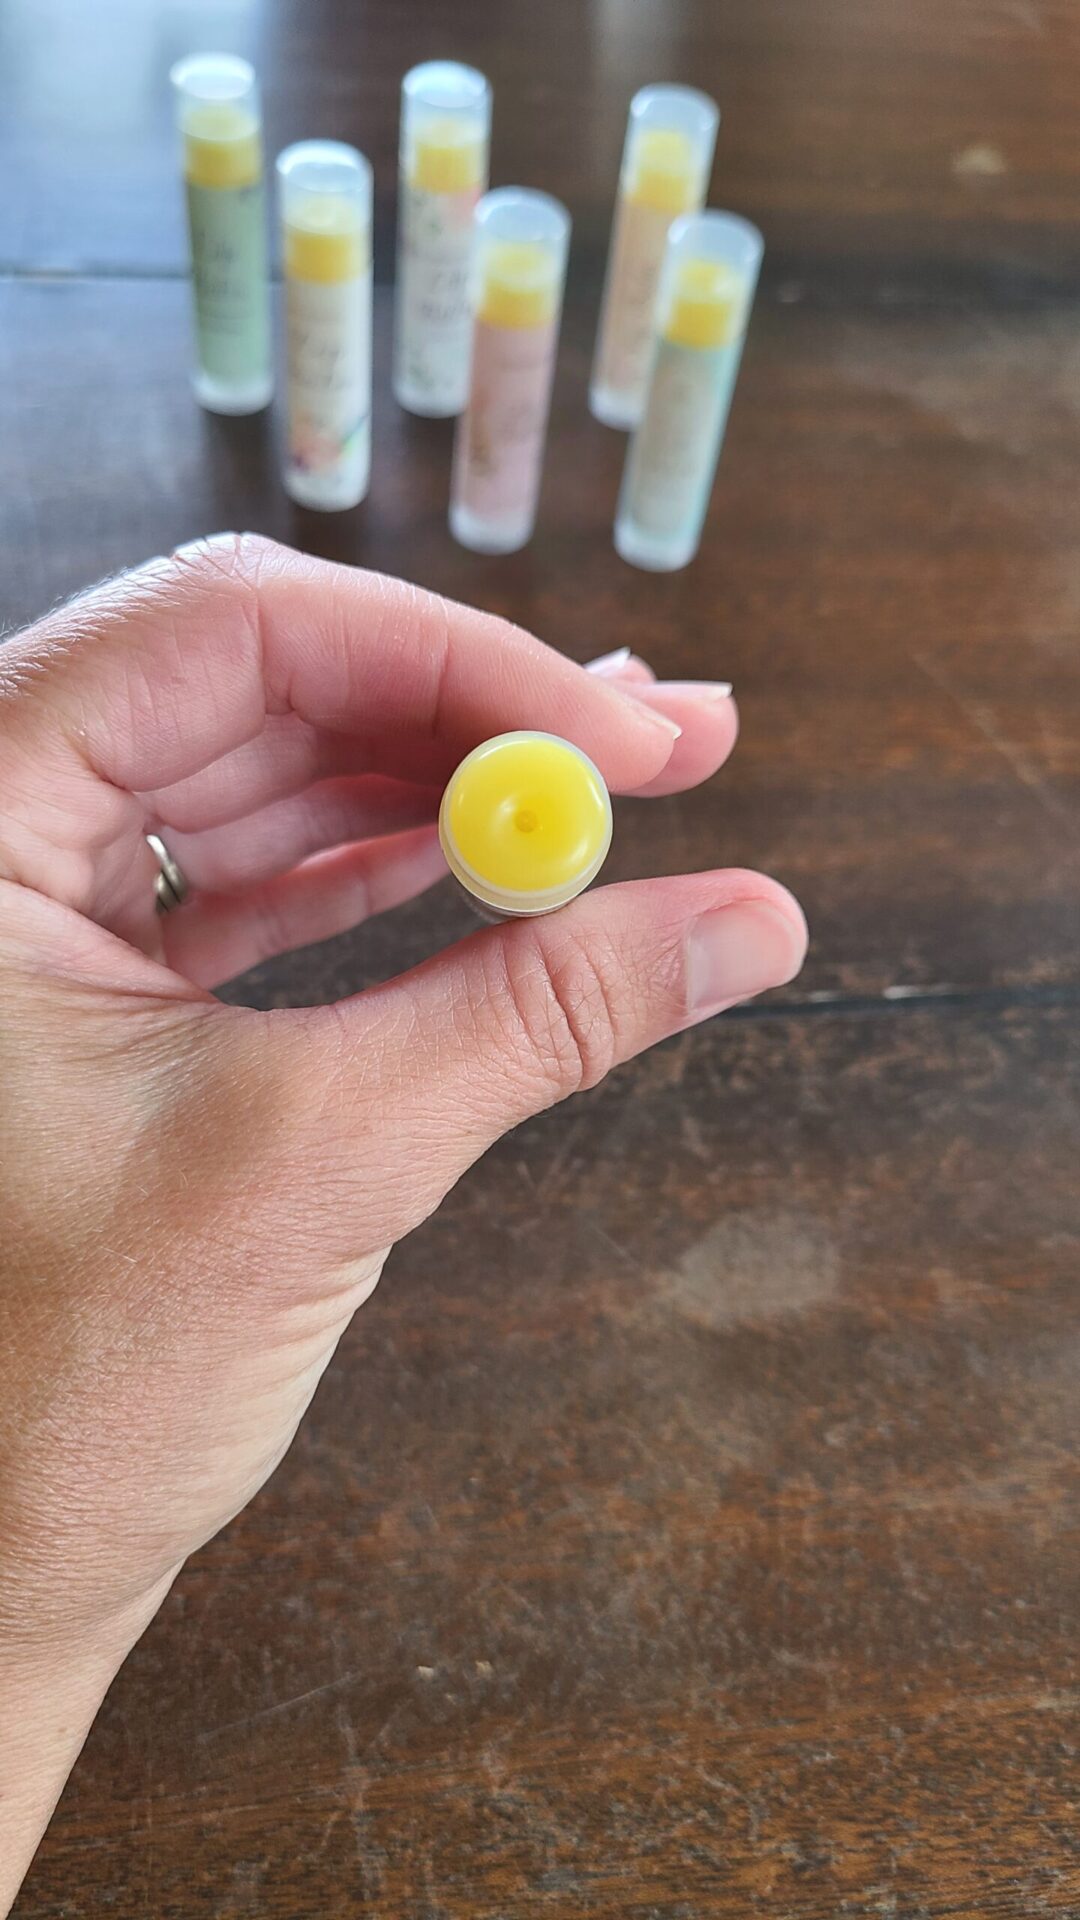
Makes 25- 0.15 oz. tubes or 20-5.5 ml tubes
- Using a kitchen scale, weigh out 1 ounce of beeswax (grating if necessary) and place it in the heat-safe bowl.
Beeswax has the highest melting point of all the ingredients used in this recipe, so melting it first is recommended. Starting with grated wax or wax pellets will expedite the melting process.
- Add 2 ounces of mango butter to the melted beeswax
- Add 0.5 ounce of coconut oil to the mixture
- Add 0.5 ounce of olive oil to the mixture
- Stir to combine. Apply heat as needed to create a homogenous liquid. Option 1: Use a double-boiler and stir slowly while the ingredients melt. Option 2: Use the microwave for 20 seconds at a time, stirring at each interval.
- Remove from heat and add 0.5 tsp of vitamin E oil and stir.
- Add 10-15 drops of flavor or essential oil. Stir again.
- Carefully pour the mixture into tubes or tins using the pointed spout on the measuring cup or a baster/ cut-off pipette to fill the containers.
- If the mixture cools too much or becomes difficult to pour, re-heat the ingredients to their liquid state and begin pouring again until all of the mixture is in a lip balm container.
- Starting cleaning up while the poured beeswax lip balm cools and hardens. Warm your equipment to make cleaning easier!
- Let the beeswax lip balm cool completely (about 30 minutes) and then wipe off any mess from the outside of the containers.
- Affix labels and enjoy!
Want to learn more ways to use beeswax? Click here for a creative list of ideas!