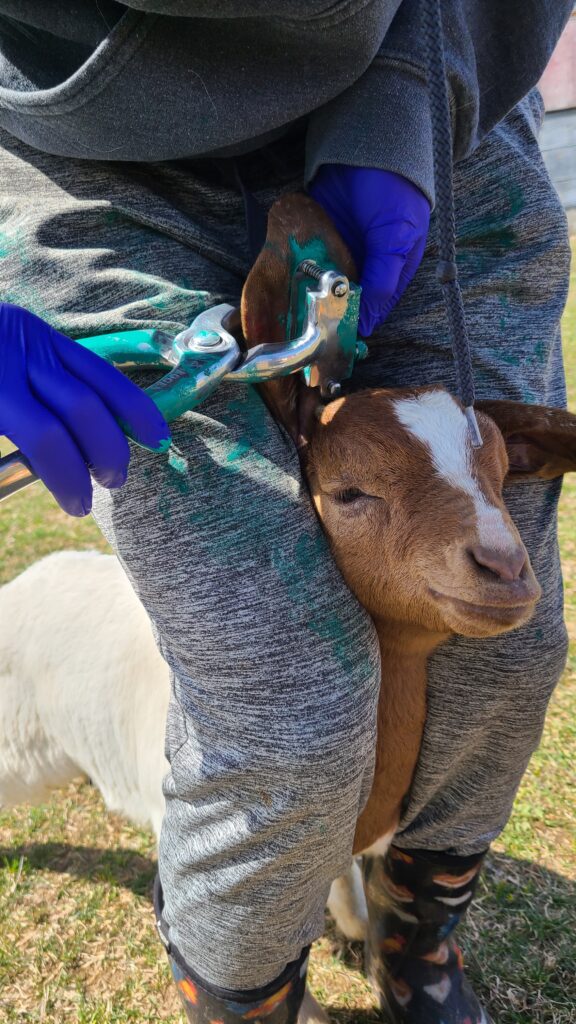
Tattoos are a form of permanent identification for livestock. Many breed registries utilize tattooing to verify both farm and animal. Here are the steps required to tattoo a goat. Follow along and perform this simple task on your own animals.
This post contains affiliate links. As an Amazon Associate, I earn from qualifying purchases.
Do your goats have ink?
If they are registered they probably do! I raise purebred Boer and Nubian goats and they are registered with their corresponding association. Both the American Boer Goat Association (ABGA) and American Dairy Goat Association (ADGA) require tattoos as a form of permanent identification for the registered animal.
Right Ear vs. Left Ear Tattoos
Typically, the tattoo in the right ear has information that identifies the member or herd number while the tattoo in the left ear shows the year and birth order of the animal.
For my Boers, my herd ID for my goat’s right ear is “BACH” and for my Nubians it is “REID.” It is important to make sure you double check what tattoo numbers/ letters you are using on each animal so that you don’t make a mistake!
For registering animals, each year of birth is coded as a letter. The ADGA has designated the letter “R” for the year 2023, while the ABGA has chosen the letter “N” for 2023. Again, be careful and double check before you start since tattoo coding is not universal among breed associations!
In the goat’s left ear, along with the letter identifying the year of birth is a number identifying birth order. The first Boer doeling that I had born this year was tattooed as N1 in the left ear, while the first Nubian doeling born on my farm was tattooed as R1 in the left ear.
Where and When to Tattoo Your Goat
I’m lucky that both breeds that I raise have long ears with plenty of room for tattoos. If you raise a breed of goat like the Lamancha, with little to no external ear, you may have to tattoo the tail web instead.
I tattoo my goats at the time of weaning, between 8 and 12 weeks old. This way the ear has grown to a size that is easy to tattoo and the animal is still small enough for one person to handle.
If you are selling registered stock, you should tattoo the animals before they leave your farm.
How to Tattoo a Goat
You will need the following materials to successfully tattoo goats for registration:
- Gloves
- Cotton balls
- Rubbing alcohol
- Paper towel
- Registration papers
- Scrap paper
- Tattoo pliers
- Tattoo numbers and letters
- Tattoo ink
- Baking soda
- Toothbrush
Tattooing is a messy job! I recommend wearing old clothes and gloves to keep the tattoo ink off your hands. The cotton balls and rubbing alcohol are used for cleaning the ear prior to tattooing. Paper towel can be used to dry the cleaned ear if you don’t want to wait for the rubbing alcohol to evaporate.
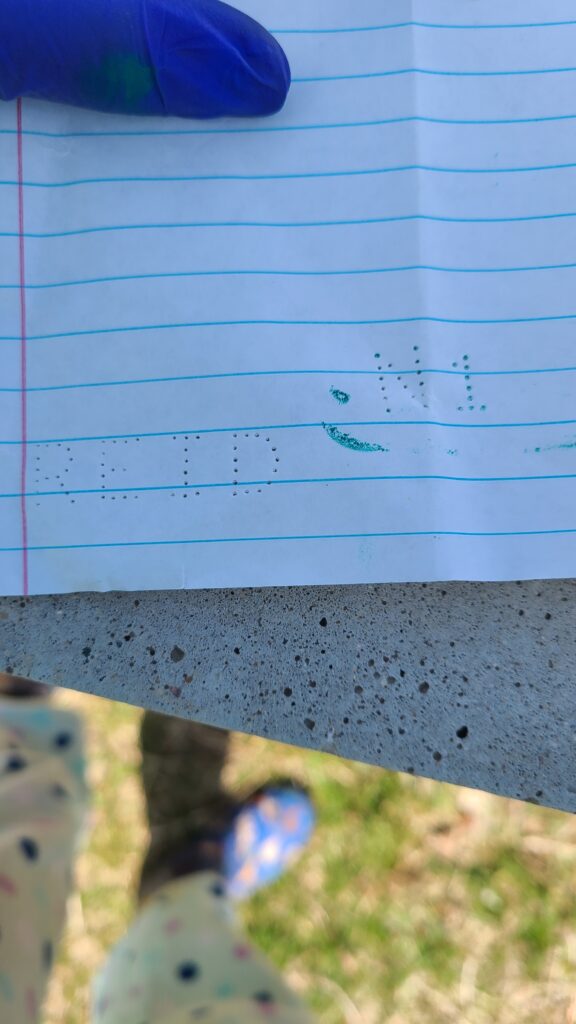
You will want to have your registration papers handy so that you can refer to them as you load the numbers or letters into the tattoo pliers. Check, and then double check, the characters and their order so that you don’t make a mistake! “Tattoo” the scrap piece of paper to see how the tattoo will look in the goat’s ear as a way of triple-checking yourself.
Tattoo pliers can be purchased at a store like Tractor Supply or purchased online. They may come in a kit with characters (letters and numbers) and ink or you can buy those items separately. If you buy characters separately, make sure you buy the size that goes with your pliers (for example, mine are 3/8”). I recommend using green tattoo ink, especially if your goats have dark colored skin, because it is easier to read.
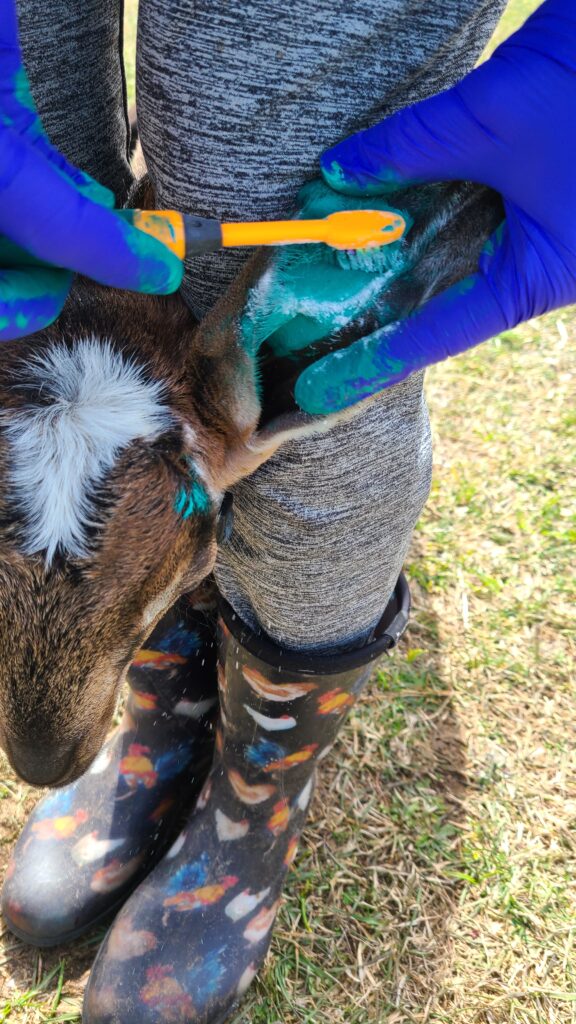
To help “set” the tattoo and give it a little bit of a “3-D” pop, you can work baking soda into the fresh tattoo with a toothbrush.
Steps for Tattooing a Goat
- Restrain the goat and clean the inner surface of both ears with a rubbing alcohol-soaked cotton ball
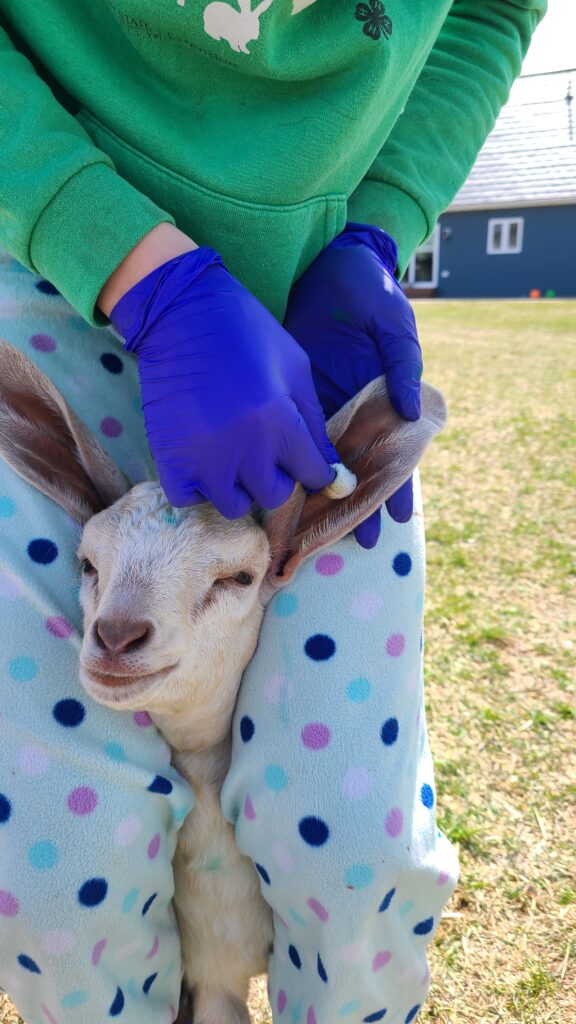
- Dry the ear with paper towel or allow the ears to air dry
- Inspect the inner ear, look for any warts, signs of trauma or abnormalities. Make note of the location of the blood vessels/ nerves and mentally note where you want the tattoo to go
- Load desired characters into the tattoo pliers (it will look like a backwards mirror image) and lock them into place
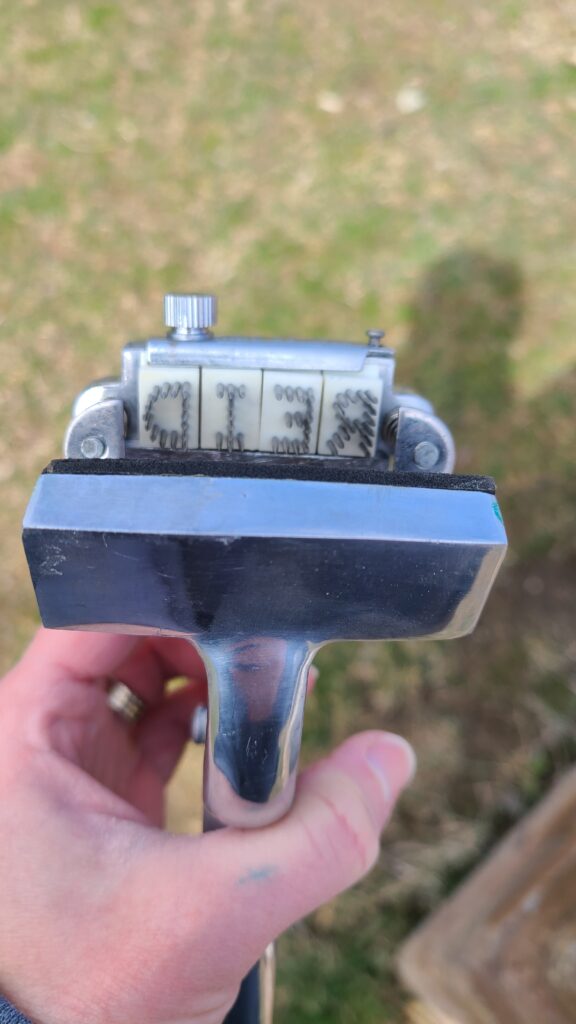
- Test tattoo on the piece of scrap paper, make any needed adjustments to how the characters are loaded
- Smear ink on the inside of the ear, at the desired site of the tattoo
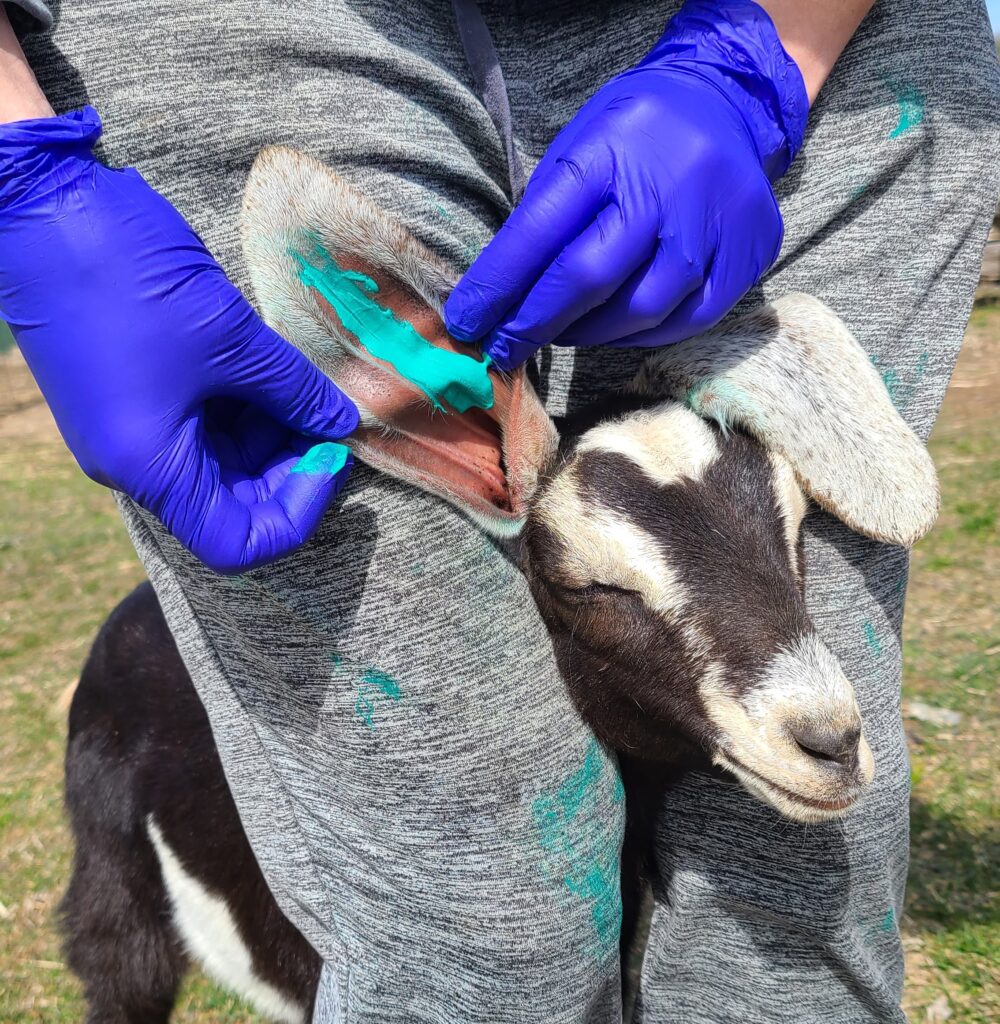
- Make the tattoo indentation with firm, quick pressure
- Release the pliers and carefully remove from the ear, a little bit of bleeding is normal
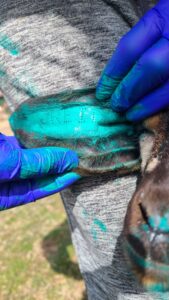
- Add ink to the tattoo site and rub in vigorously with the thumb
- Add baking soda and rub in with a toothbrush if desired
- Allow healing time of 1-2 weeks
- Evaluate your work, read the tattoo. On a dark-skinned animal, holding a flashlight to the outside of the ear helps.
- Repeat the procedure if necessary

Mother, farmer, author, and teacher by trade… She loves tending to things and watching them grow!
