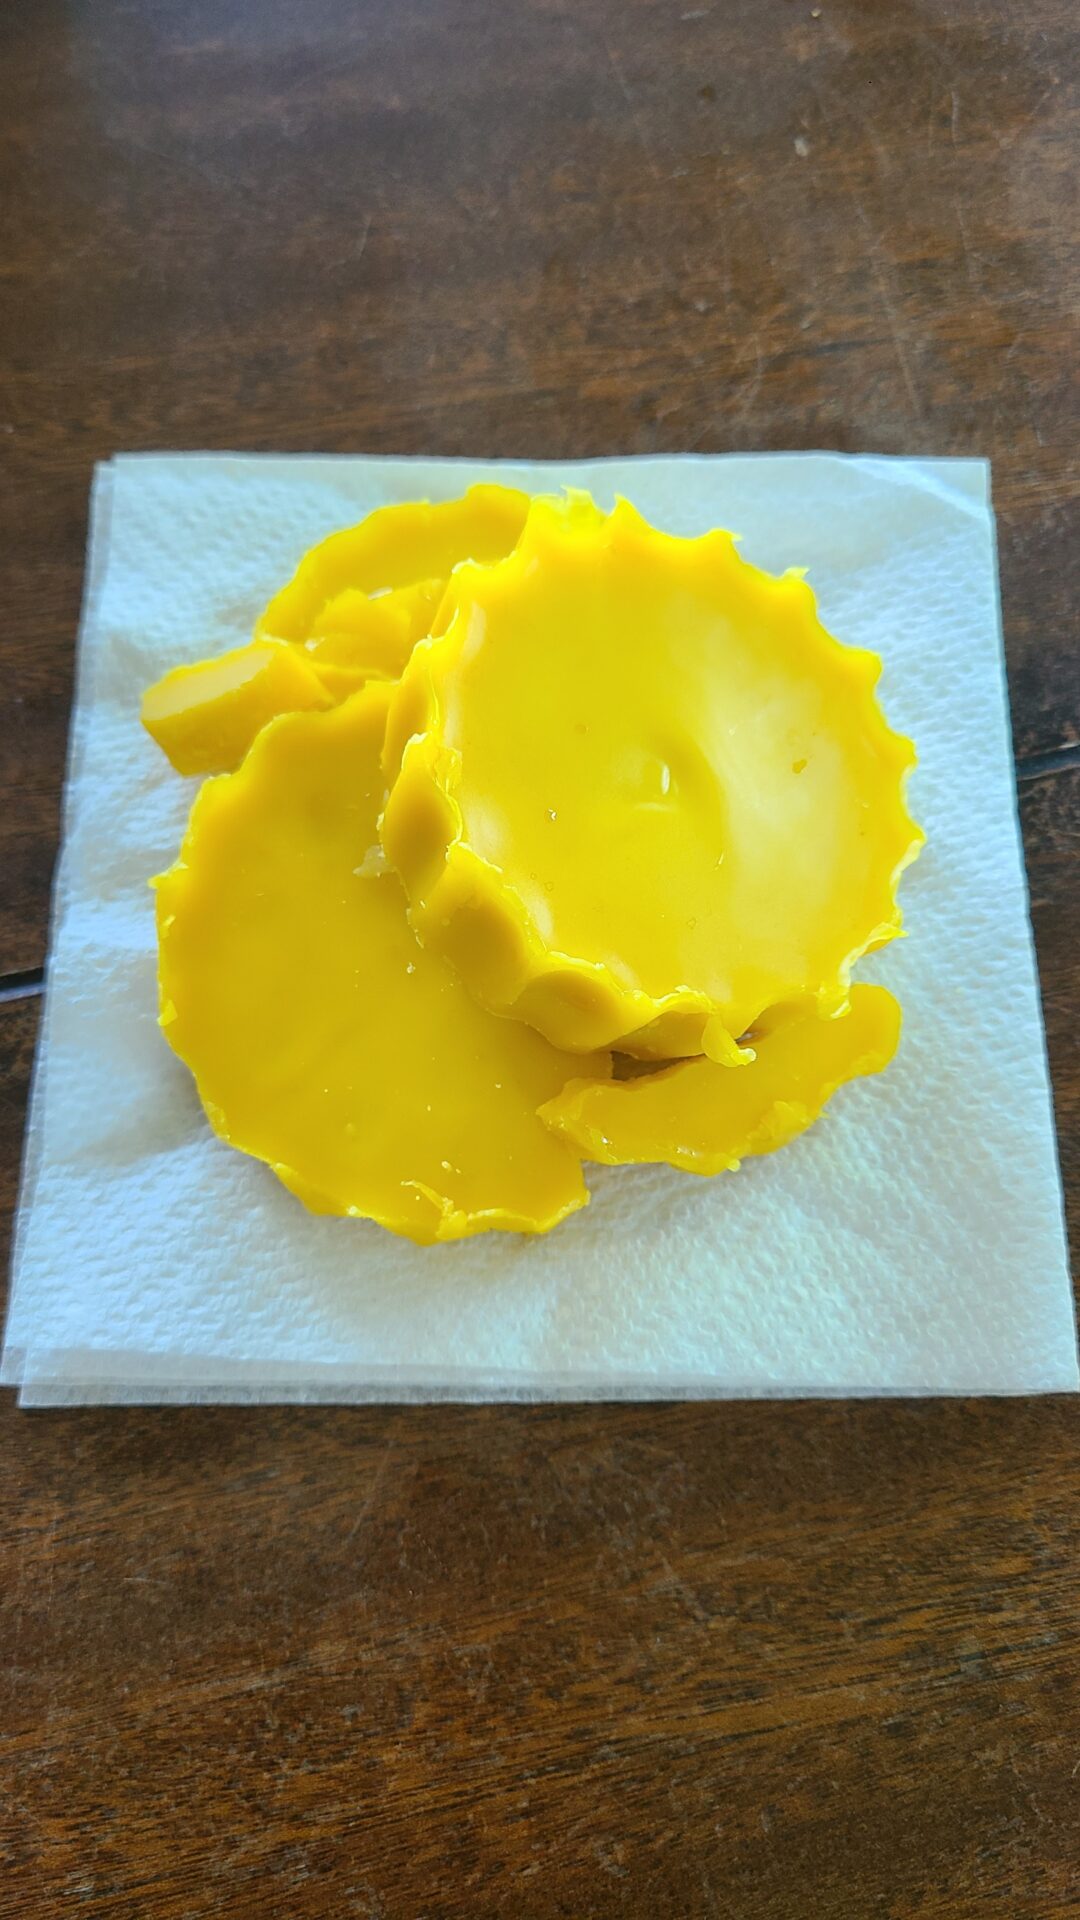
If you are a bee keeper, you can save the wax cappings from your honey harvest and render them down into pure beeswax. The process of heating and filtering the wax is shown and discussed. Use your beeswax for making skincare products, candles, and more!
This post contains affiliate links. As an Amazon Associate, I earn from qualifying purchases.
Did you know that when a beekeeper harvests honey, they inadvertently harvest wax too?
Bees make honey by mixing nectar from flowers with enzymes in their saliva and then dehydrating it in a wax cell in their hive. Once the honey has reached the correct moisture level (less than 20% water), the bees cap it off with wax, preserving it indefinitely.
Fun fact: Honey never goes bad!
Honey is a hypertonic solution that bacteria and fungi naturally cannot grow in, so it does not require any preservatives to be added to it during processing.
What are Wax Cappings?
Ok, I’m getting off track… back to wax. To get honey out of the cells where it is stored, and into a bottle, requires removal of the wax cap. Beekeepers use knives, scratchers, and other similar devices to remove capppings before spinning frames down in an extractor.
Not all beekeepers keep wax cappings. They are not pure beeswax or ready to use as they are, they require a process called rendering wherein impurities are separated from desirable materials.
The capping that comes off of the honey comb is mostly beeswax, but oftentimes also includes dust, dirt, and body parts of dead bees. Rendering allows you to get rid of the debris and make use of the amazing wax that your bees made!
Materials Needed for Rendering Beeswax from Wax Cappings
- Wax cappings from a honey harvest
- A double-boiler
- Water
- Stove
- Thin fabric to serve as a strainer, or cheesecloth
- Large rubber bands
- Plastic spoon for stirring
- Solo cup, or container of some sort to pour the melted wax and hot water into
You don’t have to render beeswax and harvest honey on the same day (that would be a lot of work!). You can save wax rendering for a rainy day. All you have to do is keep and store the cappings.
To save wax cappings, collect and rinse them off in a colander with hot water when you are harvesting honey. Then, allow them to dry and store them open to the air until you want to render beeswax.
A double-boiler works great for rendering beeswax. If you don’t have one, a cooking pot used just for this purpose and a larger one that it can fit into works just as well. You don’t want to put beeswax directly on a stove burner, it is extremely flammable.
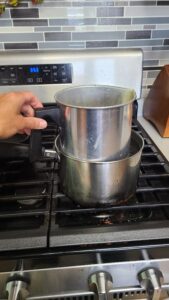
You will need to add water to the double-boiler as well as to the wax cappings, tap water works fine.
Use your stove to slowly heat the water and melt the beeswax, don’t leave it unattended!
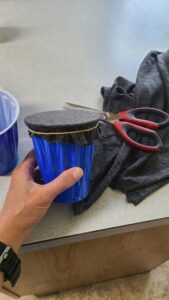
I use thin, old t-shirts as strainers for rendering wax, cheesecloth works too. I cut them so that they fit over a Solo cup and secure them in place with rubber bands. After using them for the rendering process, I throw these materials away.
Directions for Rendering Beeswax from Wax Cappings
- 1. Put a few inches of water in the bottom pan of your double-boiler, put it on the stove to start warming up
- 2. Place wax cappings in the top pan of the double-boiler
- 3. Add enough water to cover the wax cappings
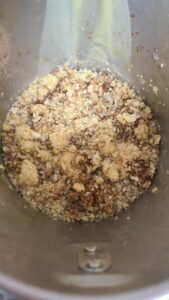
- 4. Place the top pan of the double-boiler on the bottom pan (on the stove)
- 5. Monitor the cappings as they start to melt, stir occasionally (do not boil)
- 6. Once all of the wax has melted, remove from heat
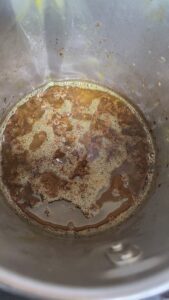
- 7. Carefully, (don’t burn yourself) pour the hot wax mixture through the straining material, into the collection cup/cups. (I do this outside because wax is hard to clean off of surfaces if you splash)
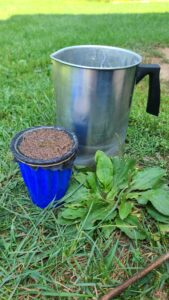
- 8. Remove the strainer and rubber band from the collection cup (squeeze it out the best you can). Throw into trash
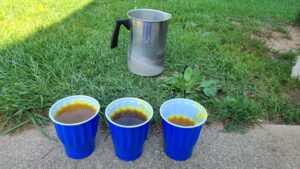
- 9. Allow the collection cup/cups to cool, undisturbed (the wax will float to the top of the water)
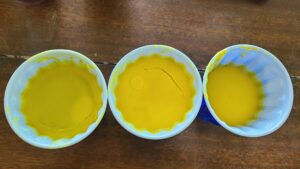
- 10. Once cooled and firm, remove clean wax from the top of the collection cup (careful not to spill the water underneath)
- 11. Dry and store the wax
- 12. Make projects with your beautiful, sweet-smelling beeswax! Click here to try our lip balm recipe.

Mother, farmer, author, and teacher by trade… She loves tending to things and watching them grow!
