If you are a slingshot enthusiast, it is likely that you will go through a lot of bands. Making your own bands is a way to make shooting slingshots more affordable. Plus, when you make your own, you can customize the bands any way you like. Here is a list of what you need to get started making your own slingshot bands.
This post contains affiliate links. As an Amazon Associate, I earn from qualifying purchases.
My kids got slingshots for Christmas last year and it quickly became a hobby for all of us. It was a great way to get outside together and have some fun. It wasn’t long before I got one of my own. With as much as we were shooting, the slingshot bands couldn’t seem to keep up and we kept breaking them. Ordering new bands took time and although fairly cheap, the cost added up. Here is what we did to fix that to eliminate the interruptions to our slingshot fun.
Manufactured bands are more expensive than making your own and don’t provide the opportunity to experiment with different lengths and tapers. After a very short learning curve, we had more bands than we could ever need.
Materials Needed for Making Your Own Slingshot Bands
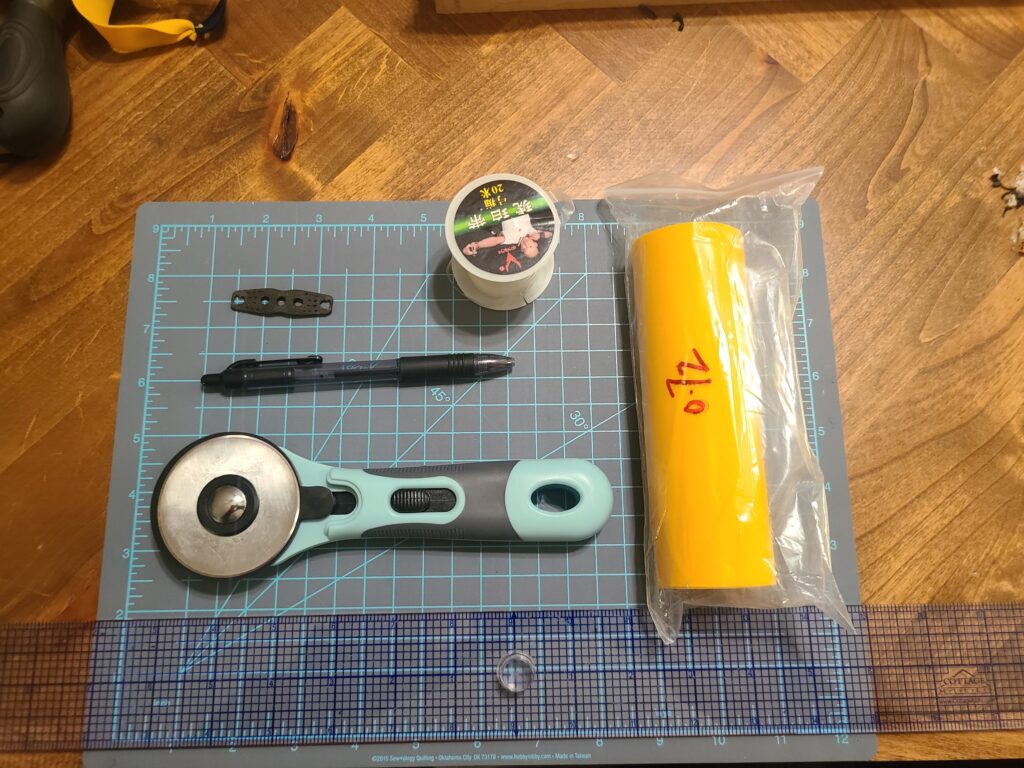
- Cutting mat
- Rotary cutter
- Pen or fine tip marker
- Ruler or other straight edge
- Slingshot pouches
- Band tying material
- A roll of latex (size of your choosing)
- Band tying jig
- Needle nose pliers
Finding your Draw Length
The first thing you will need to do is find your draw length. Hold your slingshot in front of you like you are going to shoot. Measure from the tip of the slingshot back to your anchor point (usually either the corner of your mouth or cheek bone). Mine is 36 inches.
The amount of stretch you put in your bands should be around 400-500%. Stretching too far, say 600% will increase projectile speed, but will sacrifice band life. Going less, around 300% will decrease velocity, but increase band life. It’s personal preference. I shoot 500%.
Simple math will give you how long to cut your bands. 36”/5=7.2 inches. Remember that number.
Choosing Latex Thickness for Slingshot Bands
Slingshot latex comes in many sizes, and the size depends on your ammo choice and purpose. For my target ammo, I shoot 3/8 inch steel. For 3/8” steel, I use 0.72mm latex.
Directions for Making Your Own Slingshot Bands
- Roll the latex onto your cutting mat and cut it based on your draw length. In this case 7.25 inches.
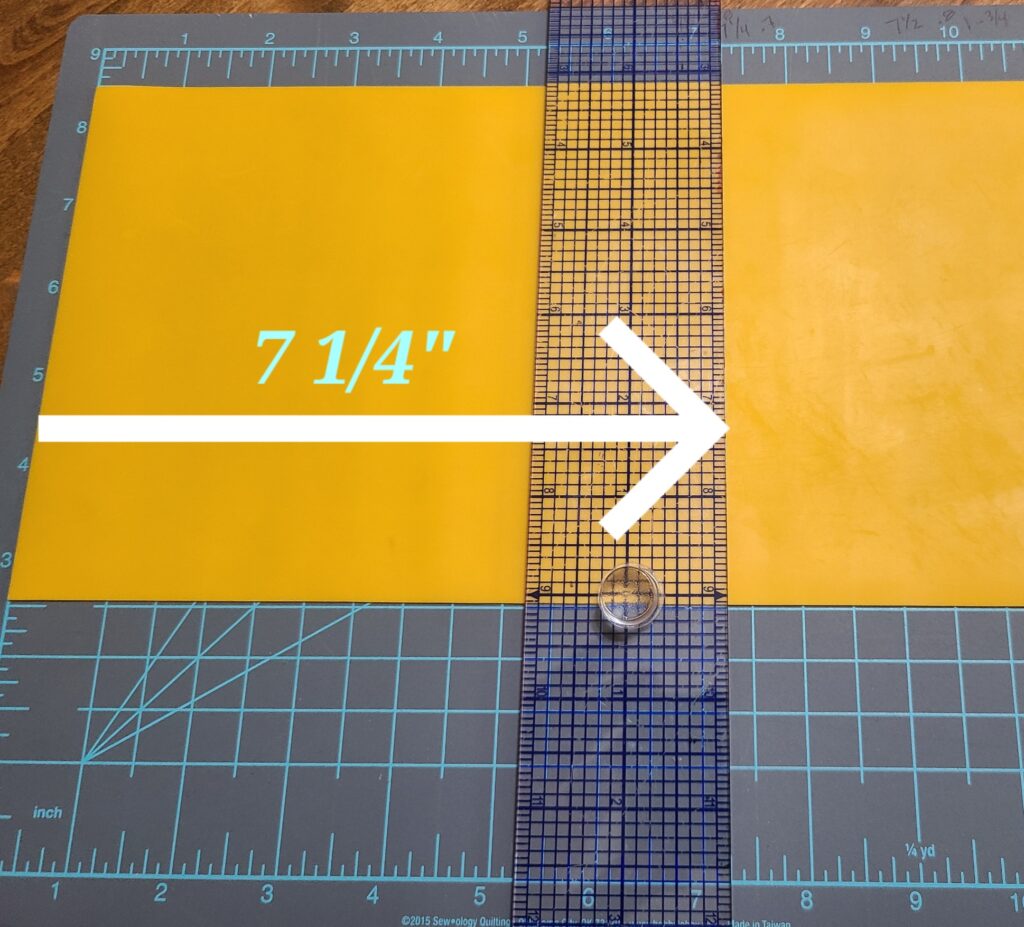
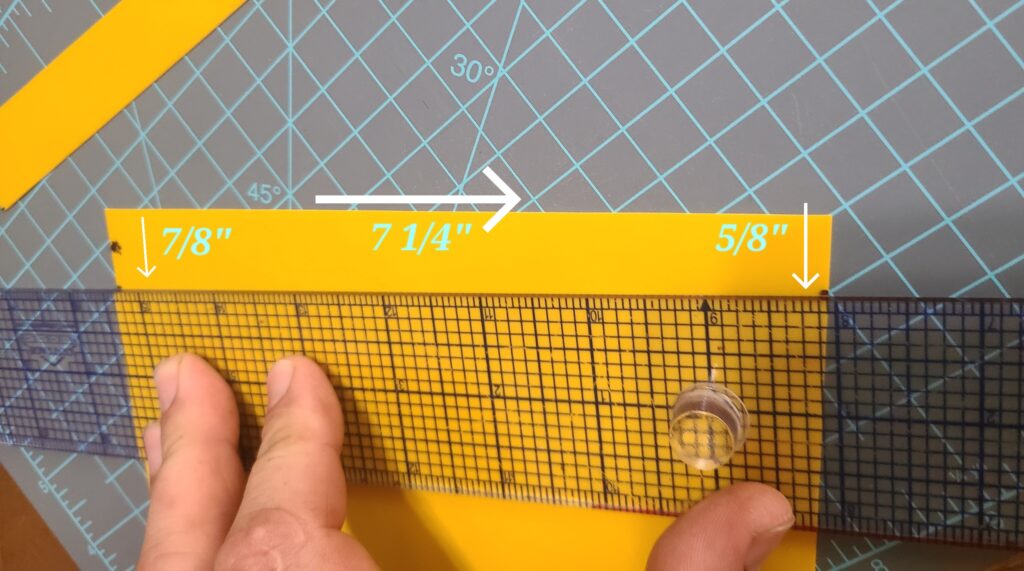
- Cut equal strips to tie onto each side of your pouch. I cut tapers in my bands to increase velocity and the tapers are personal preference and subject to trial and error. I taper my bands from 7/8” to 5/8”. There is also nothing wrong with shooting straight bands that don’t taper. Whatever works for you. Using your pen and cutting mat, mark the measurements on each side of the square you just cut. Then use your straight edge and rotary cutter to cut your strips. You will need 2 for each band set.
- Now it’s time to attach to your pouch. Use your pliers to open the hole up a bit so you can fit the latex through. Fold the end of the latex onto itself (pictured below). This step is kind of tricky to start, but only takes a minute to get the hang of.
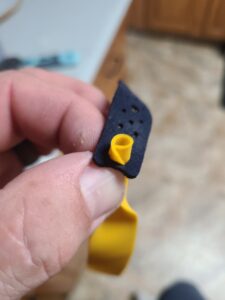
- Thread the end you folded through the pouch about 1/8” and fold it down on itself.
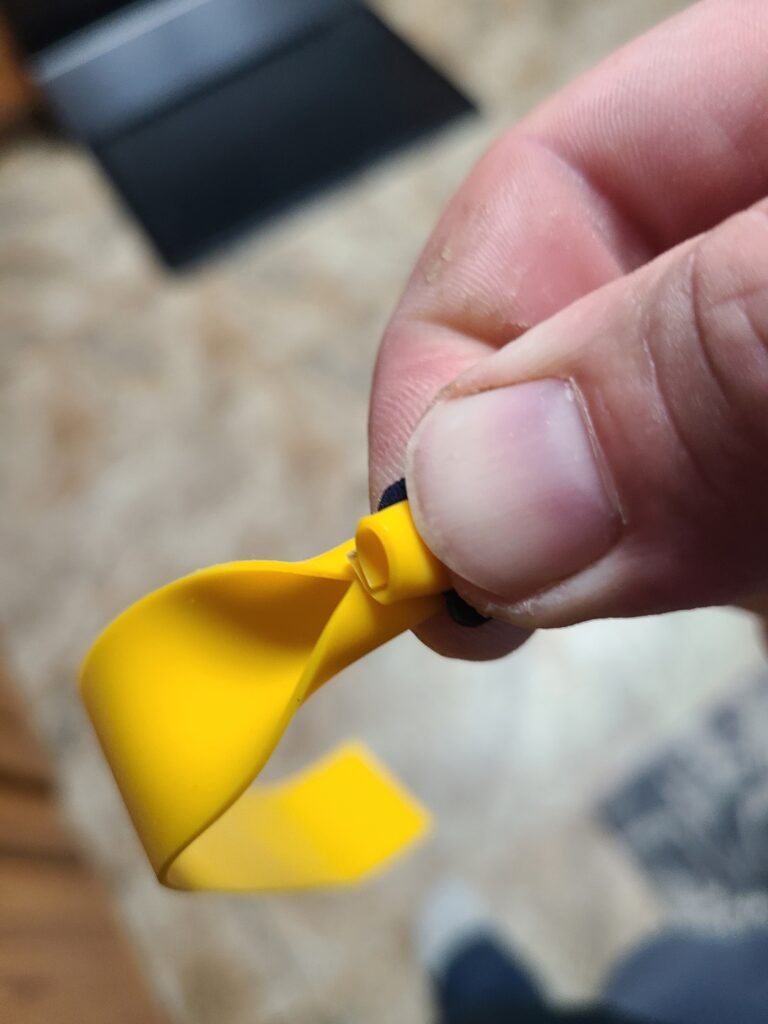
- Clamp this into your tying jig and you are ready to tie it on. I want to note, you can buy a tying jig but also can build your very own that honestly will be more sturdy and likely less expensive. You can find how I built mine in this post.
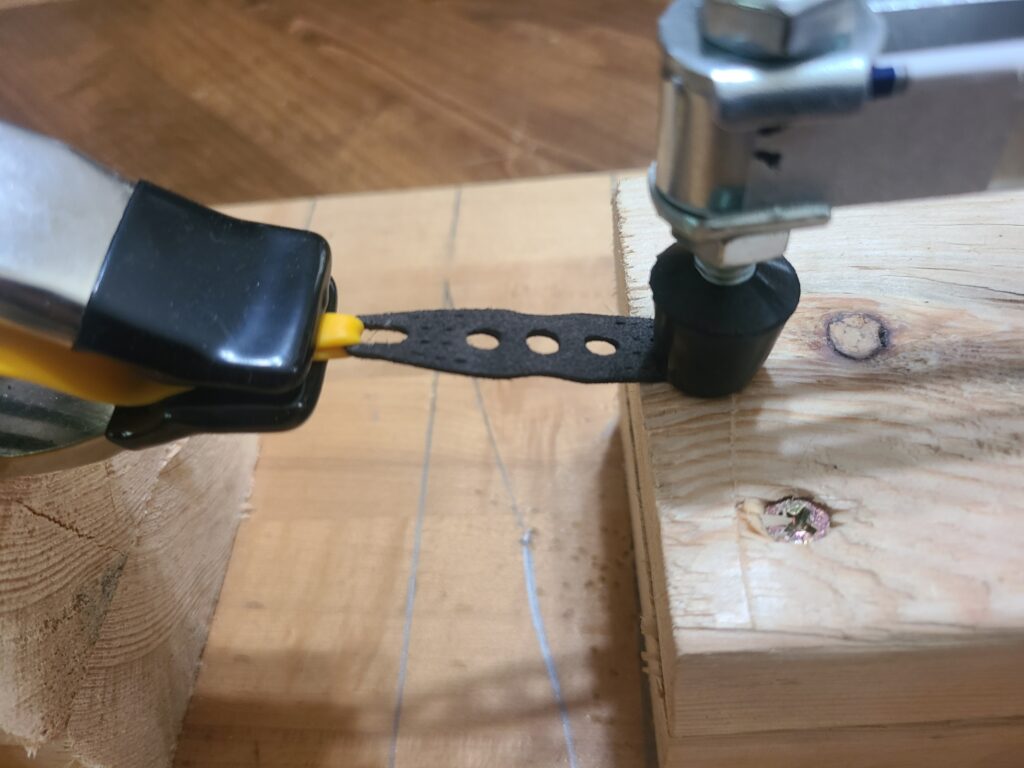
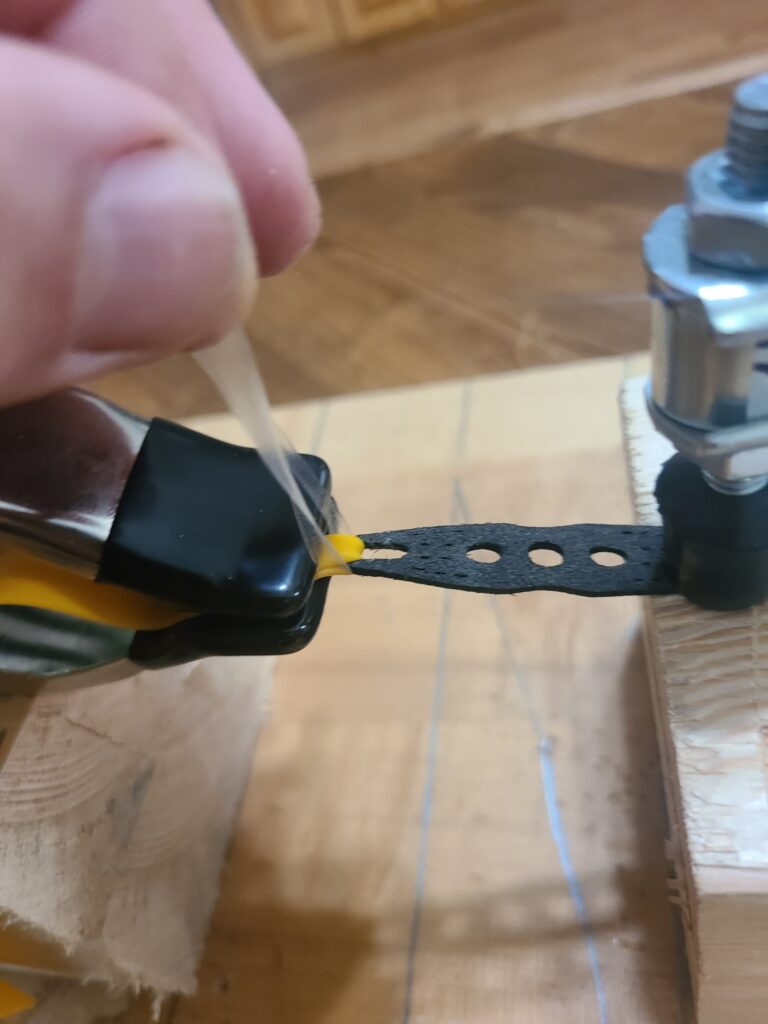
- Cut about 6 inches of your tying material. Wrap the tying material around the latex “fold” that you just clamped. Around 4 wraps should do it and pull it tight at each wrap. You then finish with 3 square knots. Once you cut off the extra, you are ready to move to the other side.
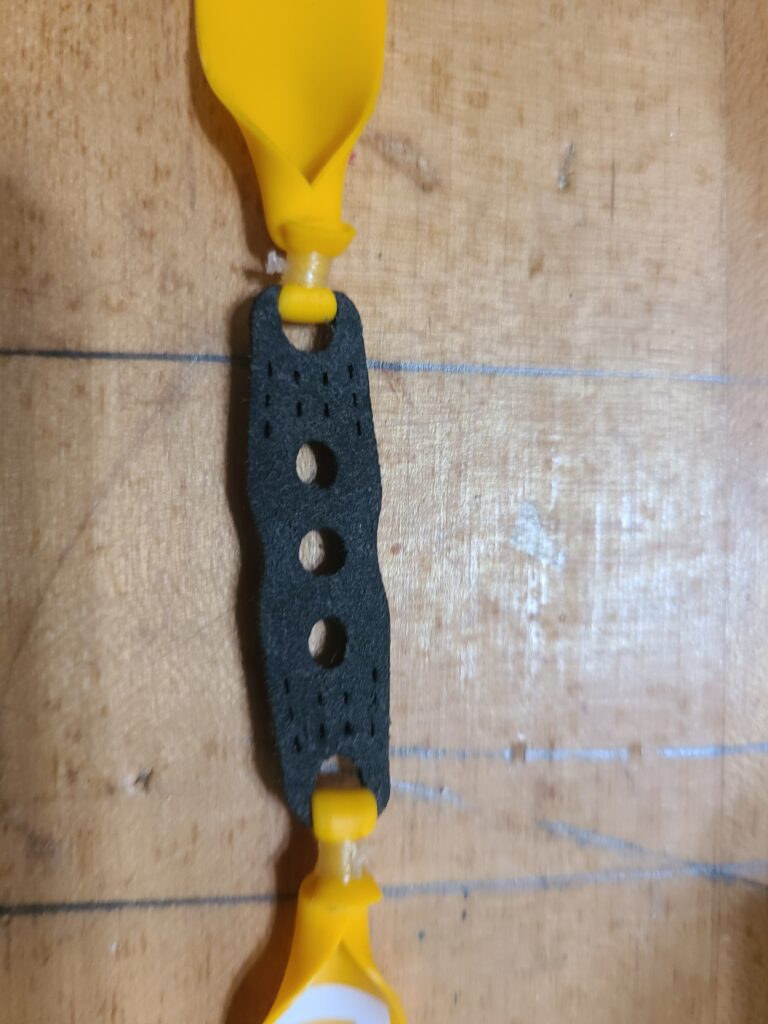
- Repeat steps # 3-6 for the other side and you will have a completed band set ready to shoot!

Butcher, coach, and handyman— there is nothing this man can’t do or fix. He loves the outdoors, playing with his kids, as well as hunting and cooking homegrown or wild meats!
