If you are into shooting slingshots, you will want to be able to tie your own slingshot bands. A jig will make tying your own slingshot bands much easier because it holds onto the pieces for you. Learn how to make your own band tying jig with this step-by-step tutorial.
This post contains affiliate links. As an Amazon Associate, I earn from qualifying purchases.
The kids and I have really gotten into slingshots since we got them for Christmas. These “kids toys” have provided our family with hours of fun, some friendly competition among family and friends, and even some meat for our table in the form of rabbits and squirrels.
They have come a long way since I was a kid. In a previous post (you can find it here) I showed how to cut and tie your own slingshot bands which is much more economical than buying pre-cut bands, and honestly also gives me a sense of pride making and shooting my own.
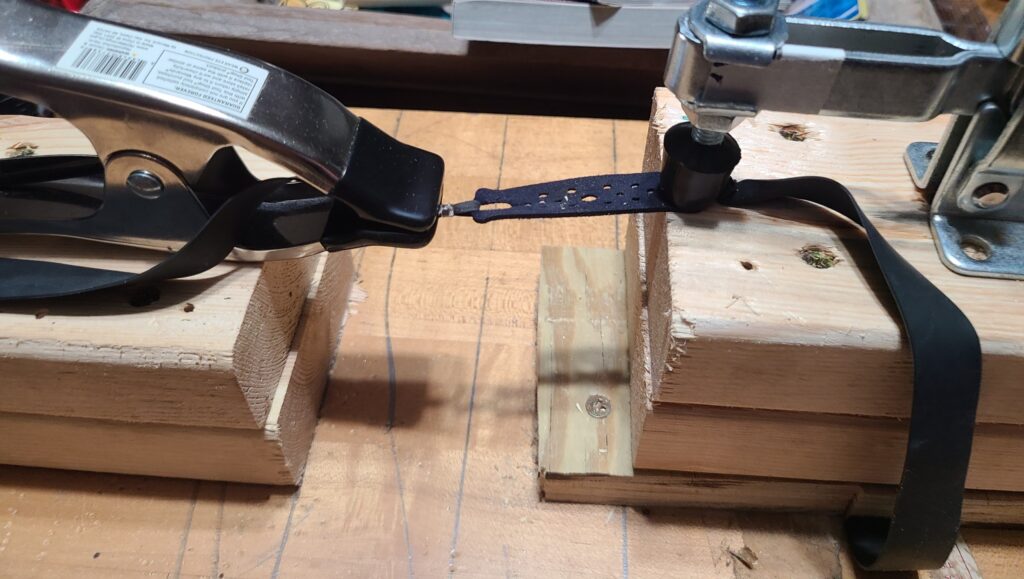
This post will show you how to make your own band tying jig. The jig holds onto the pieces when you are tying slingshot bands.
Materials Needed for Making a Slingshot Band Tying Jig
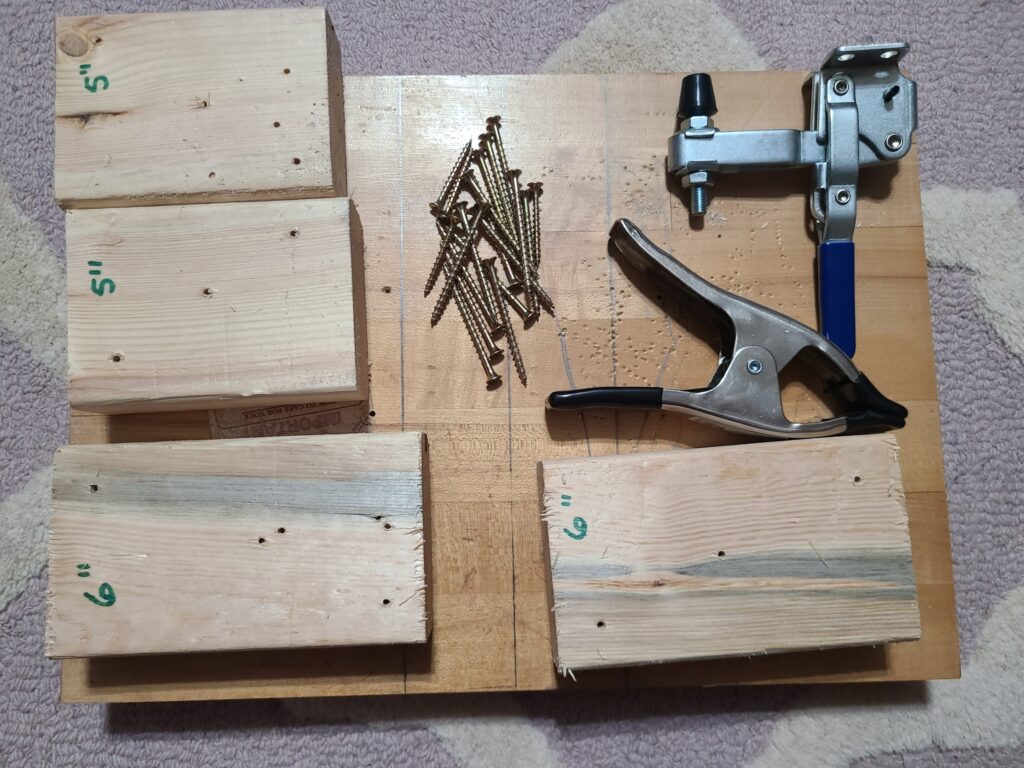
- 2 inch construction screws
- 2×4 (scraps will do)
- 2×6 or other wide board you have lying around
- 1 metal spring clamp
- 1 vertical toggle clamp
- Scrap piece of ¾ inch plywood or shim
- Hand drill
- Drill bit
- Phillips head bit
Directions for Making a Slingshot Band Tying Jig
- 1. Cut a wide board to be about 16 inches long. This is what the rest of the jig will mount to. I had an old butcher’s block that was lying around that I used because it was wide and heavy.
- 2. Find the center and draw a line to mark it.
- 3. Measure 2 inches to each side of that line and again draw your lines. This will be the space between your 2 clamps.
- 4. Get the rest of your pieces ready for assembly, here is what you will need. Cut two 6 inch long pieces from your 2×4 and two 5 inch long pieces.
- 5. You will want to shim up your toggle clamp as well, so I cut a couple pieces of ¾ inch plywood to fit under your 6 inch 2×4 pieces.
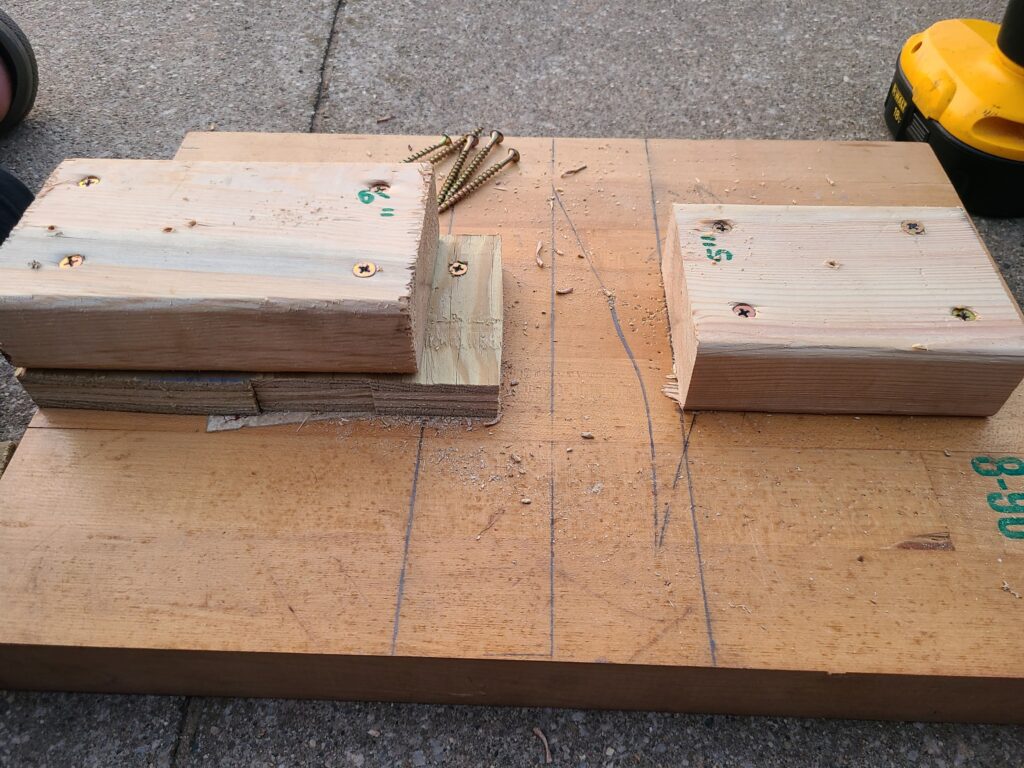
- 6. Place the plywood down to one side of your 2 inch lines and screw in place. I found it useful to pre-drill all of my holes to keep the wood from spinning.
- 7. Now place a 6 inch 2×4 on top of that, pre-drill your holes, and screw that in place.
- 8. Place a 5 inch 2×4 on the other 2 inch line, pre-drill, and screw in place.
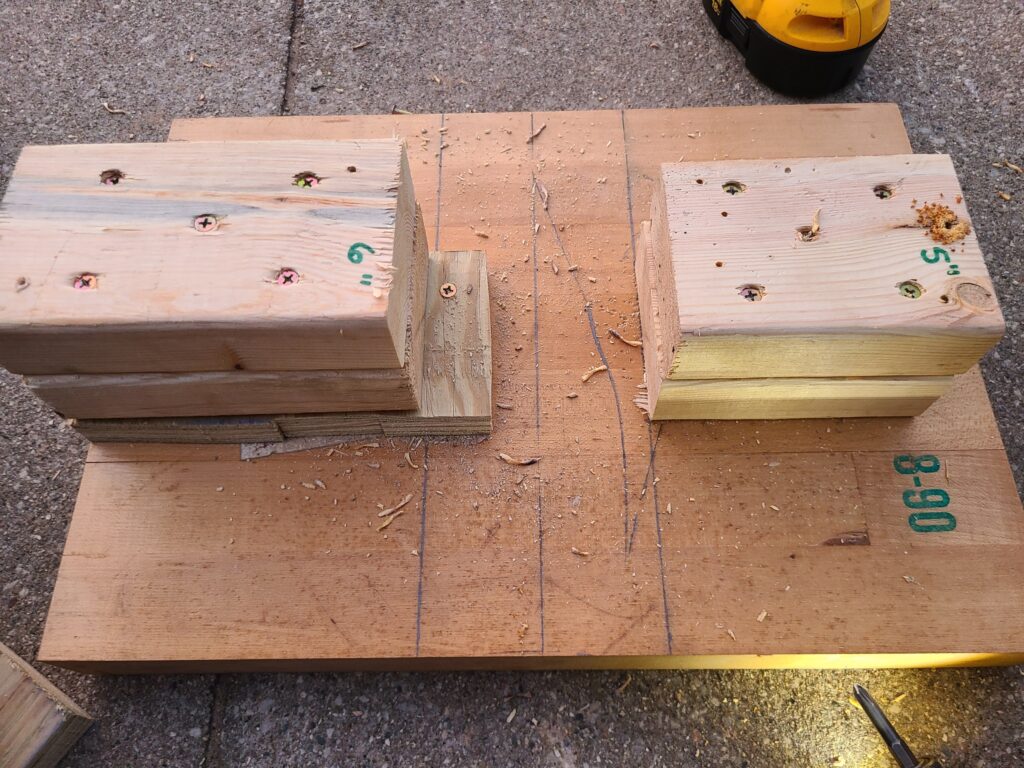
- 9. Now fasten the other 5 and 6 inch 2×4 on top of the ones you just secured in place and screw them down. It should look like this.
- 10. Now its time to fasten your clamps. On the 6 inch side, fasten your toggle clamp so that the rubber clamp is just at the edge of the 2×4. You can always adjust it backward to your liking, but you cant move it forward once secured.
- 11. Take the rubber end off of your spring clamp (if it has one) and drill a hole if there is not already one present. Fasten this to the 5 inch 2×4 with about an inch of overhang on the front toward the toggle clamp.
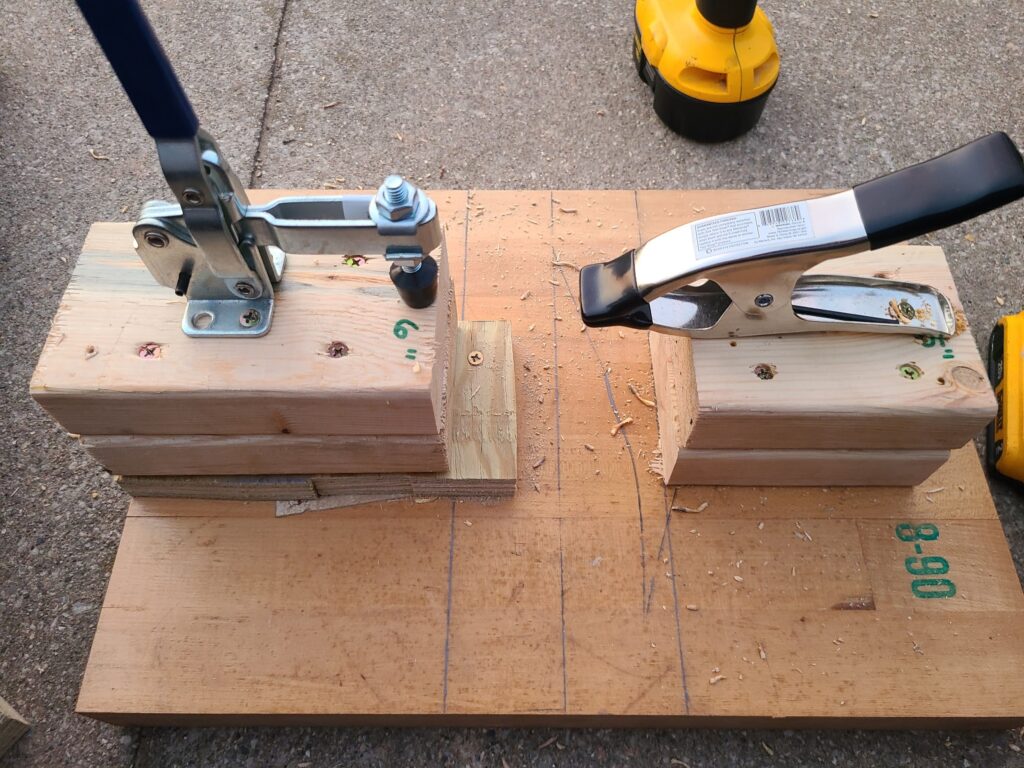
12. And that’s it!! It’s super simple and will easily pay for itself with the little money you spent on clamps once you start tying your bands.

Butcher, coach, and handyman— there is nothing this man can’t do or fix. He loves the outdoors, playing with his kids, as well as hunting and cooking homegrown or wild meats!
