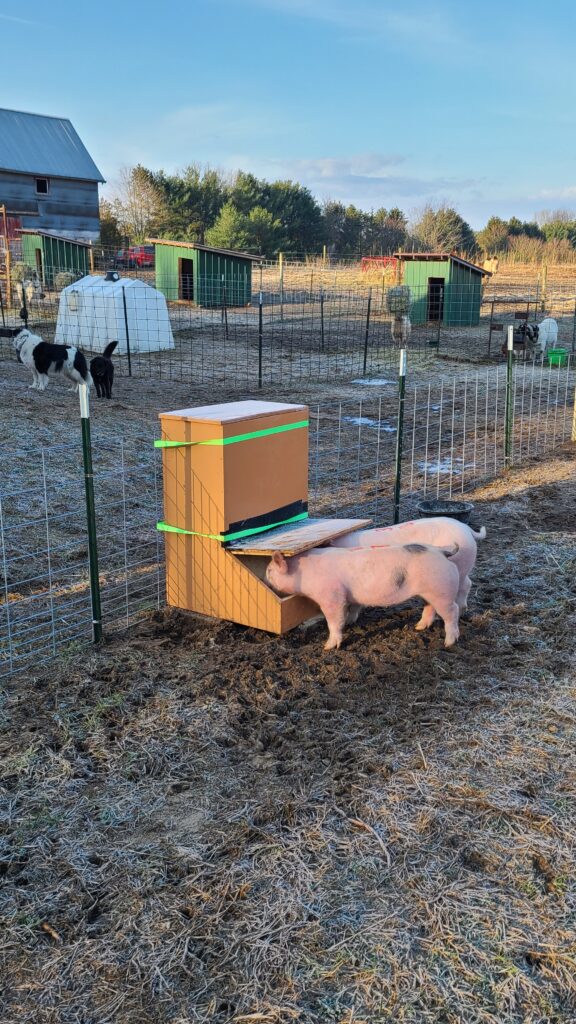
Make a self-feeder for pigs with this tutorial. Constructed out of wood and painted for protection against the elements, this gravity-fed hog feeder will stand the test of time. Accommodate the feeding of two large breed pigs with this top-filled DIY feeder.
This post contains affiliate links. As an Amazon Associate, I earn from qualifying purchases.
My daughter decided that she wanted to show pigs this year at the fair so we found ourselves building a pen and looking for a feeder and waterer. I was a little disappointed in both the construction of the store-bought pig feeders we looked at as well as the price point. I didn’t feel they would last, so we decided to build our own.
For instructions on making a watering barrel for pigs, click here to read my other article.
Materials List for Building a DIY Hog Self-Feeder
- ¾” plywood (about a sheet and a half)
- ½” plywood (Just some scraps will do)
- 1 ½ “ screws (a little longer is ok)
- 1 ¼” screws (a little shorter is best)
- Power drill
- Wood glue
- Circular saw
- Chalk line (or long straight edge)
- Hinges
- Caulk or construction adhesive (1 tube)
- Caulk gun
- Exterior paint
- Paint brush
- Flex seal tape
Directions for Building a DIY Hog Self-Feeder
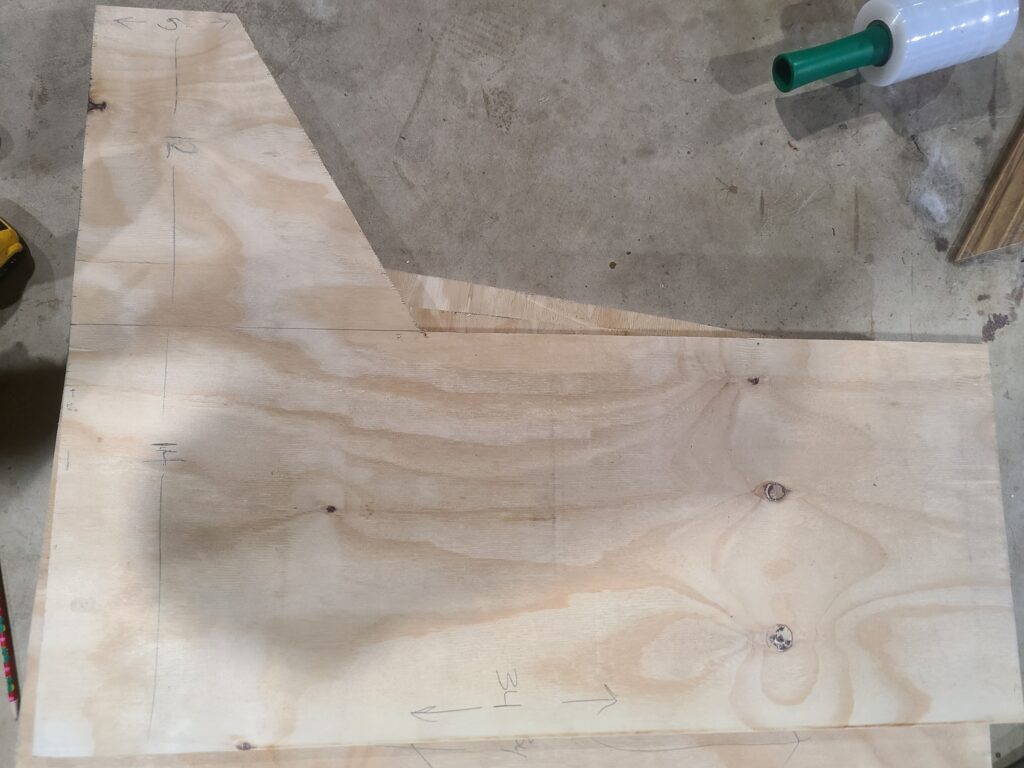
Start by cutting your side pieces. These are the ones that take a bit more time due to the shape but are still fairly easy to cut out. The sides are 34” tall x 26” wide at bottom (14” wide at the top). Snap a line (using chalk line) or draw using your straight edge a line 14” from top to bottom. That front angle can be done by measuring 5 inches up on the front and making a mark. Then measure 12 inches up on the line you just drew from top to bottom and make another mark. Connect these 2 marks and you have your angle. The picture below is what it should look like. You will need 2 of these pieces.
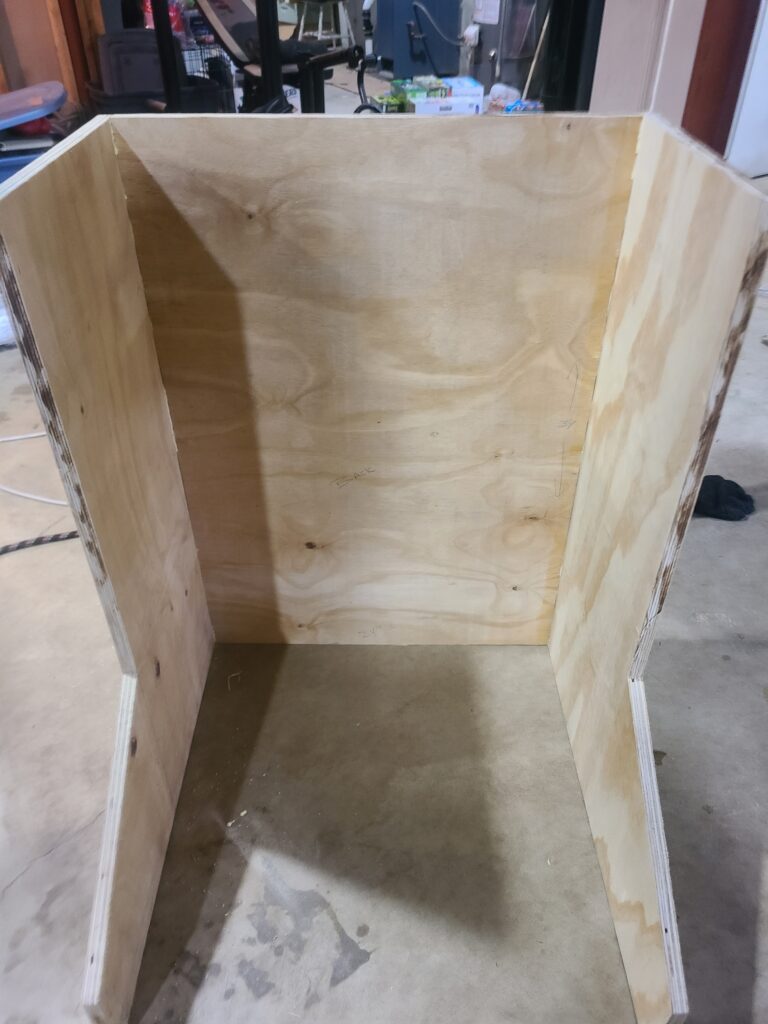
Next cut out the back piece. The back measures 34” tall by 24” wide. Once you have this piece cut, put wood glue on each long edge and fit between the 2 side pieces you made using 1 ½” screws. You will end up with this.
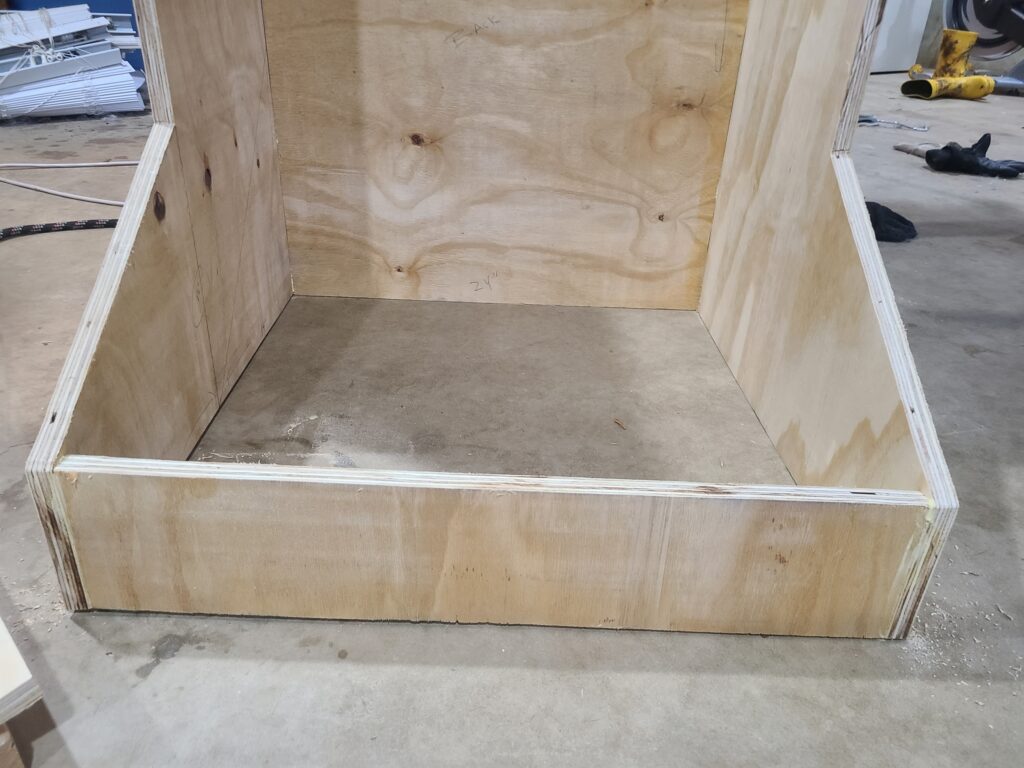
Now cut the front “kick plate.” This piece is only 5 inches tall by 24” wide. Put wood glue on the short sides of this piece and fasten using 1 ½” screws between the side pieces in front like this.
Now its time for the bottom. To be honest, I measured to ensure I had a good fit once I had it assembled this far. For a rough idea though, this piece should be about 25 ½” x 27 ½.” Set the feeder on its back, put wood glue along the bottom edges, and fasten the bottom on using 1 ½” wood screws.
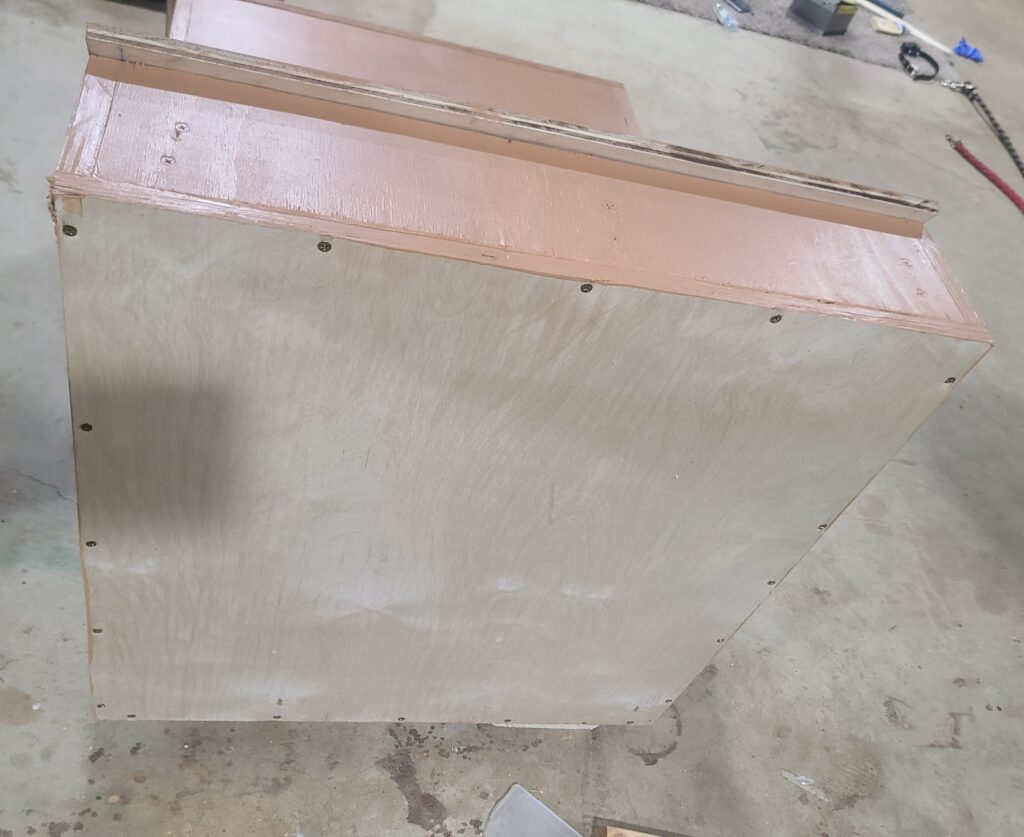
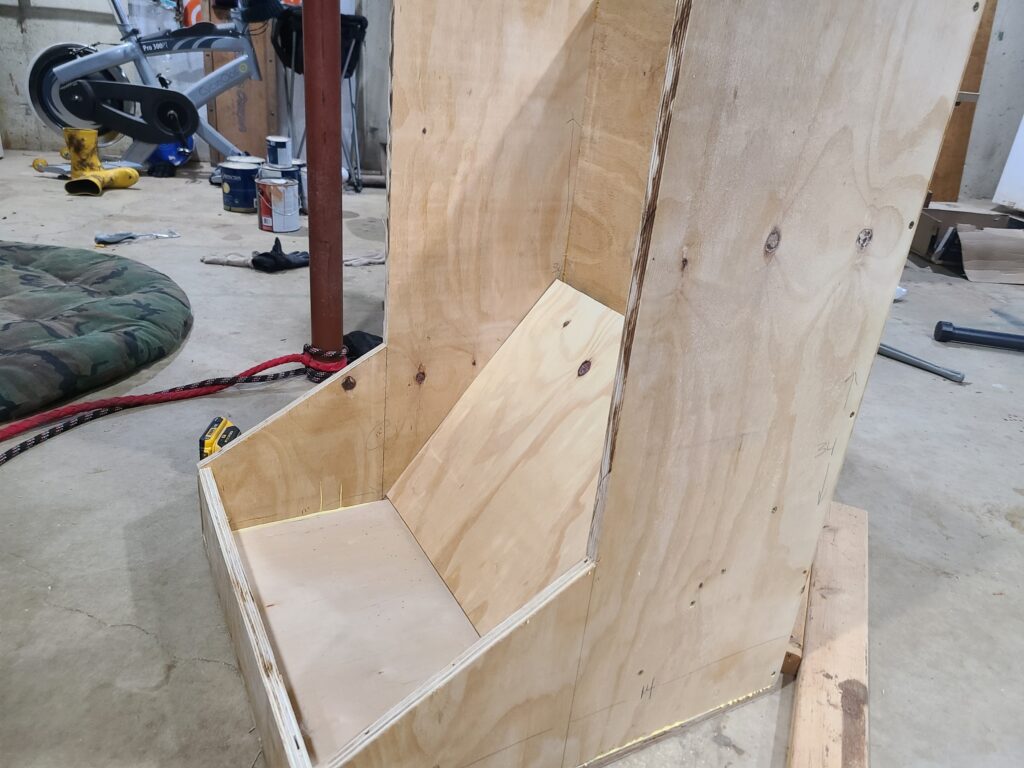
You can see in the picture below a slanted piece is needed to make this a gravity fed self-feeder. This piece is fairly forgiving in terms of length but you will want it 24” wide and about 20-21” long. This piece is situated between your two side pieces as shown and secured in place with 1 ½” screws.
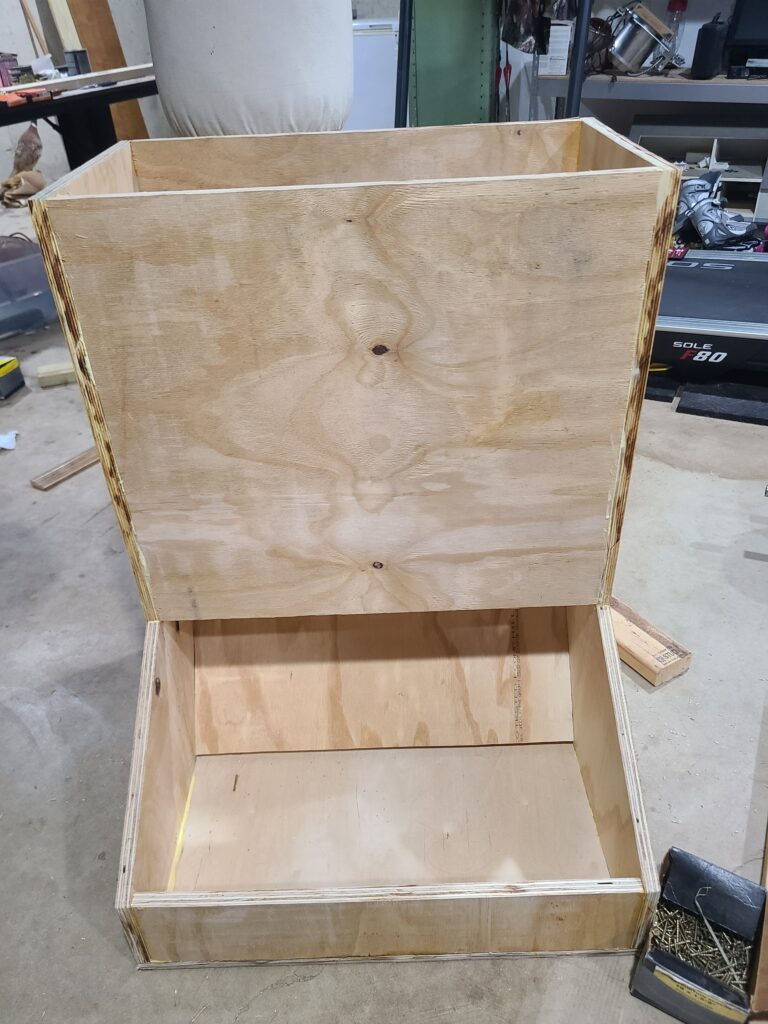
The front should measure 24” wide and 22” tall from the 3/4” plywood. This will fit between your two side pieces, once you put wood glue on the 22” edges, and secure with 1 ½” screws.
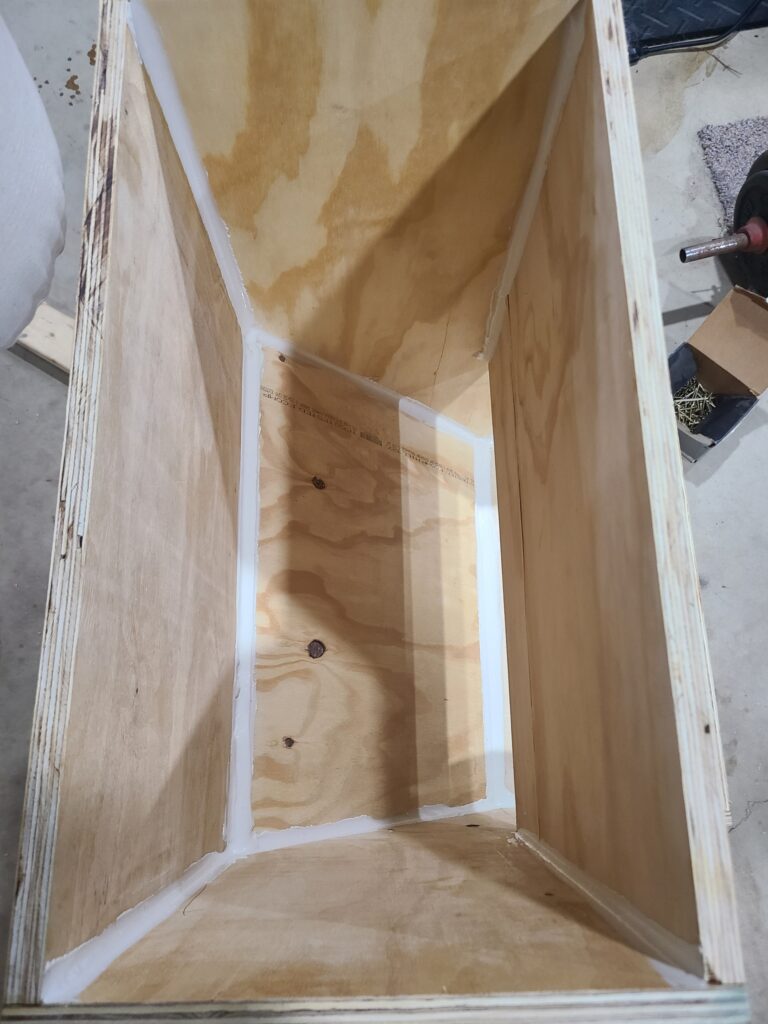
At this time, you will see I also filled all the gaps to ensure the pig feed would not fall through them. All the joints were filled with constructions adhesive (I am sure caulk would also work, but this is what I had laying around).
The flip-up lid where the pigs will access their feed is also fairly forgiving. You will need it about 25 ½” wide by 14 ½” tall out of the ¾” plywood. Although not entirely necessary, I also added another piece of ½” plywood to the bottom of this to provide a better “seal” to keep bugs or anything else out and provide a better fit. This piece measures 23 3/4” x 3” and is secured to the bottom of the lid using 1 ¼” screws or smaller. I used 2 hinges then to secure to the front of the feeder. This is the only place I felt water could get in so I used some flex seal tape to cover the hinges and gap between the lid and front of the box.
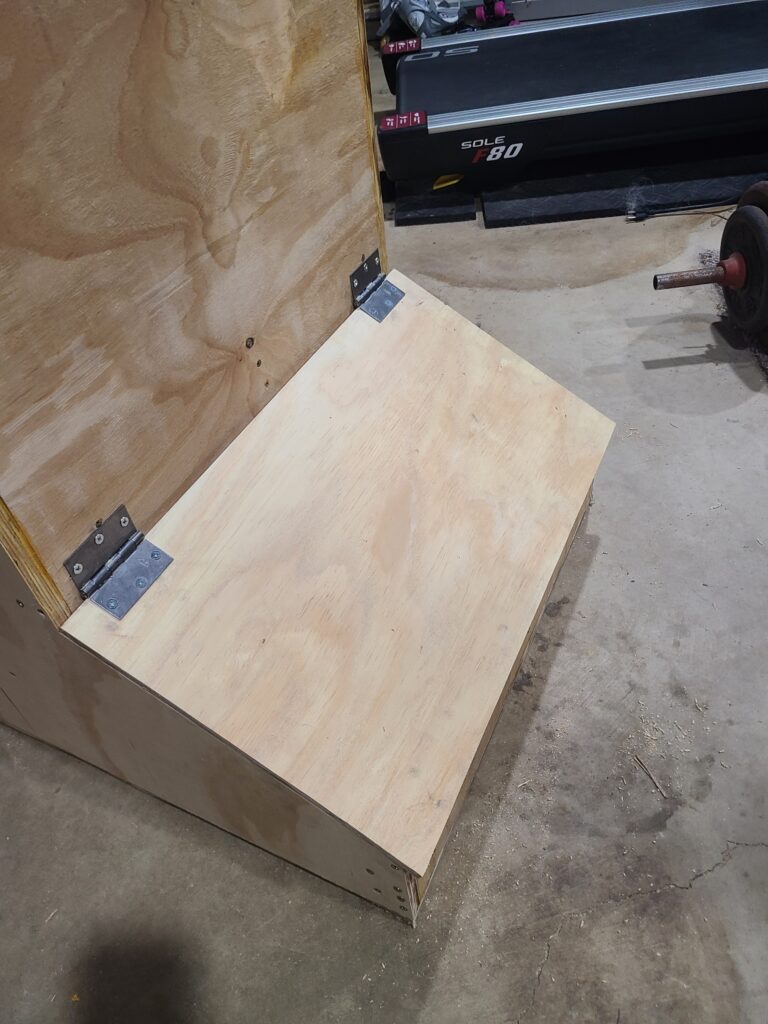
The last piece you have to make is the top of the feeder. Originally, I put a top on with a hinge, but it was clunky and there was no way to prevent wind-driven rain from getting in and running down the side. So, I cut a piece with a 1” overhang on all 4 sides out of ¾” plywood and again secured a piece of ½” plywood on the underside to provide more weight and a better seal. The top itself should be about 27 ½” by 16.” The piece I added should measure a little smaller than 24” x 12 ½” (out of ½” plywood) to fit inside the top of the feeder as shown and secured to the bottom of the ¾” plywood with 1 ¼” screws, or smaller if you have them.
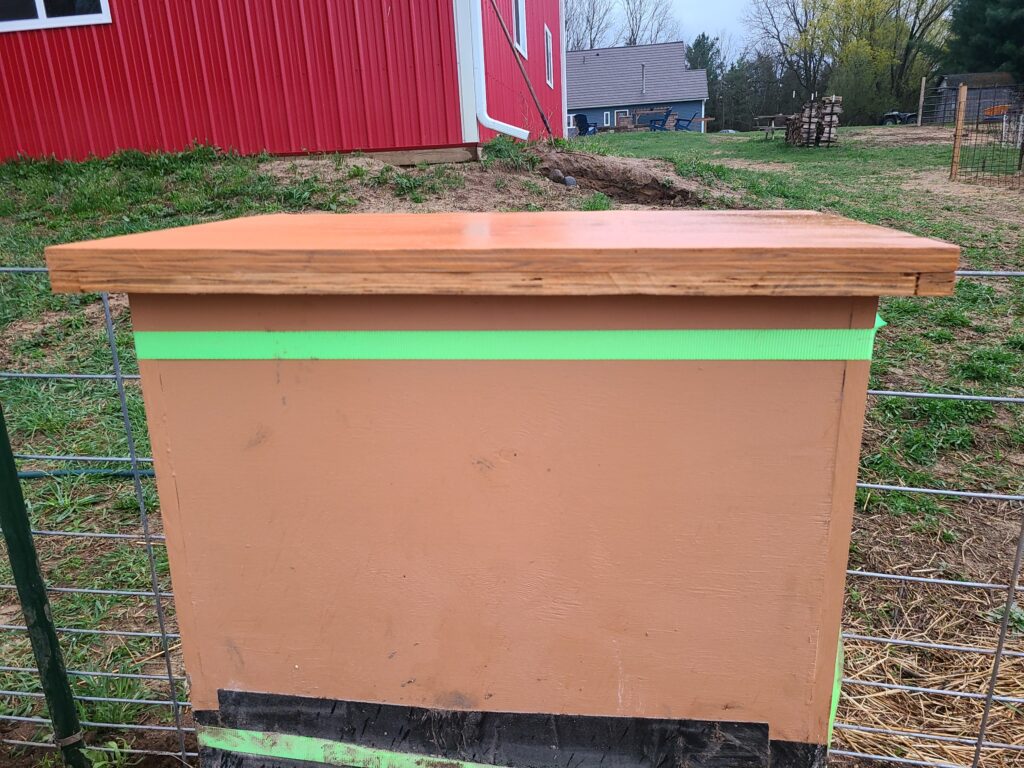
Once you get a couple coats of paint on it to weatherproof, its ready to use. Our pigs love it and it took less than 10 minutes for them to figure out how to lift the lid and eat. (You can see the flex-seal over the hinges in this picture also).

Butcher, coach, and handyman— there is nothing this man can’t do or fix. He loves the outdoors, playing with his kids, as well as hunting and cooking homegrown or wild meats!
