How to Freeze Garden Fresh Green Beans
If you have a surplus of fresh green beans, you can preserve some for future use by freezing. Follow these step-by-step instructions to clean, blanch, and vacuum-seal green beans that will stay fresh for months in your deep freezer. Enjoy the bounty of your garden year-round with frozen green beans.
This post contains affiliate links. As an Amazon Associate, I earn from qualifying purchases.
In the summer, there is no shortage of green beans on our farm. While some of our herbs and vegetables are hit or miss, depending on the year, the beans seldom disappoint.
We enjoy them fresh from the garden, sautéed as a side for dinner, or pickled, but even then, we have more than enough. To preserve the bounty of the harvest year-round, we freeze our surplus green beans.
Freezing Versus Canning Fresh Green Beans
Freezing and canning are both great methods for preserving farm fresh produce. We choose to freeze green beans because it is simple to do and we like the color and texture of beans that have been blanched and frozen versus canned.
Canning requires extra time and equipment and results in softer, paler beans. One advantage of canning is that the produce stays shelf-stable for a few years, while frozen green beans are best enjoyed within 12 months.
Any way you choose to preserve them, you can’t go wrong. It’s a matter of personal preference, but if you have a little bit of room to spare in your chest freezer, try freezing some beans, we think you’ll like them!
Blanching Fresh Green Beans
I recommend blanching your green beans before freezing, they will be brighter green and more crisp even after months in the freezer if you don’t skip this step.
The blanching method that I use for green beans is to cook them for three minutes in boiling water and then immediately transfer them to an ice bath for three minutes.

Equipment Needed for Freezing Fresh Green Beans
- Large stock pot
- Water
- Timer
- Colander
- Mixing bowl
- Ice
- Paper towels
- Measuring cup
- Vacuum sealer
- Vacuum sealer bags
- Freezer
You will need a large pot for blanching your beans, a colander to strain them, and big enough bowl to hold the beans and ice, to serve as an ice bath. The beans need to be dried before freezing so that they don’t stick together, you can use paper towels or a clean dish towel to dry them.
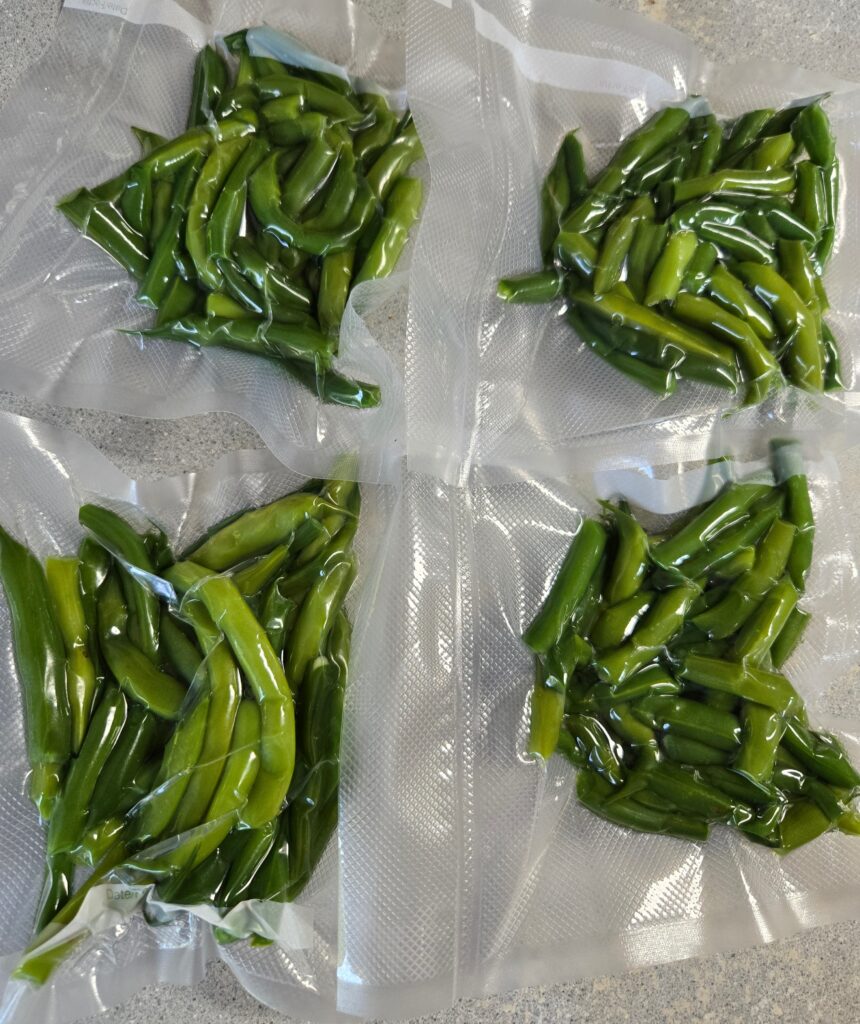
I freeze my beans in packages containing approximately 2 cups, which is close to the equivalent of a 14.5 ounce can of green beans that you would buy at the grocery store. We have a commercial-grade Cabela’s vacuum sealer, and it works well. We buy rolls of vacuum sealer bags so that we can make the bags the size that we want.
Directions for Freezing Fresh Green Beans
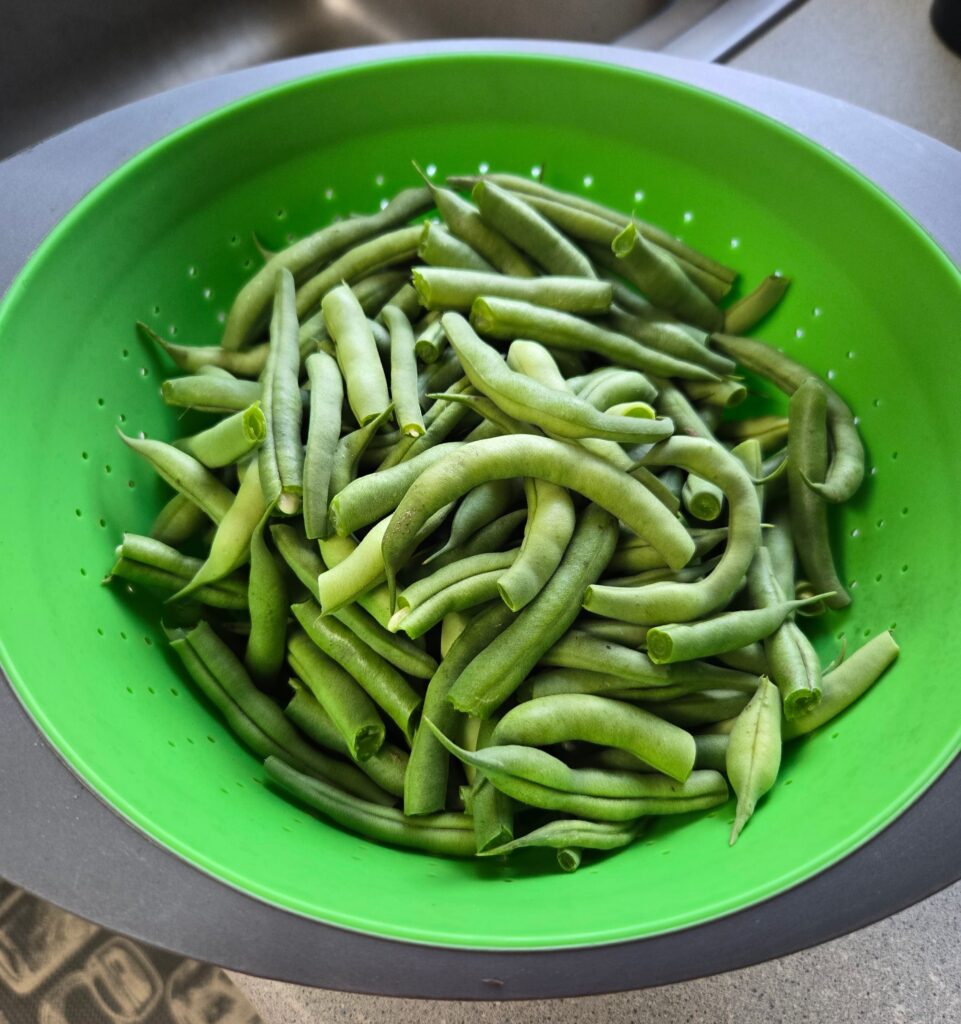
- For best results, start with freshly picked green beans that are ripe, but not overgrown with giant seeds.
- Snap the stem off each bean (I leave the tail end alone). Snap the long ones in half, if you desire.
- Rinse the beans in cool water to remove any dirt.
- Fill a stock pot three-quarters of the way with water, bring to a boil.
- Blanch the beans by placing them into the boiling water, add more water if necessary to cover all the beans.
- Ensure that the water is back to boiling and set a timer for three minutes.
- Prepare an ice bath that can hold all the beans.
- In the sink, strain the blanched beans with a colander.
- Put the strained beans into the ice bath and set a timer for three minutes
- Strain the beans again with the colander in the sink.
- Lay out paper towels or a clean dish towel, and arrange the beans on them, in a single layer.
- Vacuum seal beans in packages containing 2 cups, or the quantity that you prefer
- Label vacuum sealer bags with the date and put into the freezer. Use within one year.
Using Frozen Fresh Green Beans
Using frozen green beans is easy. I don’t thaw them before cooking. I simply take a package right out of the freezer and cook them in a hot skillet with olive oil or butter. Sauté for about 8 minutes and sprinkle with your favorite seasons and they are good to go!
If you’re hungry for another garden-fresh recipe, check out how to make salsa here!