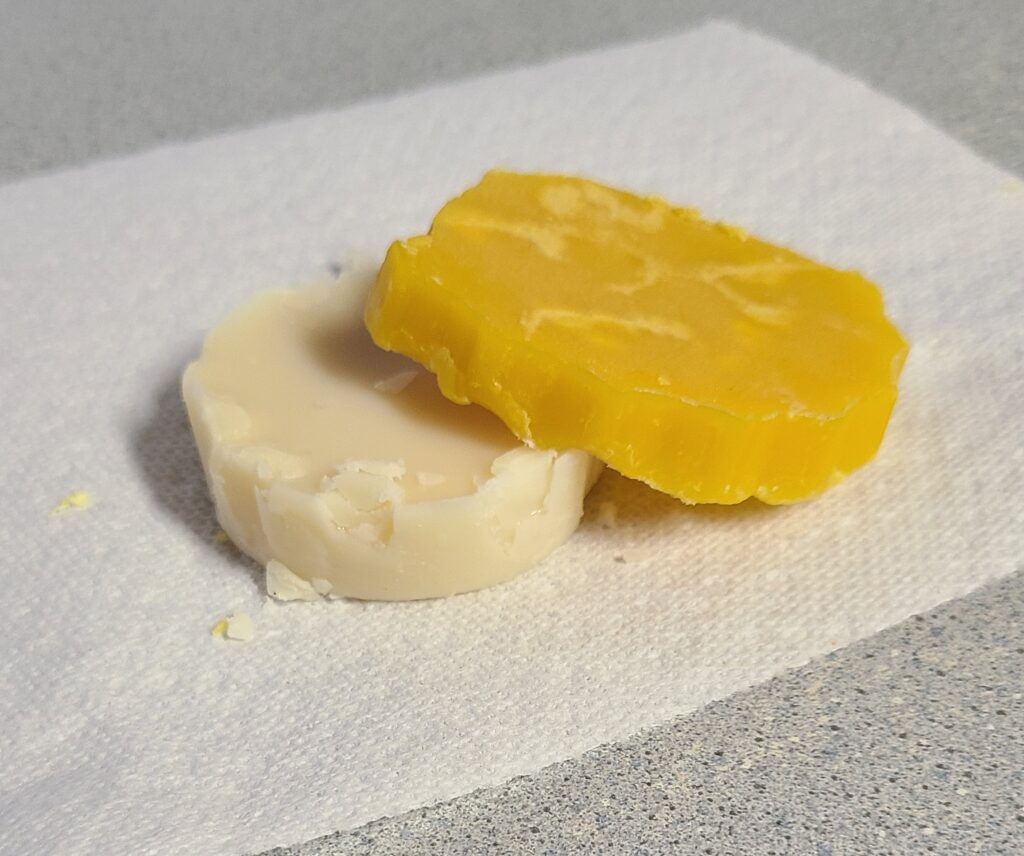
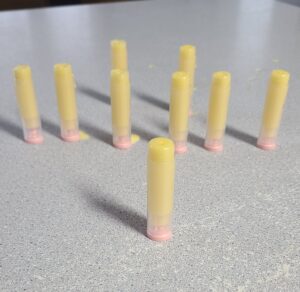
Tallow makes a great base for lip balm, it is rich and moisturizing. This recipe uses tallow and beeswax from animals on our farm. This simple lip balm will be your new favorite!

This post contains affiliate links. As an Amazon Associate, I earn from qualifying purchases.
This recipe uses tallow rendered from a wild, white-tailed deer that I harvested during the Michigan archery season, but any type of tallow will work! Tallow is made from rendering the fat from a ruminant animal. Ruminants include cattle, sheep, goats, and deer which all have a four-chambered stomach and chew cud. For information on wet rendering tallow on a stovetop, click here to read my how-to article! If you want to dry render your tallow in a slow cooker, my favorite method, click here for directions.
Tallow is very moisturizing and makes great lip balm, this 3-ingredient recipe is easy to make and has fewer chemicals than manufactured lip balms you can buy at the store. Give it a try!
Materials for Making Venison Tallow Lip Balm
- A heat-safe bowl for melting ingredients
- Something to stir the mixture with
- Double-boiler pot (saucepan with water on stove) or microwave
- Kitchen scale
- Pipette
- Lip balm tubes or tins with lids
Optional:
I like to use a microwave-safe 1-quart glass measuring cup because it has a spout for pouring (then you don’t need the baster and filling tray). It is also easy to clean!
The kitchen scale is for measuring your tallow and beeswax by weight and the pipette is for adding flavor/scent. I use a plastic knife to stir the ingredients.
I have made this recipe for lip balm using a saucepan with water for the double-boiler method, but have used the microwave to melt the ingredients as well. I know both work, but to maintain the benefits of the oils, it’s important that you don’t overheat them. Therefore, the double-boiler method is probably best because you have more control over the heat.
When I order lip balm tubes, I look for ones that are BPA free and made with food grade plastic. There are a lot of great options for reusable lip balm tins too!
Using a baster isn’t necessary, but it does make the job of filling the tubes or tins easier and less messy. Please note that as the wax and tallow cool and solidify the baster can get clogged and running it under hot water may be necessary.
A lip balm filling tray simply holds onto tubes so that you don’t have to during the filling process. Instead of using one, you can rubber band the tubes together to make them more stable.
A cheese grater is necessary only if you are using a block of wax. I render my own beeswax and pour it into forms so I do have to break some off, weigh it, and then grate it down to use it in lip balm. To avoid this, buy pelleted beeswax.
Lip balm labels aren’t necessary, but they do add some flair. If you don’t want to be fancy, you can just write on the tube with a Sharpie.
Ingredients for Venison Tallow Lip Balm
(Makes 9- 5.5ml tubes)
- 36 grams venison tallow
- 12 grams beeswax
- 2 grams flavor oil

This recipe is 3-parts tallow, 1-part beeswax. The wax gives the lip balm some nice structure and the correct amount of stiffness, while the tallow makes it smooth and creamy.
I have used food grade peppermint and vanilla essential oils in my lip balms as well as a lip-safe flavor oil from Brambleberry. Just be careful in choosing, because not all essential or fragrance oils are safe for use on the lips. Another option is to forego the flavor oil and have naturally scented lip balm.
Directions for Making Venison Tallow Lip Balm
- 1. Using a kitchen scale, weigh out 36 grams of beeswax (grating if necessary) and place it in the heat-safe bowl
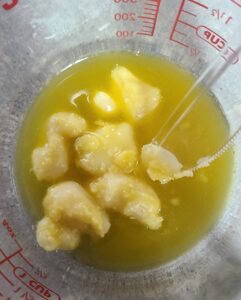
- 2. Beeswax has a much higher melting point than tallow so it needs to be melted alone. Option 1: Put the bowl into the double-boiler pot and stir slowly while the beeswax melts. Option 2: Put the bowl into the microwave and heat for 20 seconds at a time, stirring at each interval until the beeswax is melted
- 3. Add 12 grams of solid, unheated tallow to the hot, melted beeswax and stir.
- 4. Add 2 grams of flavor oil, if desired. Stir again.
- 5. Carefully pour the mixture into tubes or tins using the spout on the measuring cup or use a baster to fill the containers.
- 6. If the mixture cools too much and hardens, re-heat the ingredients to their liquid state and begin pouring again until all of the mixture is in a lip balm container.
- 7. Start cleaning up while the lip balm cools and hardens. Add some water to the mixing bowl and heat it back up for easier clean up.
- 8. Let the lip balm cool completely (about 30 minutes) and wipe off any mess from the outside of the containers.
- 9. Affix labels and enjoy!


Mother, farmer, author, and teacher by trade… She loves tending to things and watching them grow!
