If you want to start making soap at home, here are the basic items you need to have on hand. Soap making is a fun hobby, but you need to make sure you have the right equipment for the experience to be a success. All of the must-haves for your first batch of cold-process soap are explained and identified.

This post contains affiliate links. As an Amazon Associate, I earn from qualifying purchases.
Soap making is a lot of fun, but it can be disastrous if you don’t have the right equipment!
I make goat’s milk soap once a week as a part of my farm business. I’m going to show you the supplies that I use and where to buy them, so you can find something similar and have everything you need for making your first batch of homemade, cold process soap.
It doesn’t matter what recipe you use or whether you soap with milk or water, the equipment needed will be the same.
As a side note, you may see some items on this list that you already own and want to dedicate to soap making and that is great! Just make sure it doesn’t go back to being used for preparing or serving food for your family. Keep it separate for safety reasons and happy soap-making!
1. Gloves for Soap Making
Safety first! Get some heavy-duty nitrile gloves to wear while soap making. I should take my own advice and wear them all the time, but I don’t and have gotten lye burns on my hands! Don’t be like me.
These gloves are re-useable, just wash them with soap and water after use and make sure they dry before storing them away for next time.
2. Safety Glasses for Soap Making
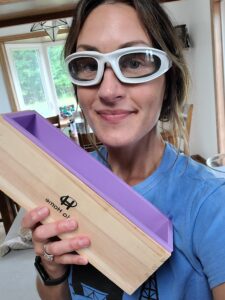
While I am somewhat complacent with my glove usage, I do always wear safety glasses when soaping, no exceptions. Pain and permanent damage to my eyes while working with caustic chemicals is not a risk I want to take!
3. Scale for Weighing Soap Making Lye and Oils
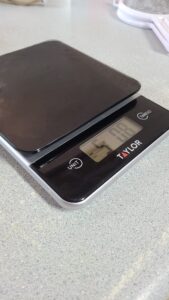
A little, battery operated kitchen scale works great for weighing out all of your cold process soap making ingredients. I soap with lye, goat’s milk, coconut oil, and olive oil and I use my scale to carefully weigh everything so that it turns out, every time. Remember you are creating a chemical reaction and accurate measurement matters!
4. Paper cup for Lye Weighed for Soap Making
If you are making true cold process soap, no matter your recipe, you will have to work with lye. Lye reacts with certain metals, like aluminum, so you have to be careful about what type of container you put it in.
I weigh out the total amount of lye that I need and keep it in a paper cup covered with a piece of paper or cardboard because it is sensitive to moisture. I slowly add the lye from the paper cup to my frozen cubes of goat’s milk. When it has all been added I throw the paper cup away.
5. Bowl for Dissolving Lye for Soap Making
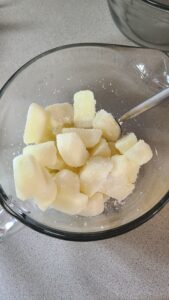
You will need a bowl for combining your lye with milk or water, again, make sure the bowl does not contain aluminum. I have a stainless-steel pot and a glass mixing bowl that I use for incorporating the lye into my goat’s milk. A bowl made of thick, microwave-safe plastic works too.
Keep in mind that the type of bowl you choose will either dissipate heat (like stainless-steel) or insulate your mixture (like glass or plastic). Be careful when touching or moving the bowl containing dissolved lye, it can heat up rather quickly and may burn you.
6. Spoon/Whisk for Stirring Dissolved Lye for Soap Making
I start mixing the lye and frozen goat’s milk with a stainless-steel spoon. When the lye reacts and melts the cubes of frozen milk, then I switch to a stainless-steel whisk.
You want to make sure you completely dissolve the lye in whatever liquid you are using, and this takes a LOT of stirring. I find the whisk does a better job of breaking up any clumps and getting it off the sides of the bowl.
7. Bowl for Mixing Dissolved Lye and Oils for Soap Making
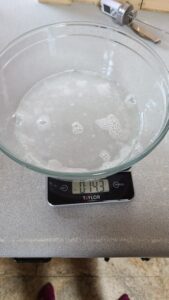
I use a large, 4-quart glass bowl for mixing my dissolved lye and melted oils together. I measure my ingredients by weight and this bowl holds enough to fill four 2-pound rectangular silicone molds.
8. Thermometer for Soap Making
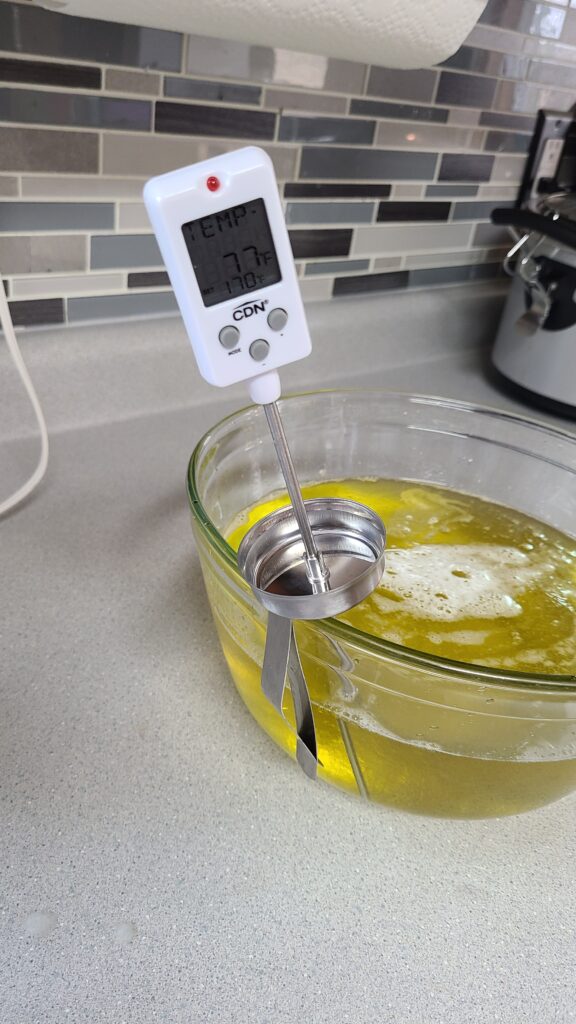
I use a candy thermometer to check the temperature of my ingredients. The one I use has a holder so that the tip stays suspended in the liquid instead of resting against the side of the bowl, which gives a more accurate reading.
In the same way that careful measurement is key to your soap turning out, I recommend checking temperatures with a thermometer- it removes the guess work!
9. Lye Strainers for Soap Making
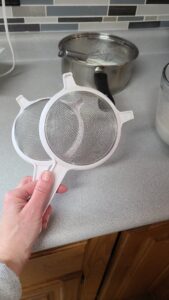
When I started making soap I did not use a strainer. It was after I ruined a batch because it ended up with a few chunks of solid lye in it (from not mixing enough) that I began adding this step.
Now, before I combine what I think is lye dissolved in goat’s milk with the melted oils, I run the lye mixture through a double mesh strainer. This keeps large, undissolved pieces of lye from ending up in my final product.
10. Immersion Blender for Soap Making
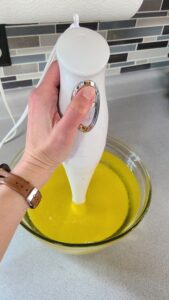
I have used a few immersion blenders and this one is by far my favorite. It is one of the cheapest options, but it works well and for a long time. It has 2 settings, high and low, and is easy to take apart and clean.
The key to having it work for you for a long time is to recognize when it is getting too hot and giving it a break. Also, if your soap sets up too fast, that can be hard on any immersion blender, so mix until it just reaches trace and then stop!
11. Teaspoon Measuring Spoon for Soap Making
If you are going to add any color or scent to your soap, then you might want to have teaspoon measuring spoons available. I use mine for mica powders, spices, essential and fragrance oils, and sodium lactate. For smaller amounts of liquids, pipettes work well.
12. Ladle and Rubber Spatula for Transferring Soap
For transferring my raw soap into molds, I use a ladle or pour it and then scrape the remaining soap from the sides of the bowl with a rubber spatula. You can ladle different colors of soap on top of each other to make a beautiful swirled pattern.
13. Silicone Molds for Soap Making
I pour my soap into rectangular, 2-pound silicone molds that nest inside pine insulating boxes. The soap comes out of these molds easily and they clean up nicely. Each mold that I use makes a loaf of soap that I cut into 10 bars that are around 4 ounces in weight a piece. See the photo at the top of this post for my loaf molds.
I also have some fun smaller molds that I use from time to time. I have bee, goat, and flower ones- you can find pretty much any design that you want on Amazon. These make nice trial sized soaps for gift giving!
14. Tote Washbasin for Soap Making
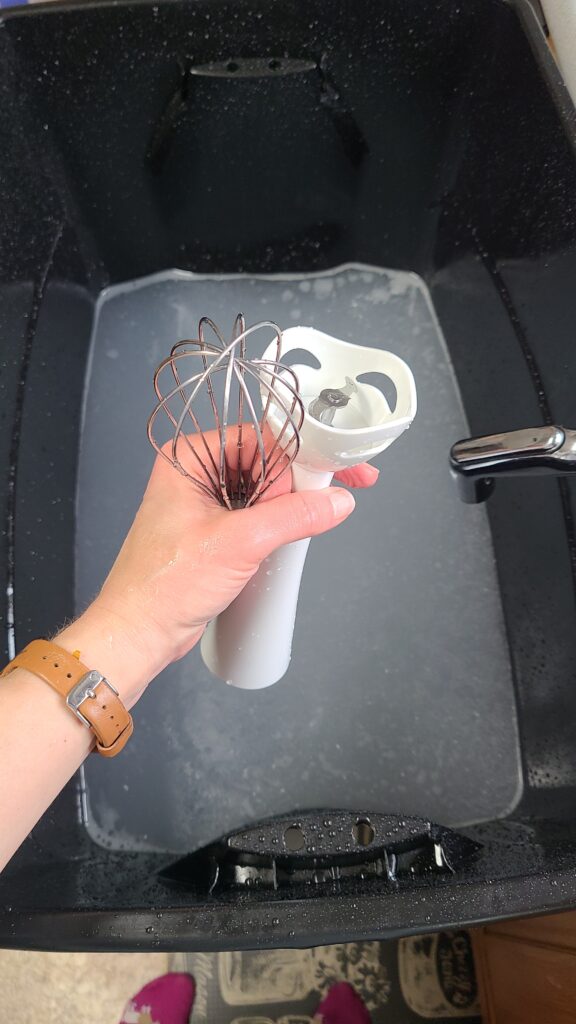
You should not wash your soap making equipment in your kitchen sink. Raw soap will go down your drain just fine, but after the saponification process and as it hardens, it can clog up the pipes in your house. To avoid septic problems in my home, I wash my equipment in a Rubbermaid tote and then empty and rinse it outdoors.
15. Soap Cutter
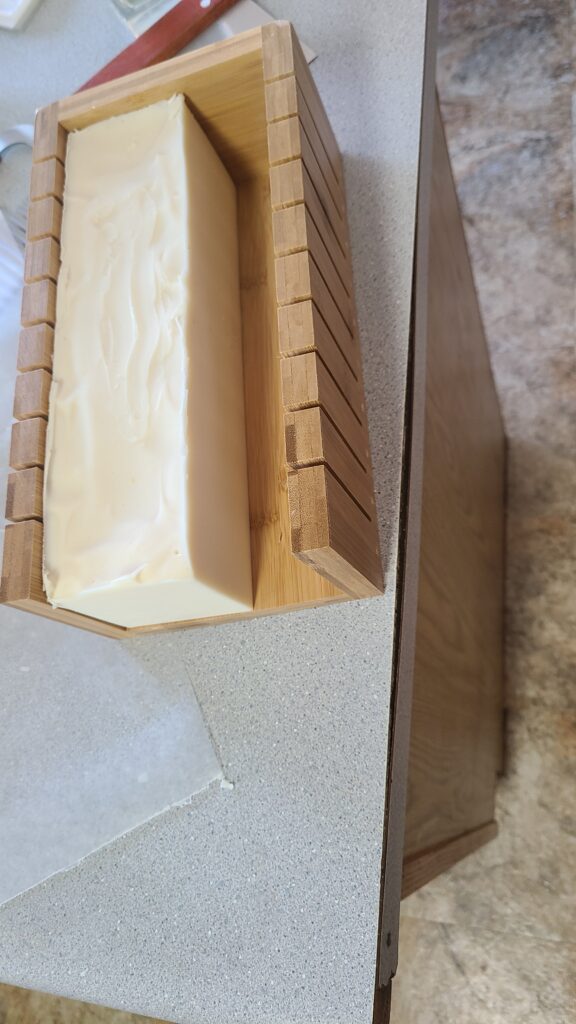
When I started soap making, I bought and used a box-type soap cutter with crinkle and straight cutting options. It worked, but I found it was hard to make the bars straight and uniform.
I ended up investing in a wire soap cutter and I’m glad that I did because it produces much more professional-looking and consistent soap bars. You can lock the wire cutter in position so that it makes the same cut each time. Mine cuts with a single wire, but there are more expensive options with multiple wires that cut simultaneously.
16. Storage Area for Soap
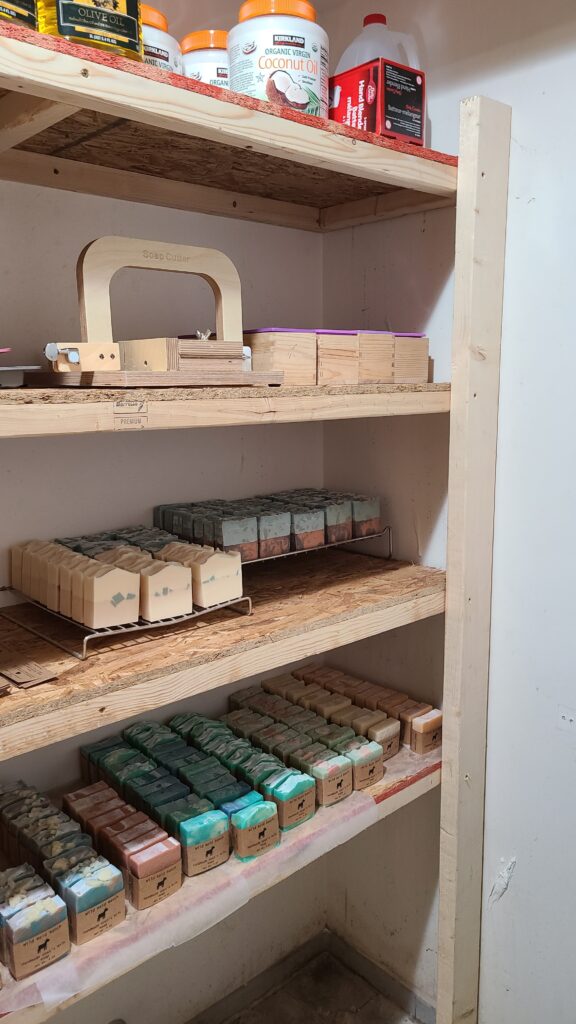
The last thing you need for cold process soap making at home is a space designated to drying the soap. Your soap will need to sit, undisturbed for at least 4 weeks before you use it. Choose an area that isn’t too drafty or humid and where it won’t get knocked over. I keep my soap on drying racks on shelves in my basement.
Is there another must-have piece of equipment that you use for cold process soap making that we don’t have on our list? Tell us about in the comments below!

Mother, farmer, author, and teacher by trade… She loves tending to things and watching them grow!

Hi!
Thanks for the items needed for goat soap?
Do you follow any specific recipes? The lye you listed is out of stock. Any other suggestions on lye?
Hi Vanessa, I fixed the link for the lye that I buy from Amazon, but here it is again! Sorry about that.
https://www.amazon.com/dp/B09LZ7SN9T?ref=nb_sb_ss_w_as-reorder-t1_k0_1_8&=&crid=1SLU0MPG4S2BJ&=&sprefix=lye+for+
I have tried a few recipes, but the one I really love is one I found on Facebook in the Goat Milk Groupies group it’s called the 2×2 recipe. I don’t want to share it on here because I am not the author! Look in the files in the group though there are some tried and true ones!